This project started as a simple idea: making a beaded curtain for an arched doorway. Instead of sourcing off-the-shelf beads, I decided to treat it as a full product development exercise. From designing the bead, creating the mold, and manufacturing the parts myself.
The goal was not just to make a curtain, but to go through the entire process of small-scale injection molding, from part design to tooling and production. I’ve also put together a complete build video over on my YouTube channel if you’d rather see it in action.
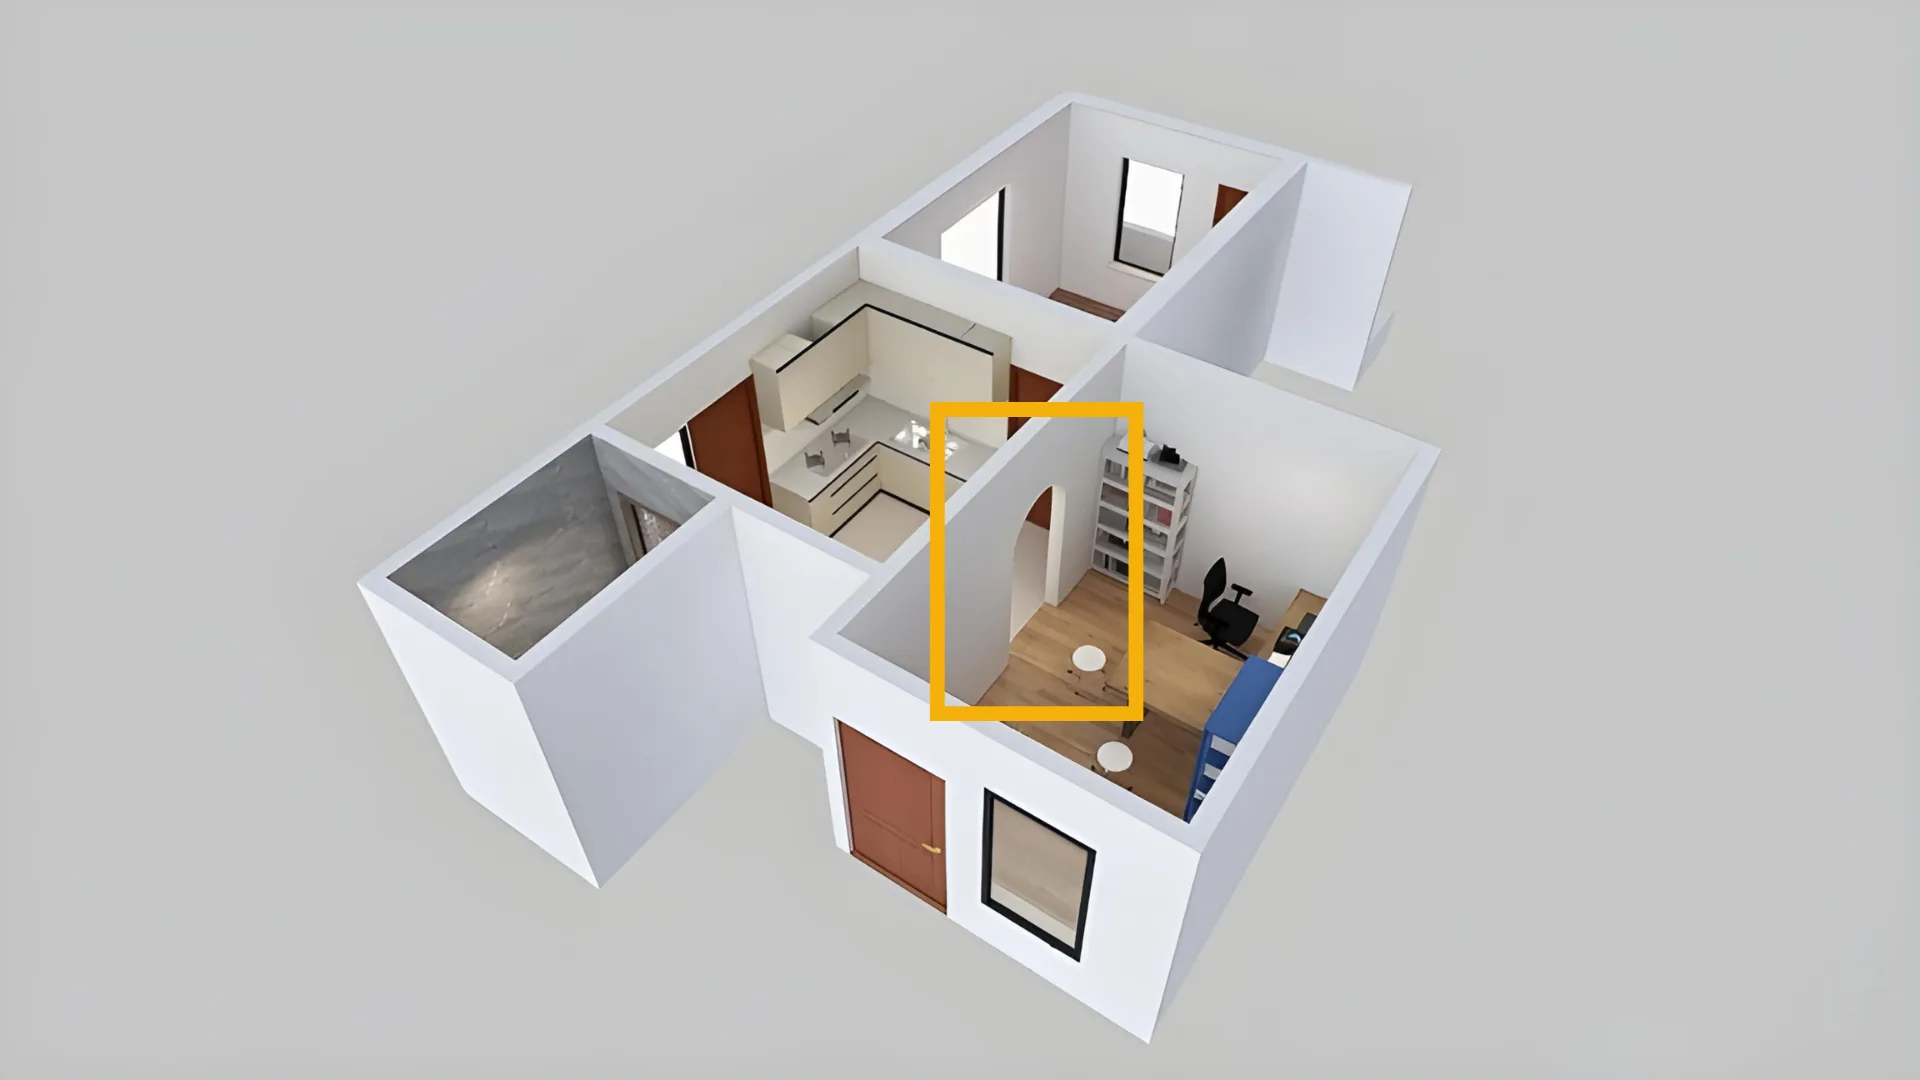
Initial Concept and Layout
Before designing the part, I started by understanding how the curtain would exist in the space. The doorway is arched, which meant the top support and bead lengths would need to follow that geometry.
I created a simple layout to determine bead spacing, density, and approximate part count. This step helped define the scale of the project and influenced the final bead size and proportions.
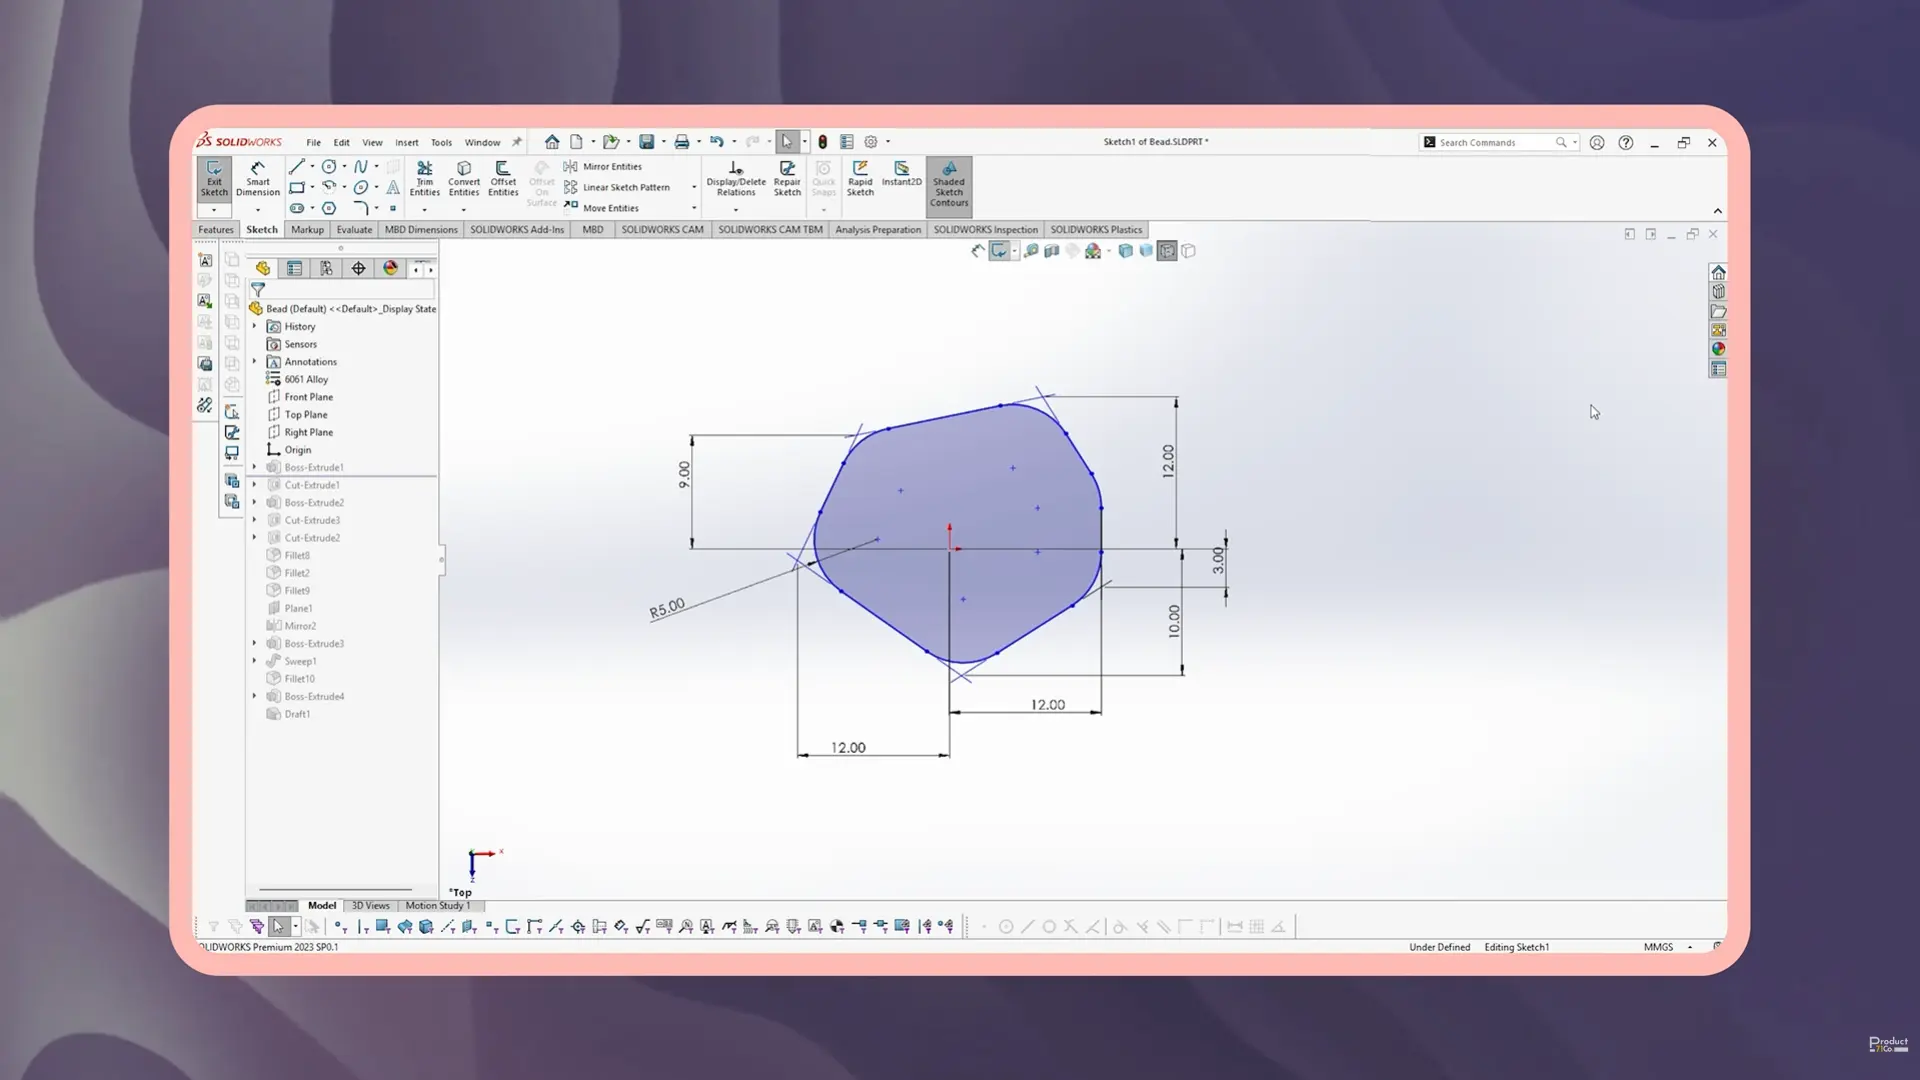
Bead Design for Injection Molding
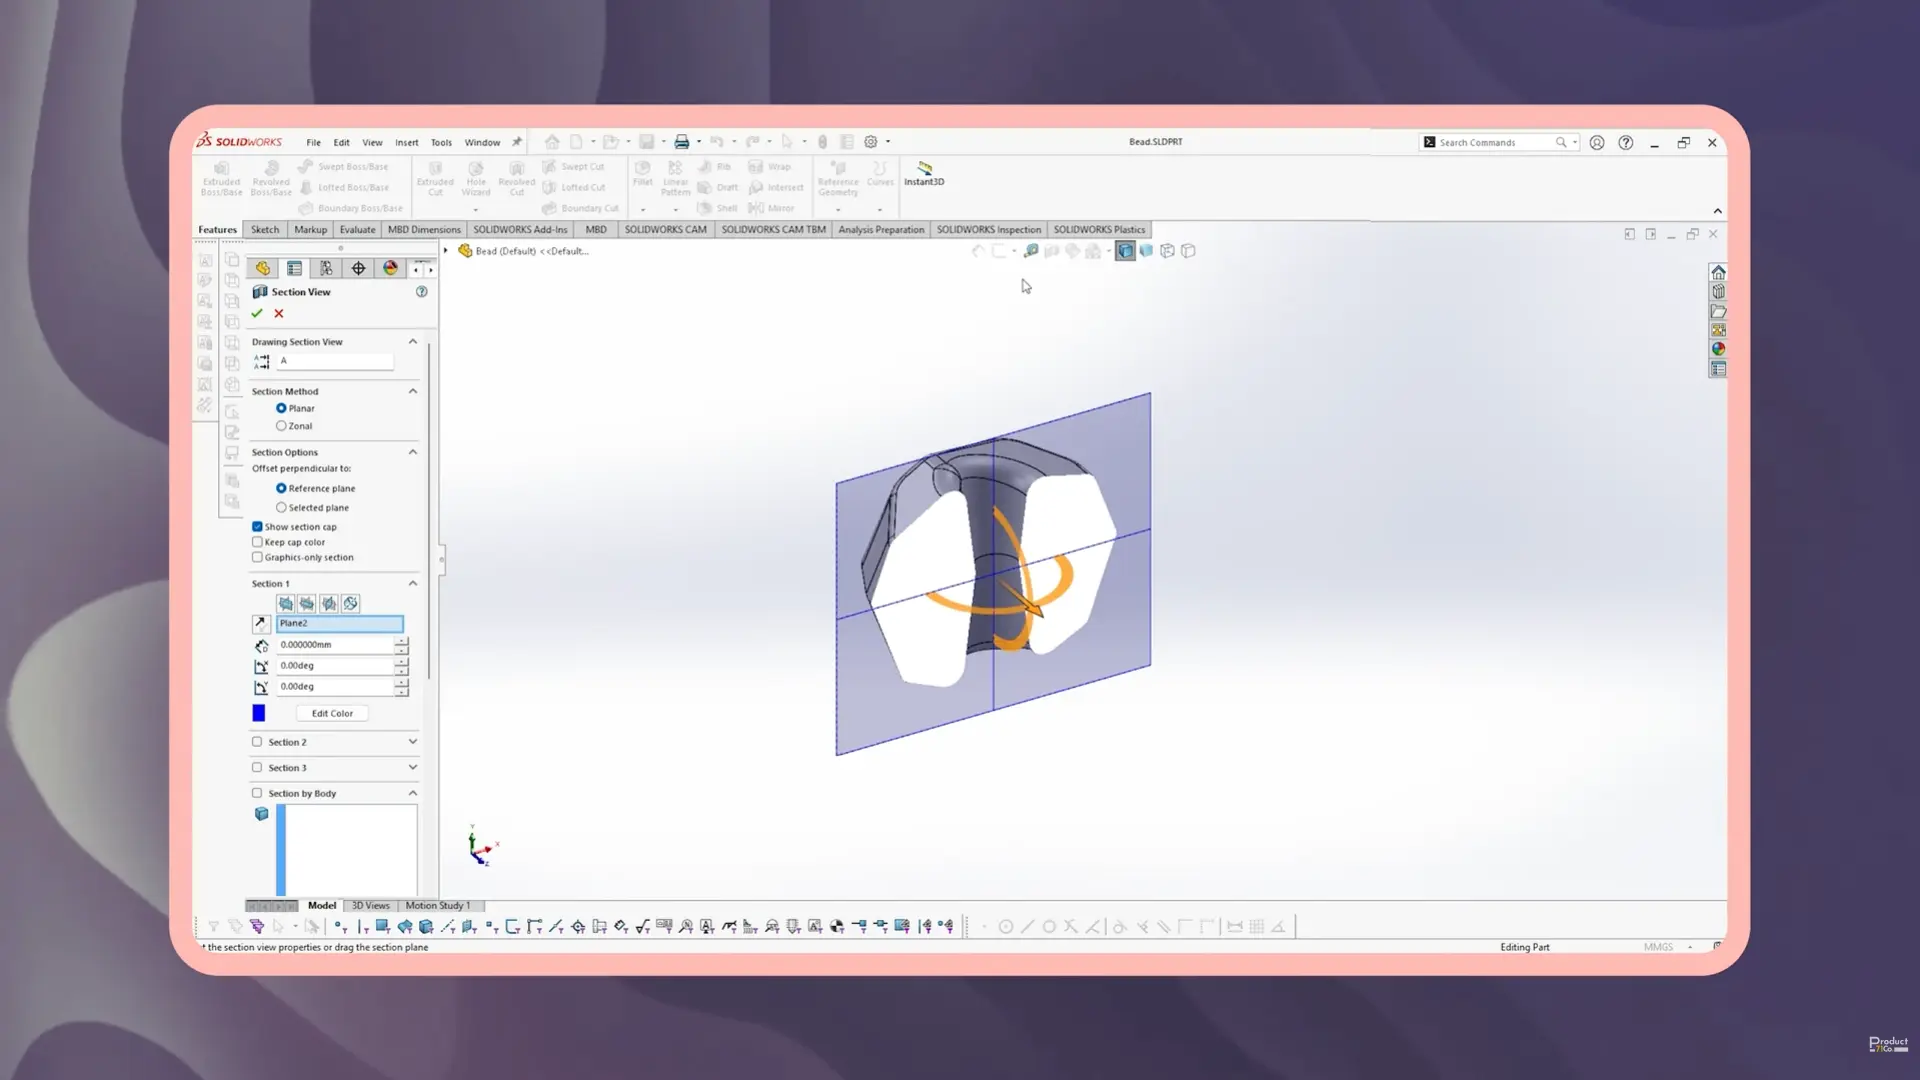
Designing the bead required thinking beyond just form. Since the part would be injection molded, manufacturability became a primary constraint.
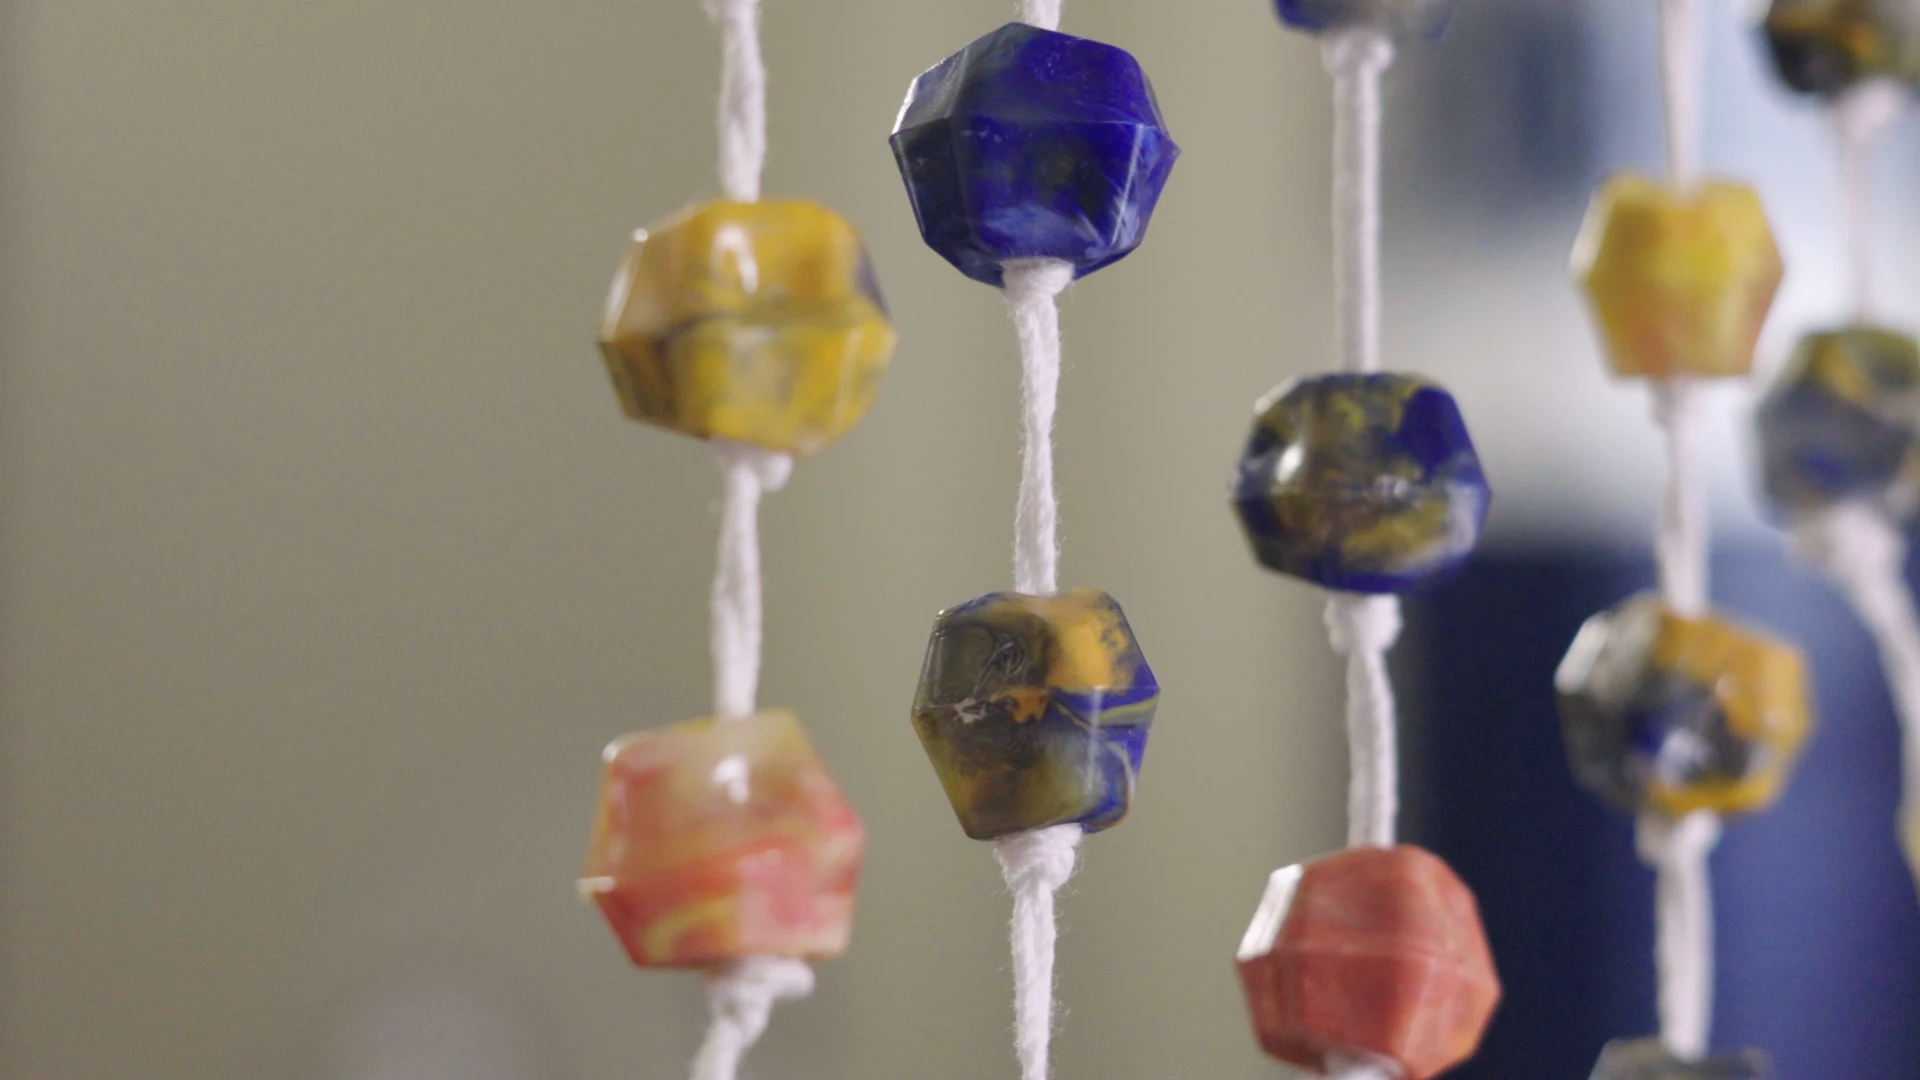
Key considerations included draft angles for part release, consistent wall thickness, and avoiding geometry that would complicate molding. One specific design decision was to avoid flat surfaces along the hole axis. When beads align on a string, flat faces create noticeable visual repetition, which didn’t work well aesthetically.
The hole itself was designed as a 4 mm through feature with 5 degrees of draft. This allowed sufficient pin strength while ensuring the part could be released from the mold without requiring a separate core pin.
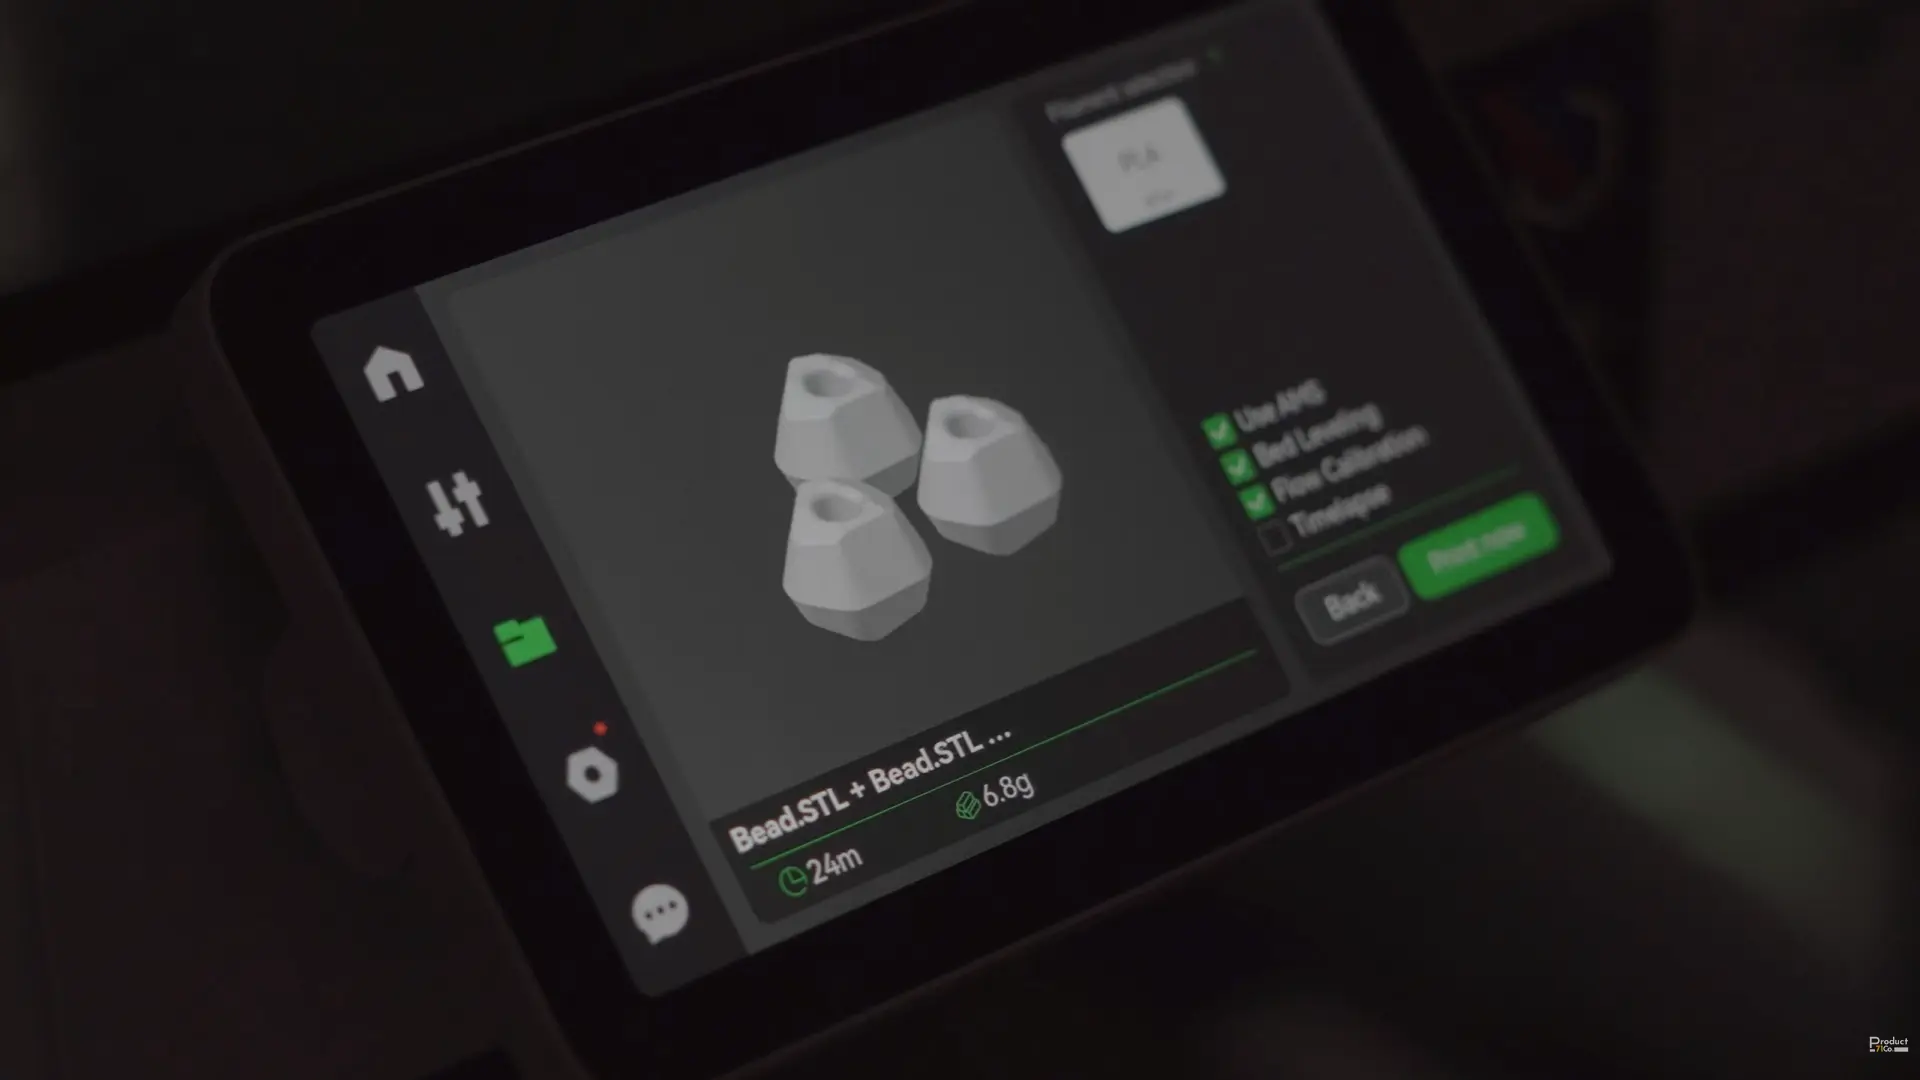
Before moving forward, I validated the design using 3D printed samples to evaluate scale, feel, and visual behavior when strung together.
Material Considerations
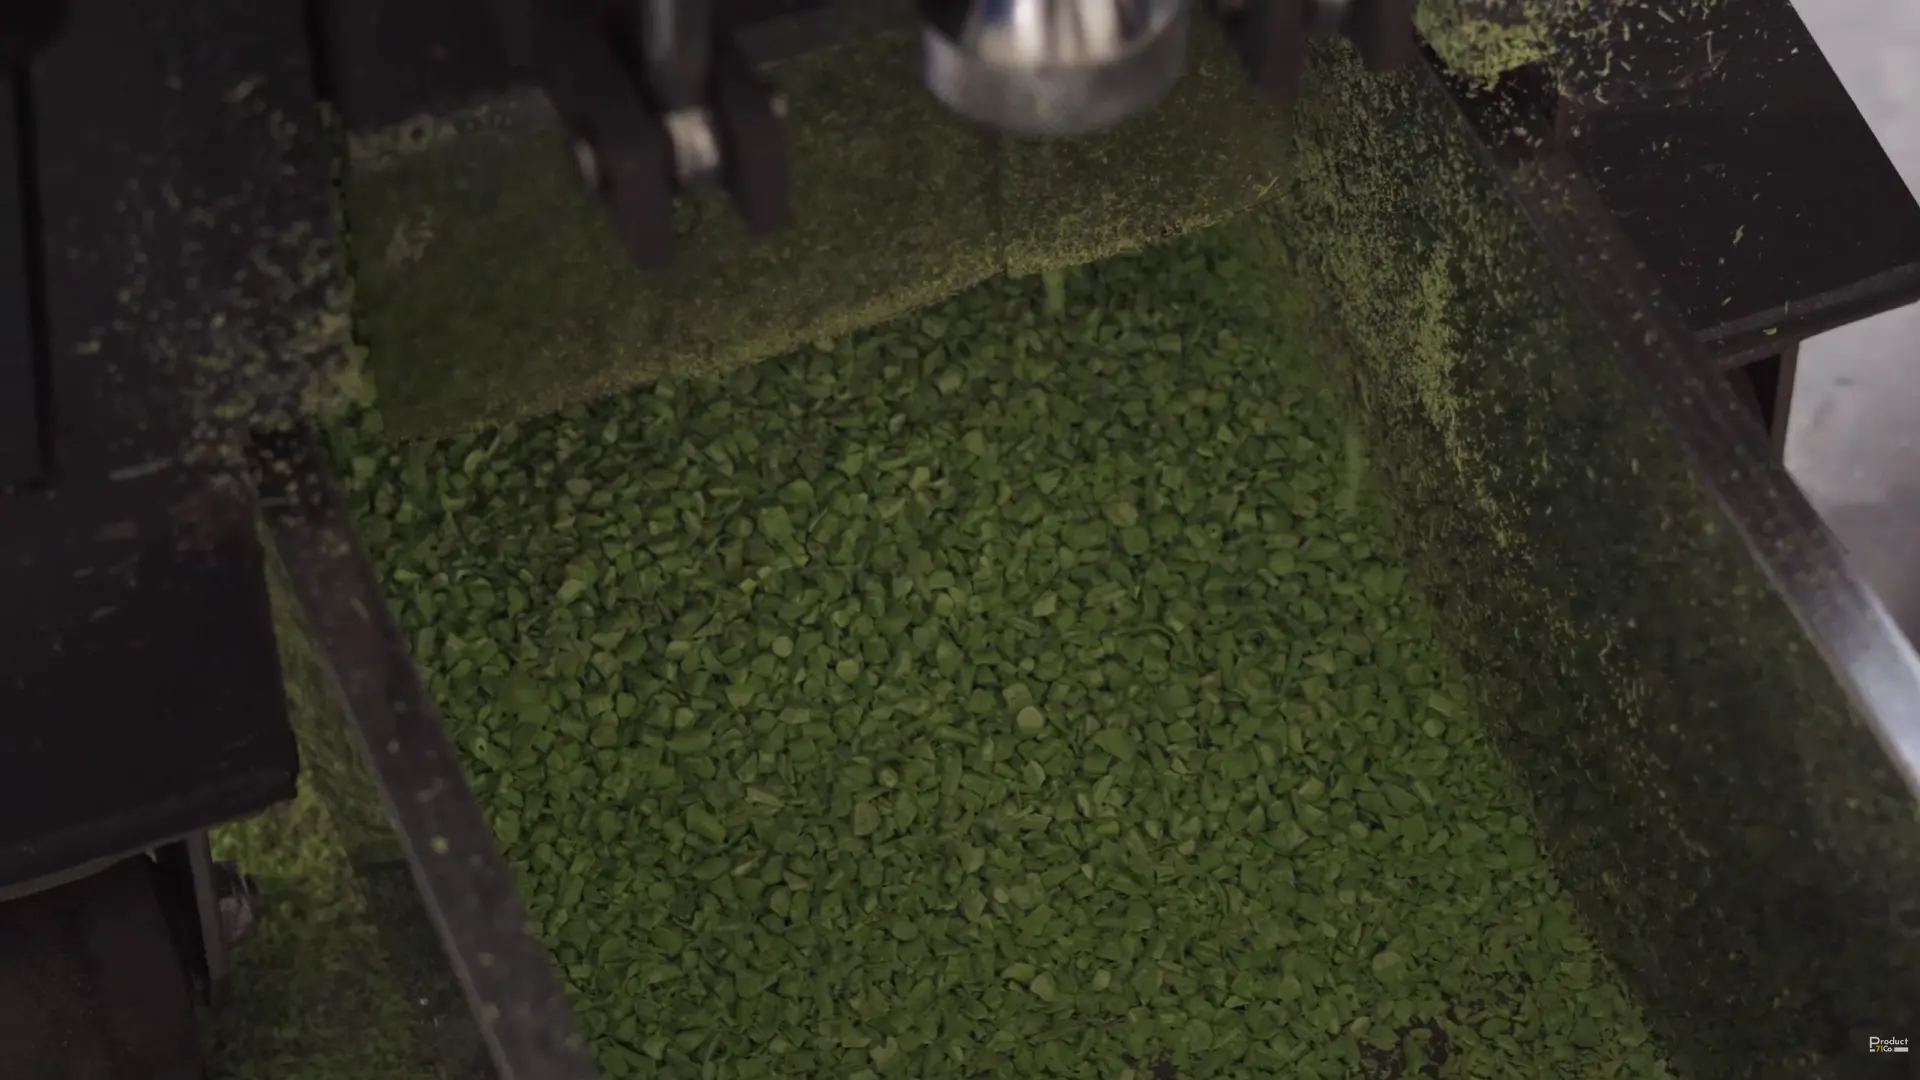
The material selected for this project was polypropylene (PP). It is widely used, easy to process, and works well with small-scale injection molding setups.
Plastic is often associated with environmental concerns, particularly because it is petroleum-based and contributes to waste. However, in this context, the material can be reused multiple times. A portion of the material used here came from scrap — including failed parts and leftover plastic that could be remelted and reprocessed.
While this does not eliminate the broader environmental issues, it highlights how, at a small scale, plastic can function as a reusable material rather than a strictly single-use one.
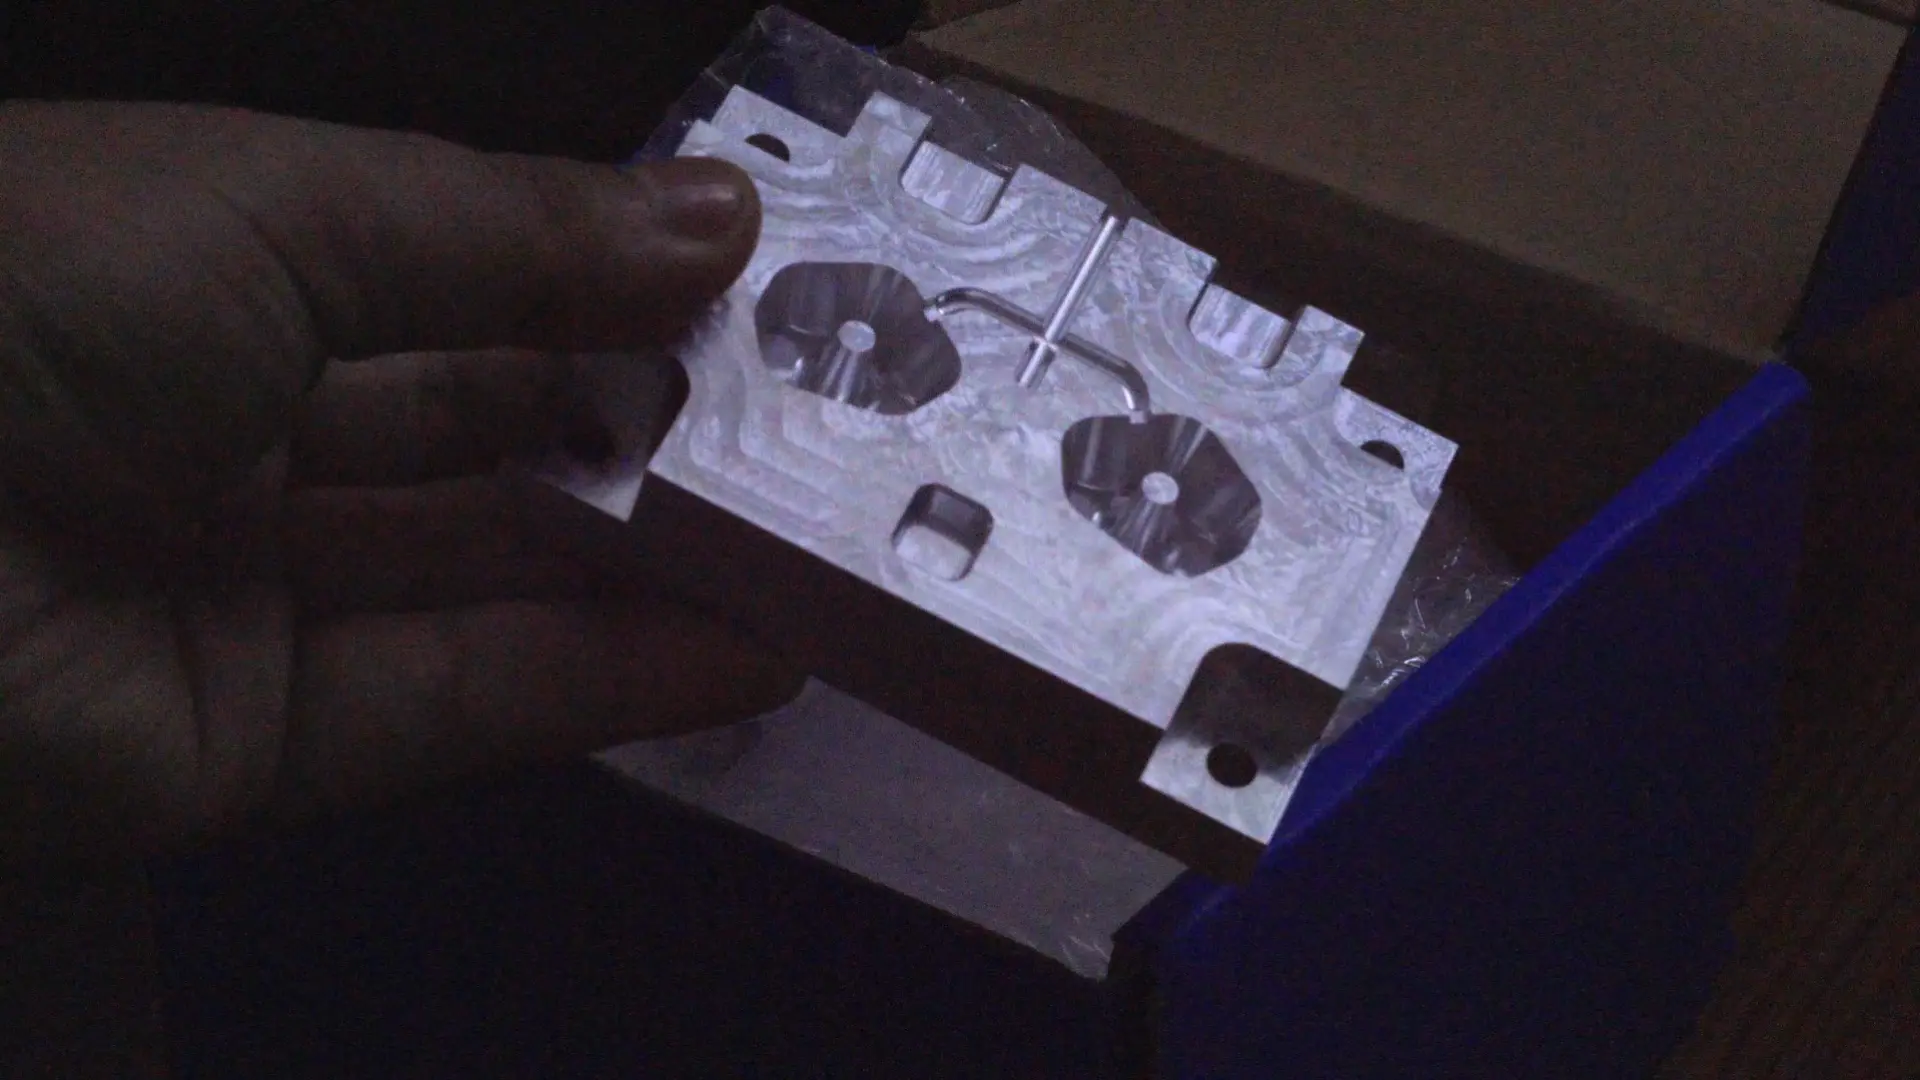
Mold Design
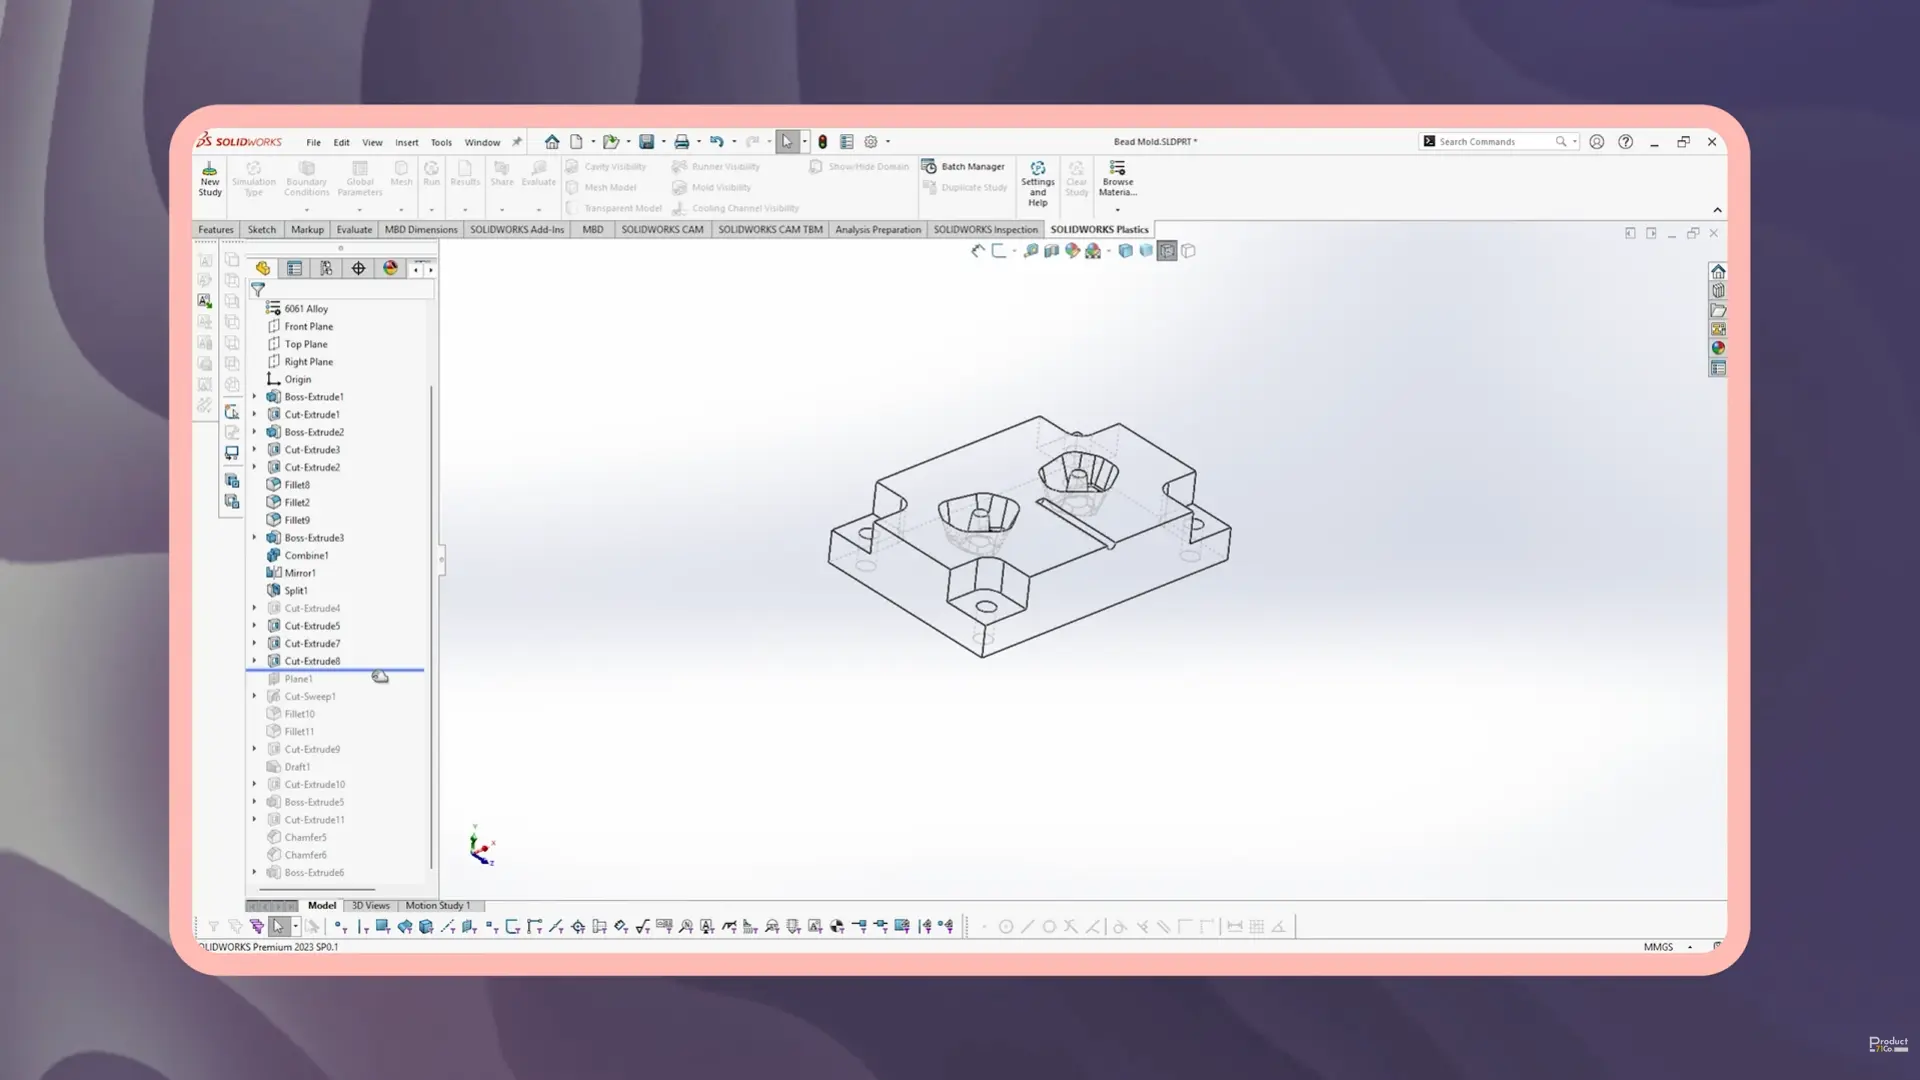
Once the bead design was finalized, the focus shifted to mold design. This is where the process becomes significantly different from typical part design, as the geometry must be inverted and adapted for manufacturability.
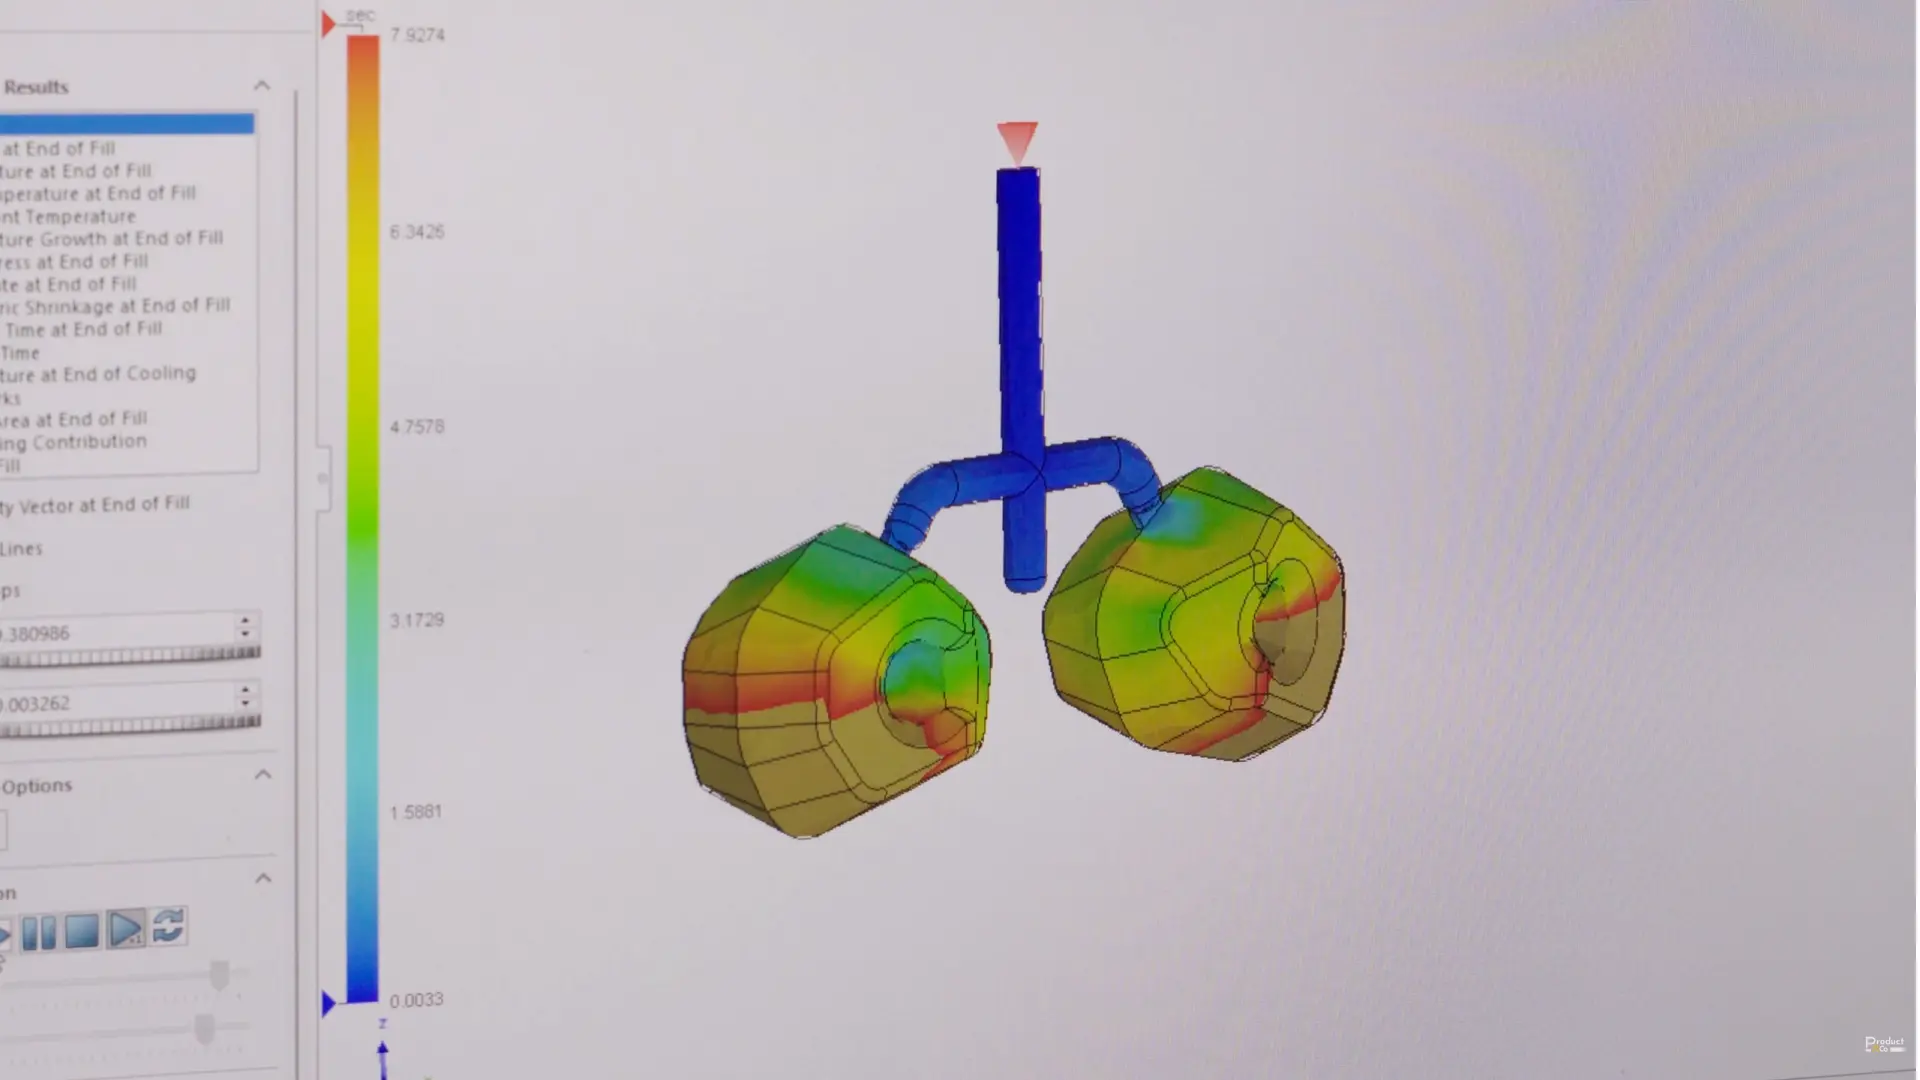
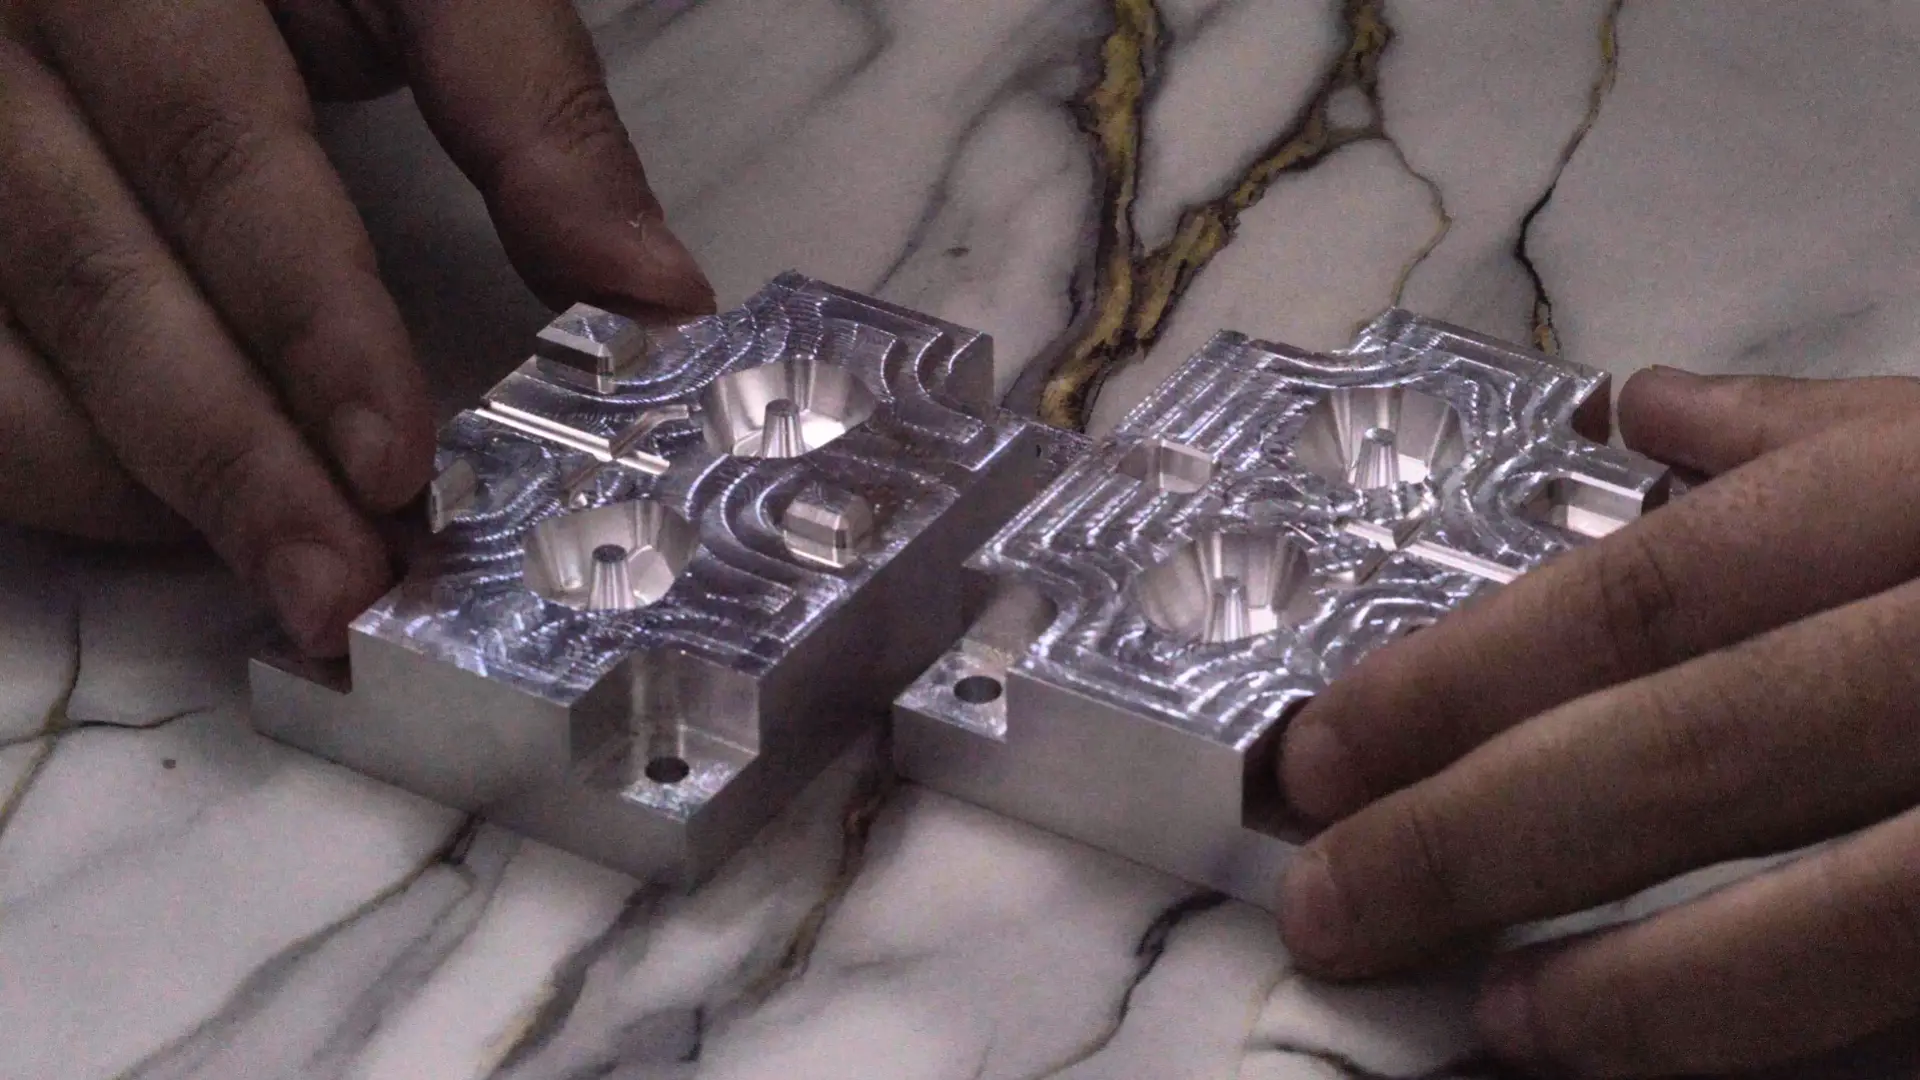
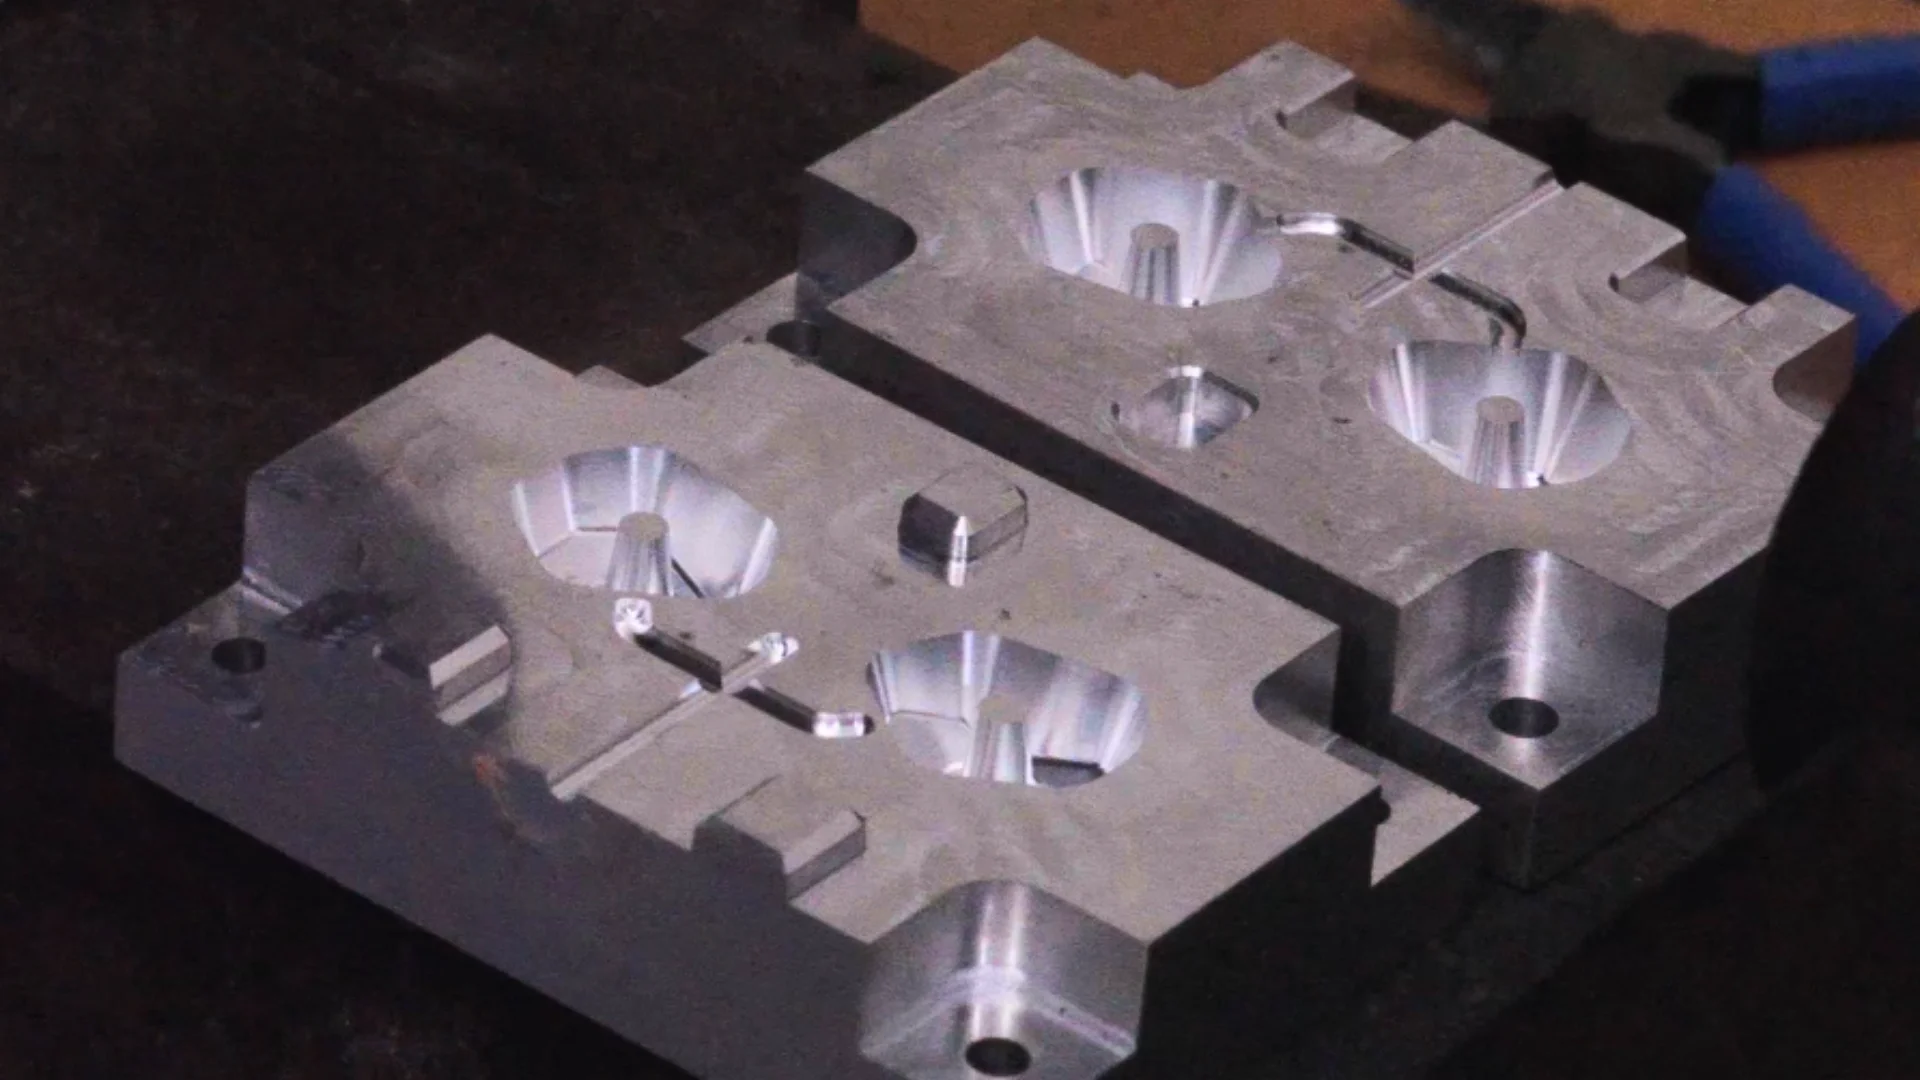
The mold is a simple two-part design with two cavities. The cavity was created using a Boolean subtraction approach: embedding the part within a solid block and subtracting it to form the negative space.
For a simple geometry like this, that approach is sufficient. More complex parts would require additional features such as sliders, lifters, or more advanced gating strategies.
Shrinkage compensation was not included in this design, as the bead is not a critical dimension component. For functional parts requiring precise fit, this would be an essential consideration.
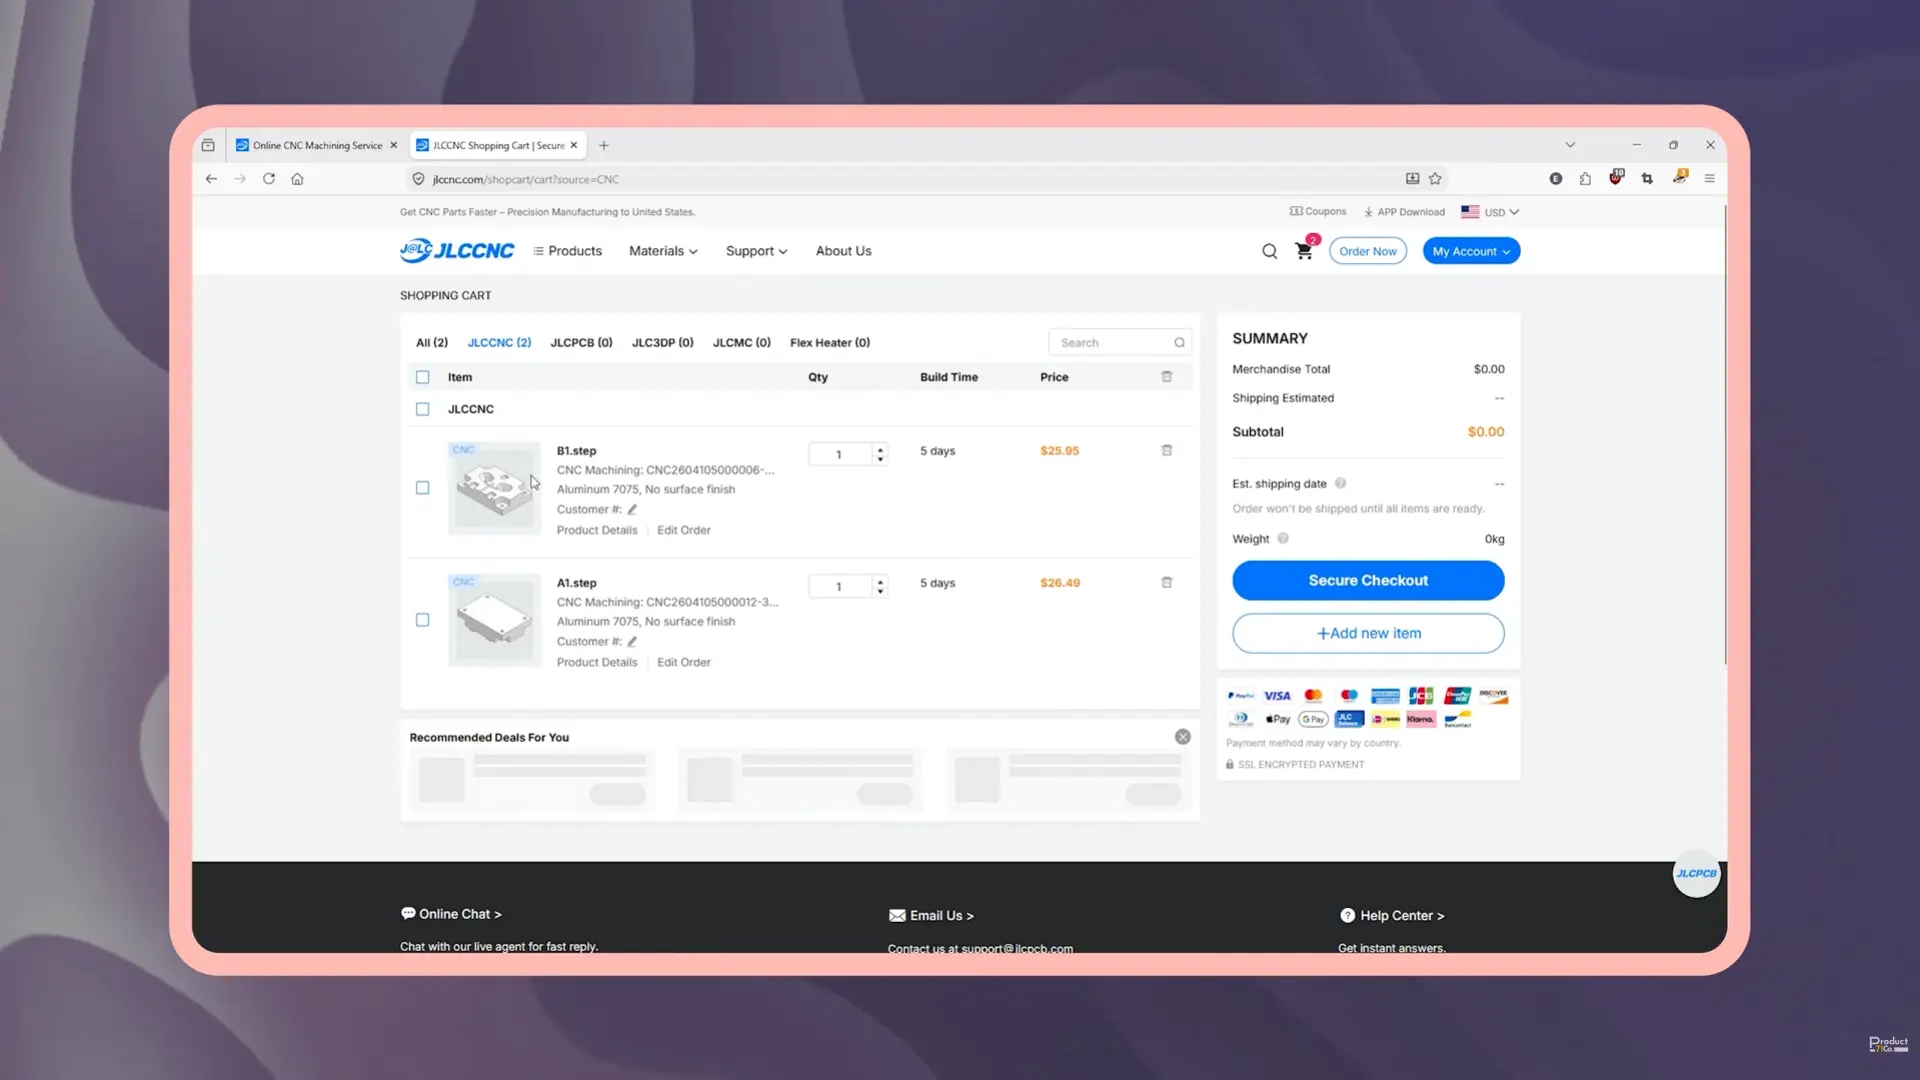
CNC Machining with JLC
The mold for this project was manufactured through CNC machining, made possible with support from JLC.
Originally, the plan was to use steel, but after reviewing the requirements and constraints, the material was changed to 7075 aluminum. For a small-scale injection molding setup and a material like polypropylene, aluminum offers a practical balance. It is faster to machine, more affordable, and performs well for low to medium volume production.
It is important to note that this is not a high-precision production mold. The machining is done within standard CNC tolerances rather than specialized mold-making tolerances. Because of that, the mold had to be designed as a machinable component that functions as a mold, rather than relying on extremely tight manufacturing precision.
CNC services like JLC machine exactly what is designed. They do not inherently “make molds” AFAIK, which means the responsibility for ensuring proper function lies entirely in the design.
This makes the process particularly interesting. It demonstrates how a relatively simple CNC-machined part can be turned into a functional injection mold with the right design considerations.
Injection Molding Process
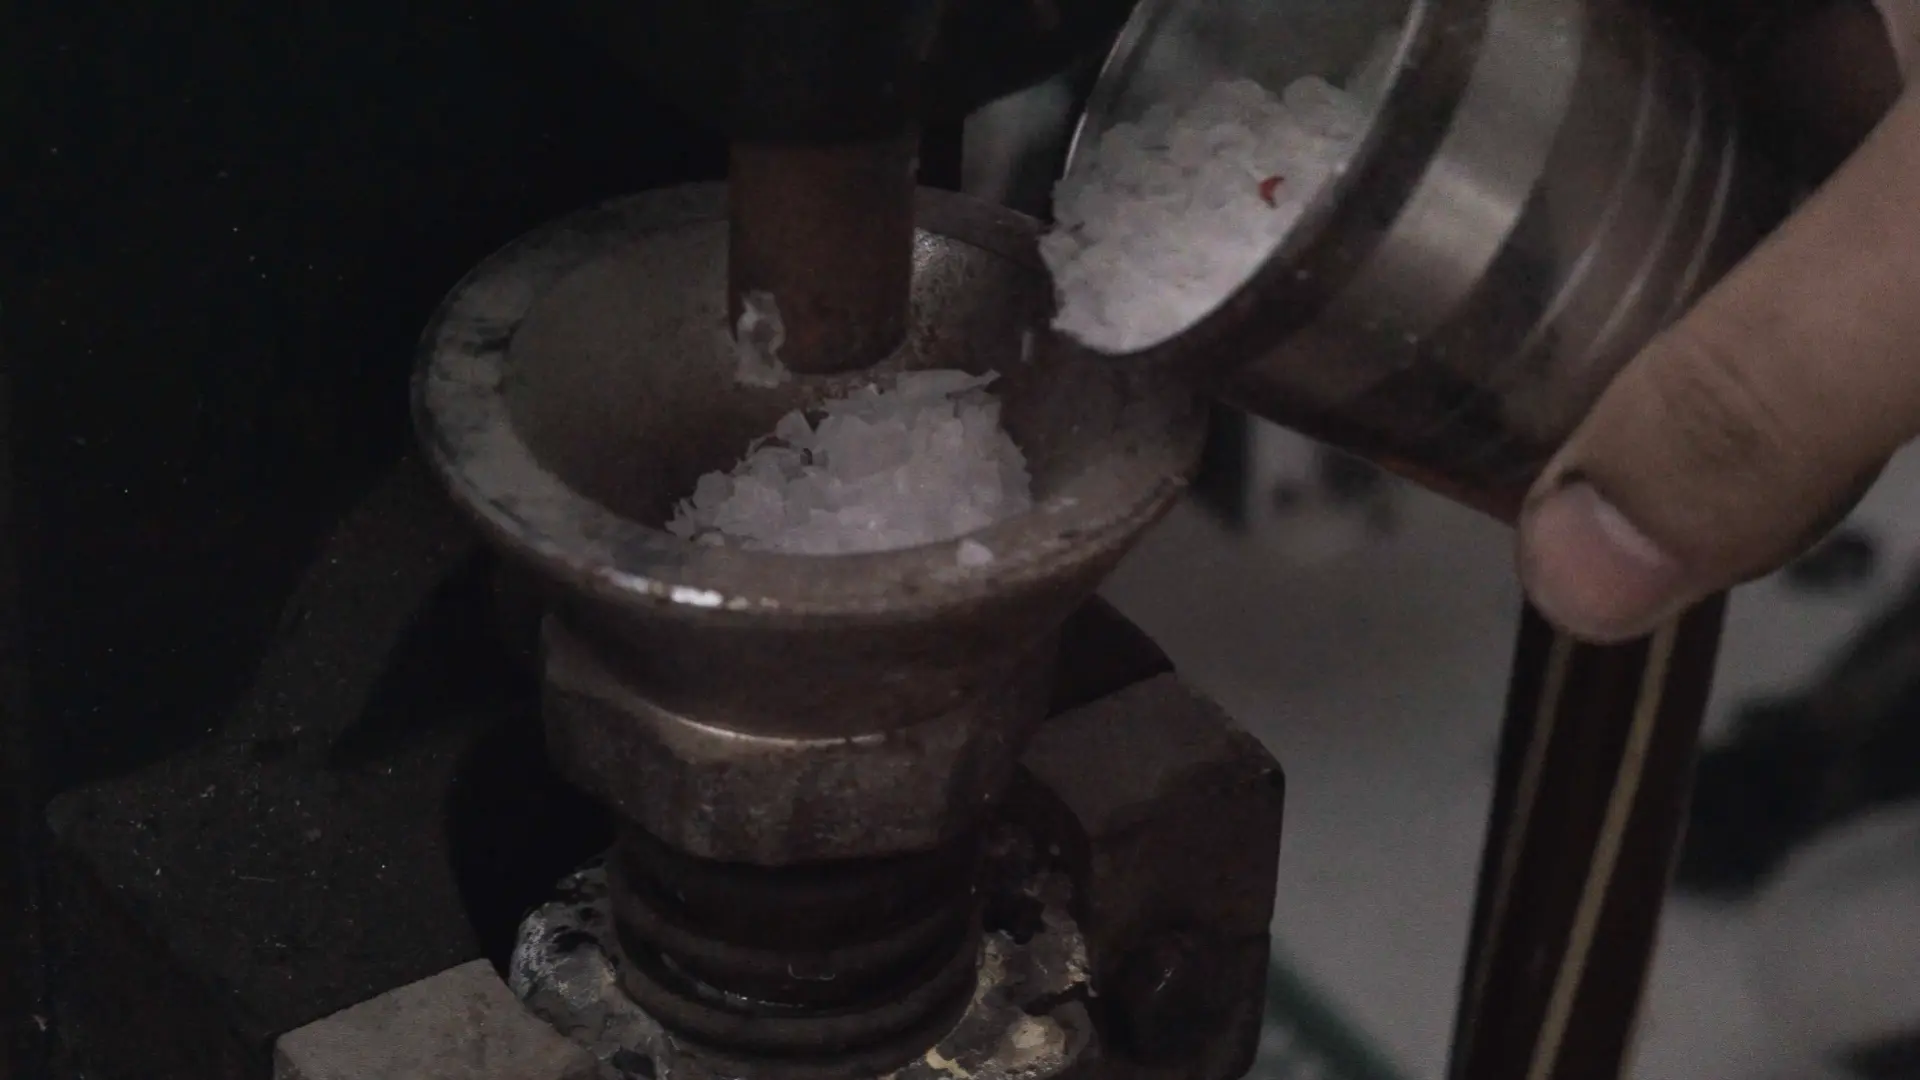
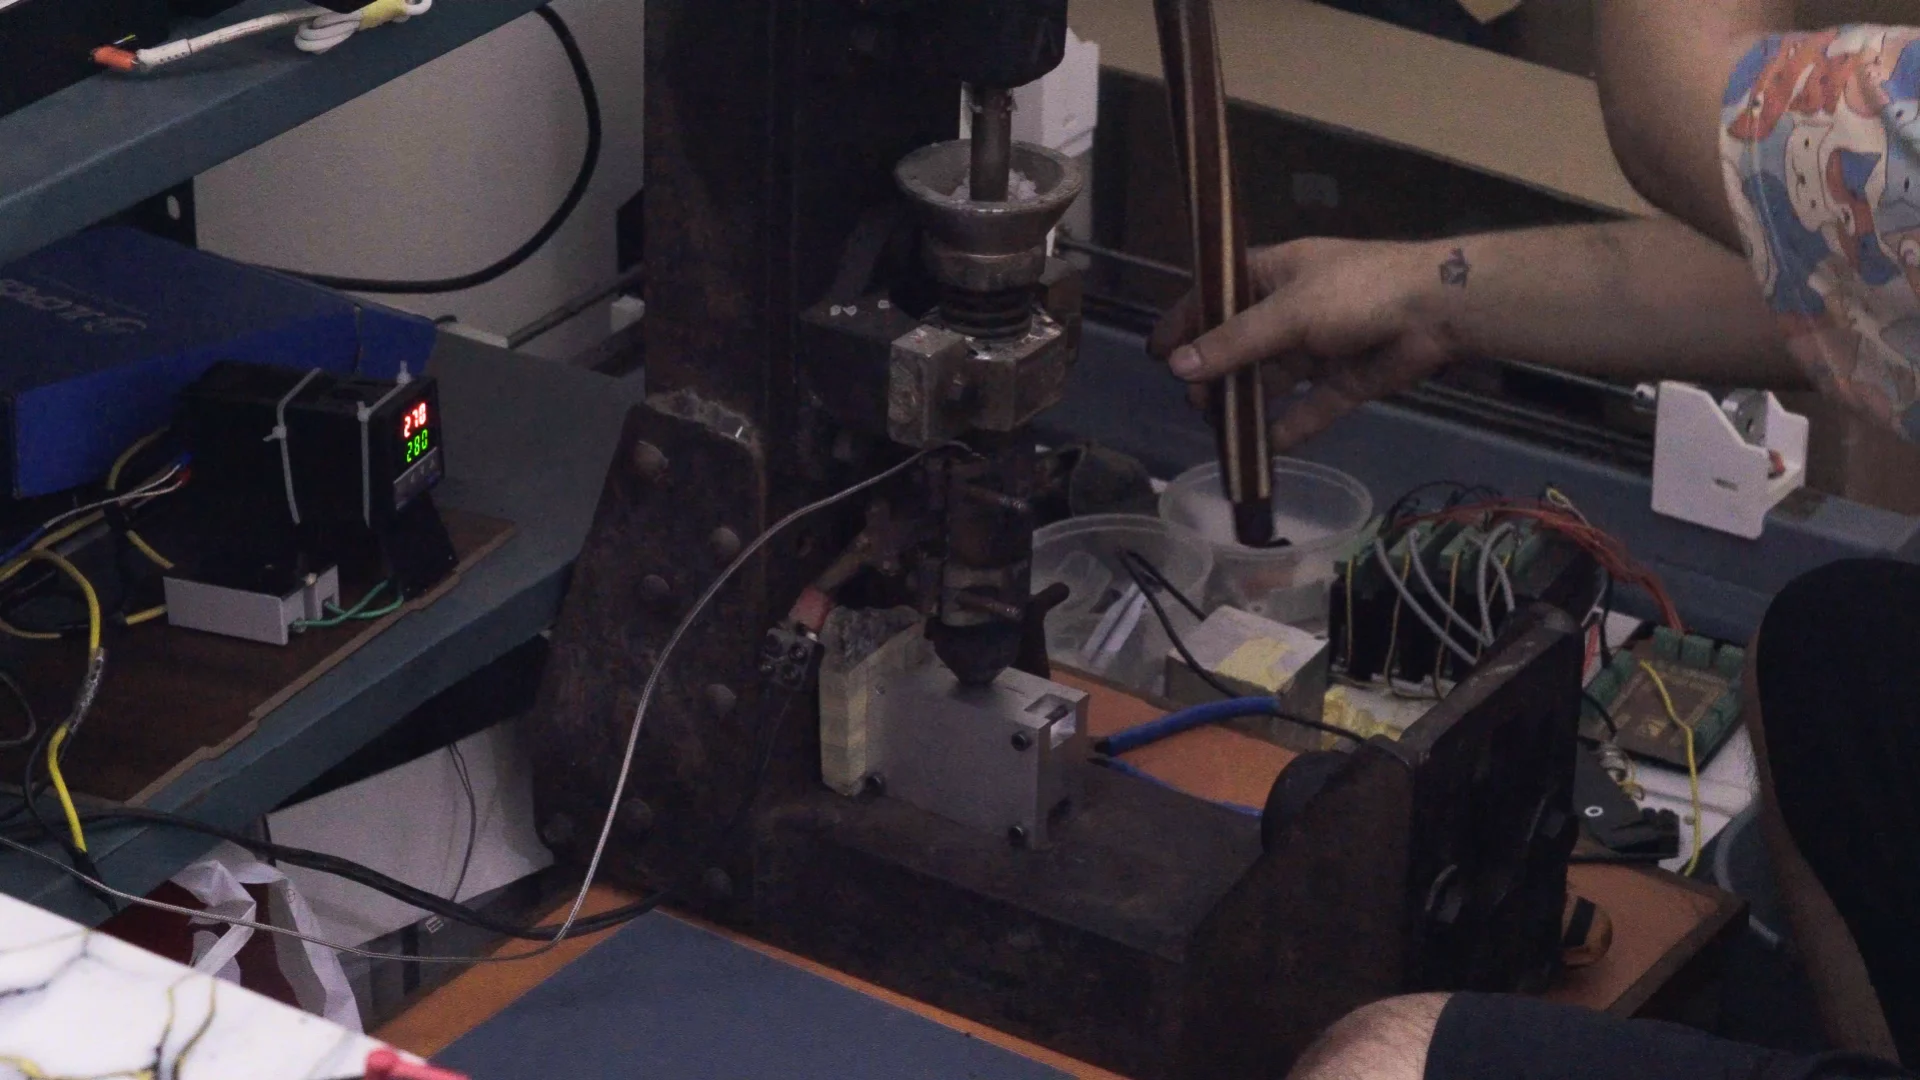
With the mold completed, the next step was producing the parts. The setup used here is a small hand-operated injection molding machine, capable of handling approximately 15 grams of polypropylene per shot.
A digital temperature controller was used to maintain consistent processing conditions.
The process itself is repetitive but requires tuning. Initial parts often reveal issues with temperature, flow, or release, but with adjustments, consistency improves over time.
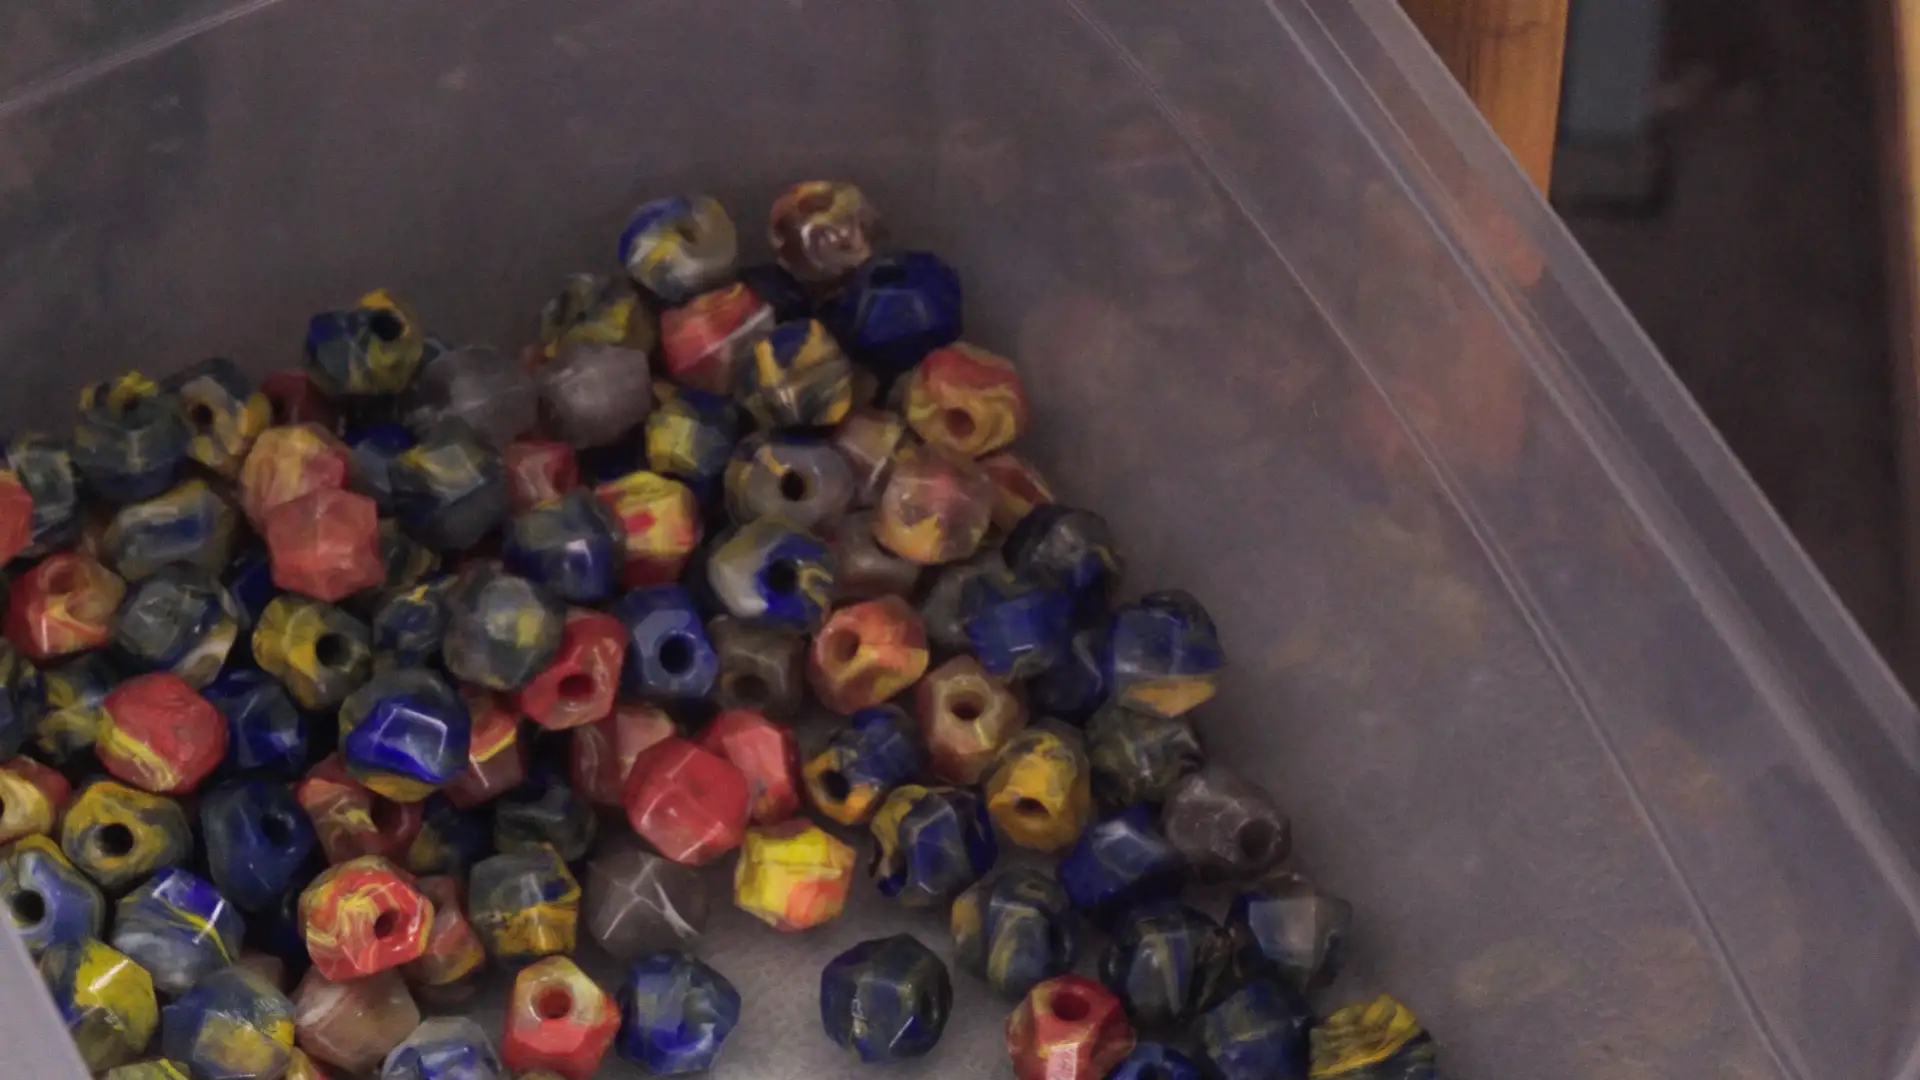
As the process stabilizes, the output shifts from individual parts to batches, and eventually to a significant quantity of identical components.
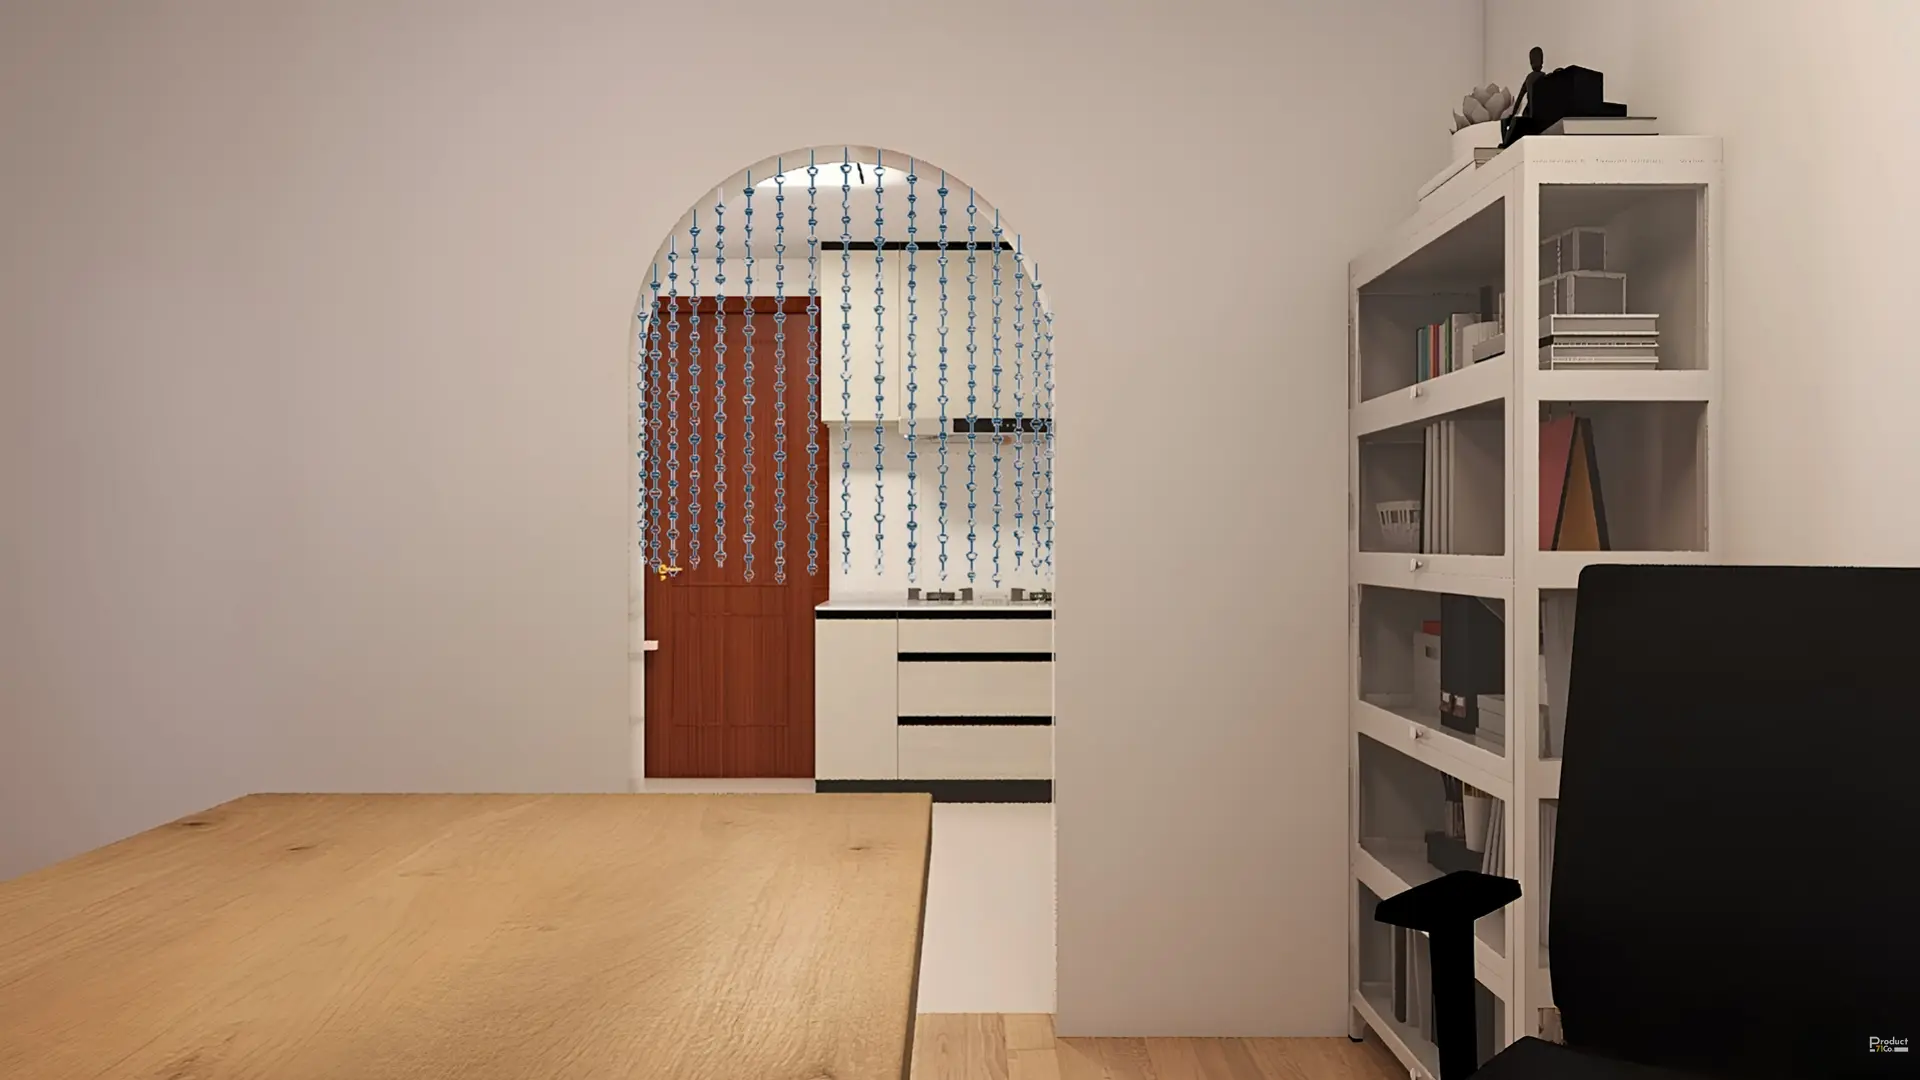
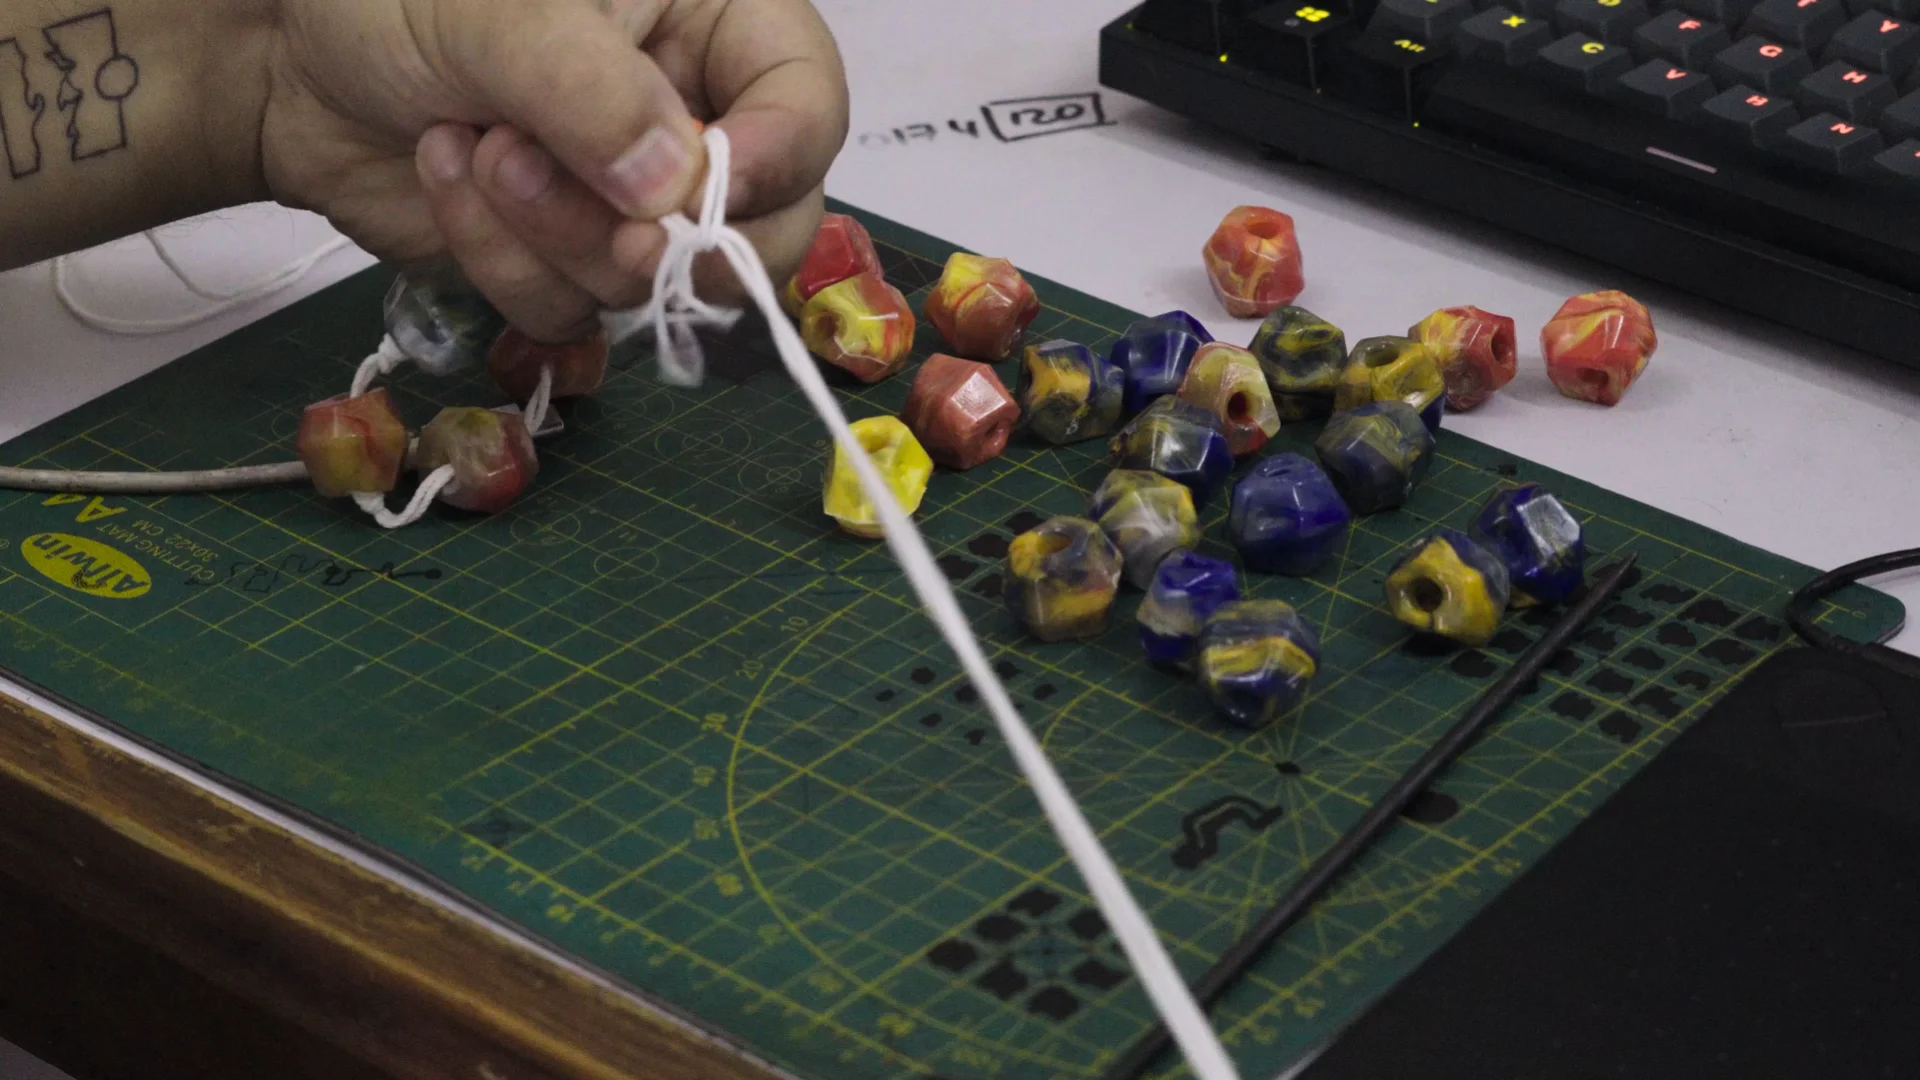
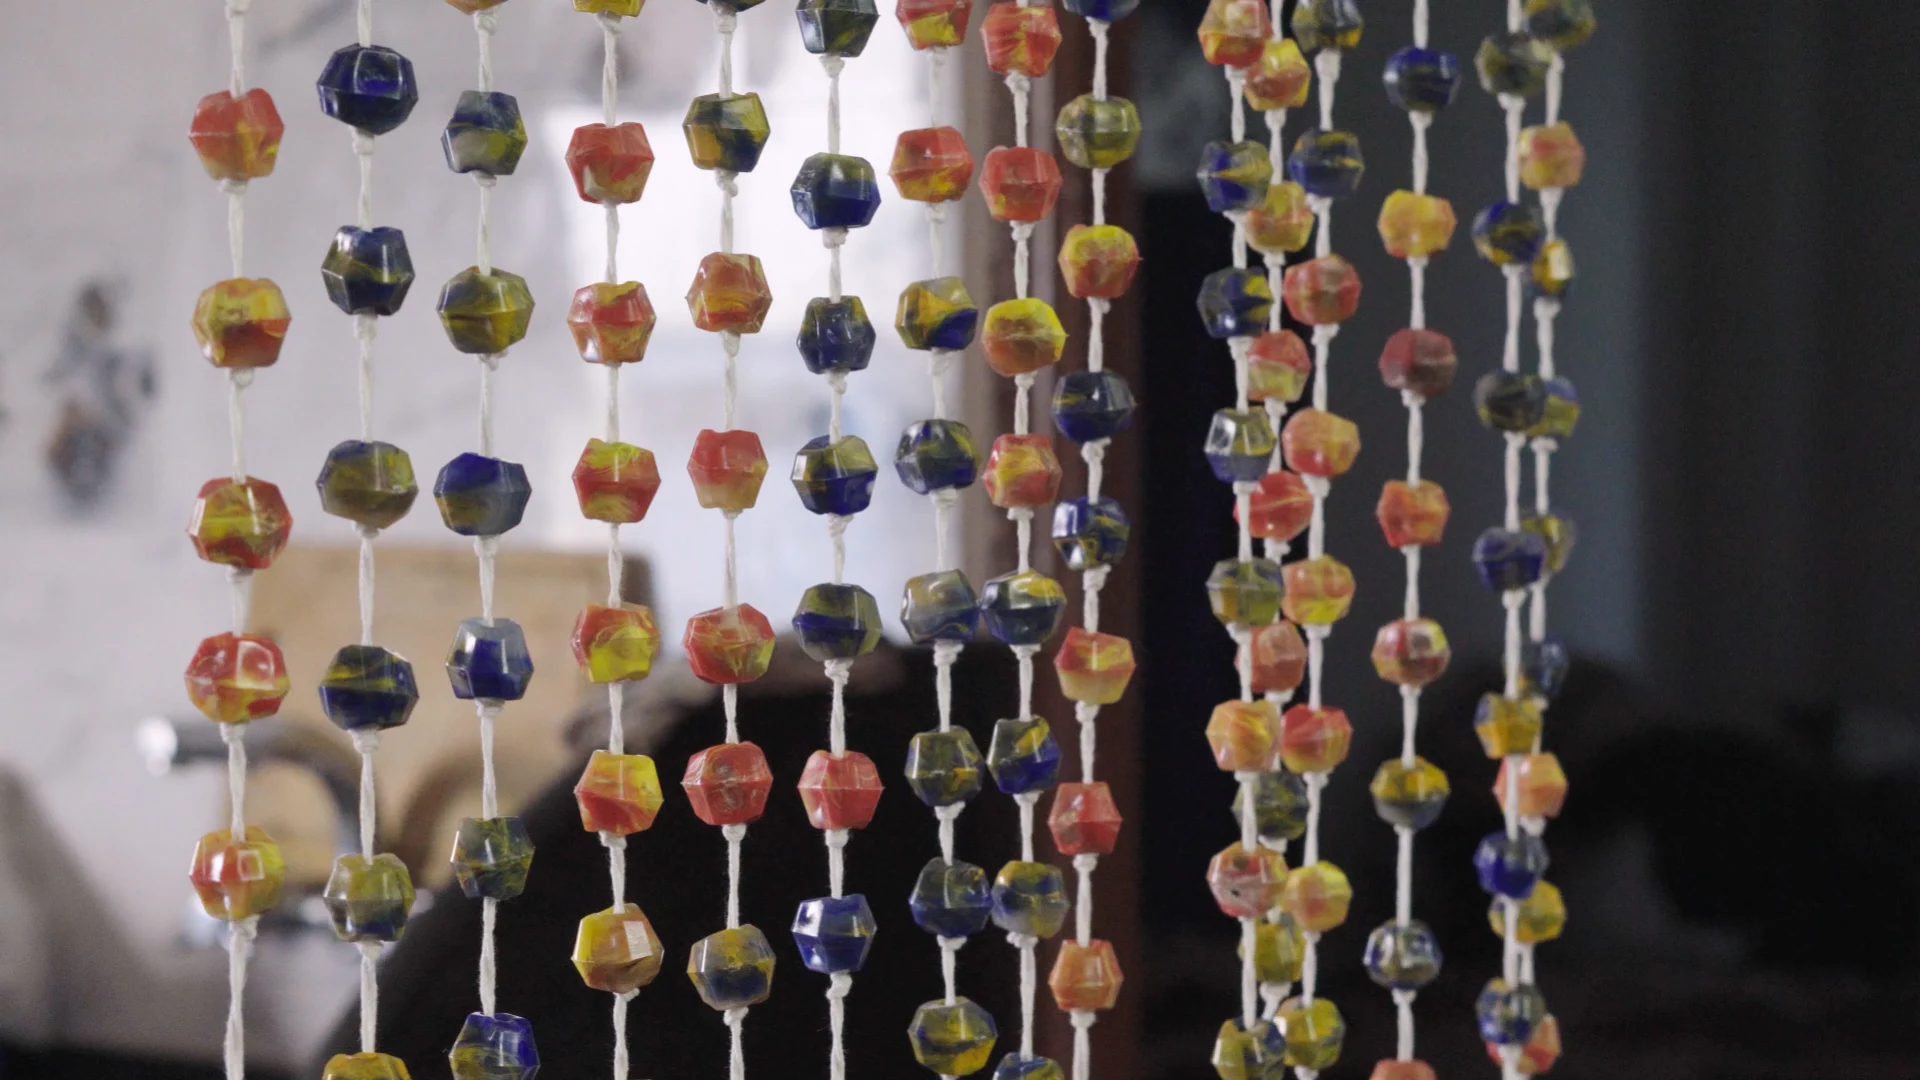
Assembly and Installation
Once enough beads were produced, the final stage was assembly. The beads were threaded into strands, which were then mounted onto a top beam designed to match the arched doorway.
The geometry of the beam was adjusted to follow the curvature, ensuring the curtain fit naturally within the space.
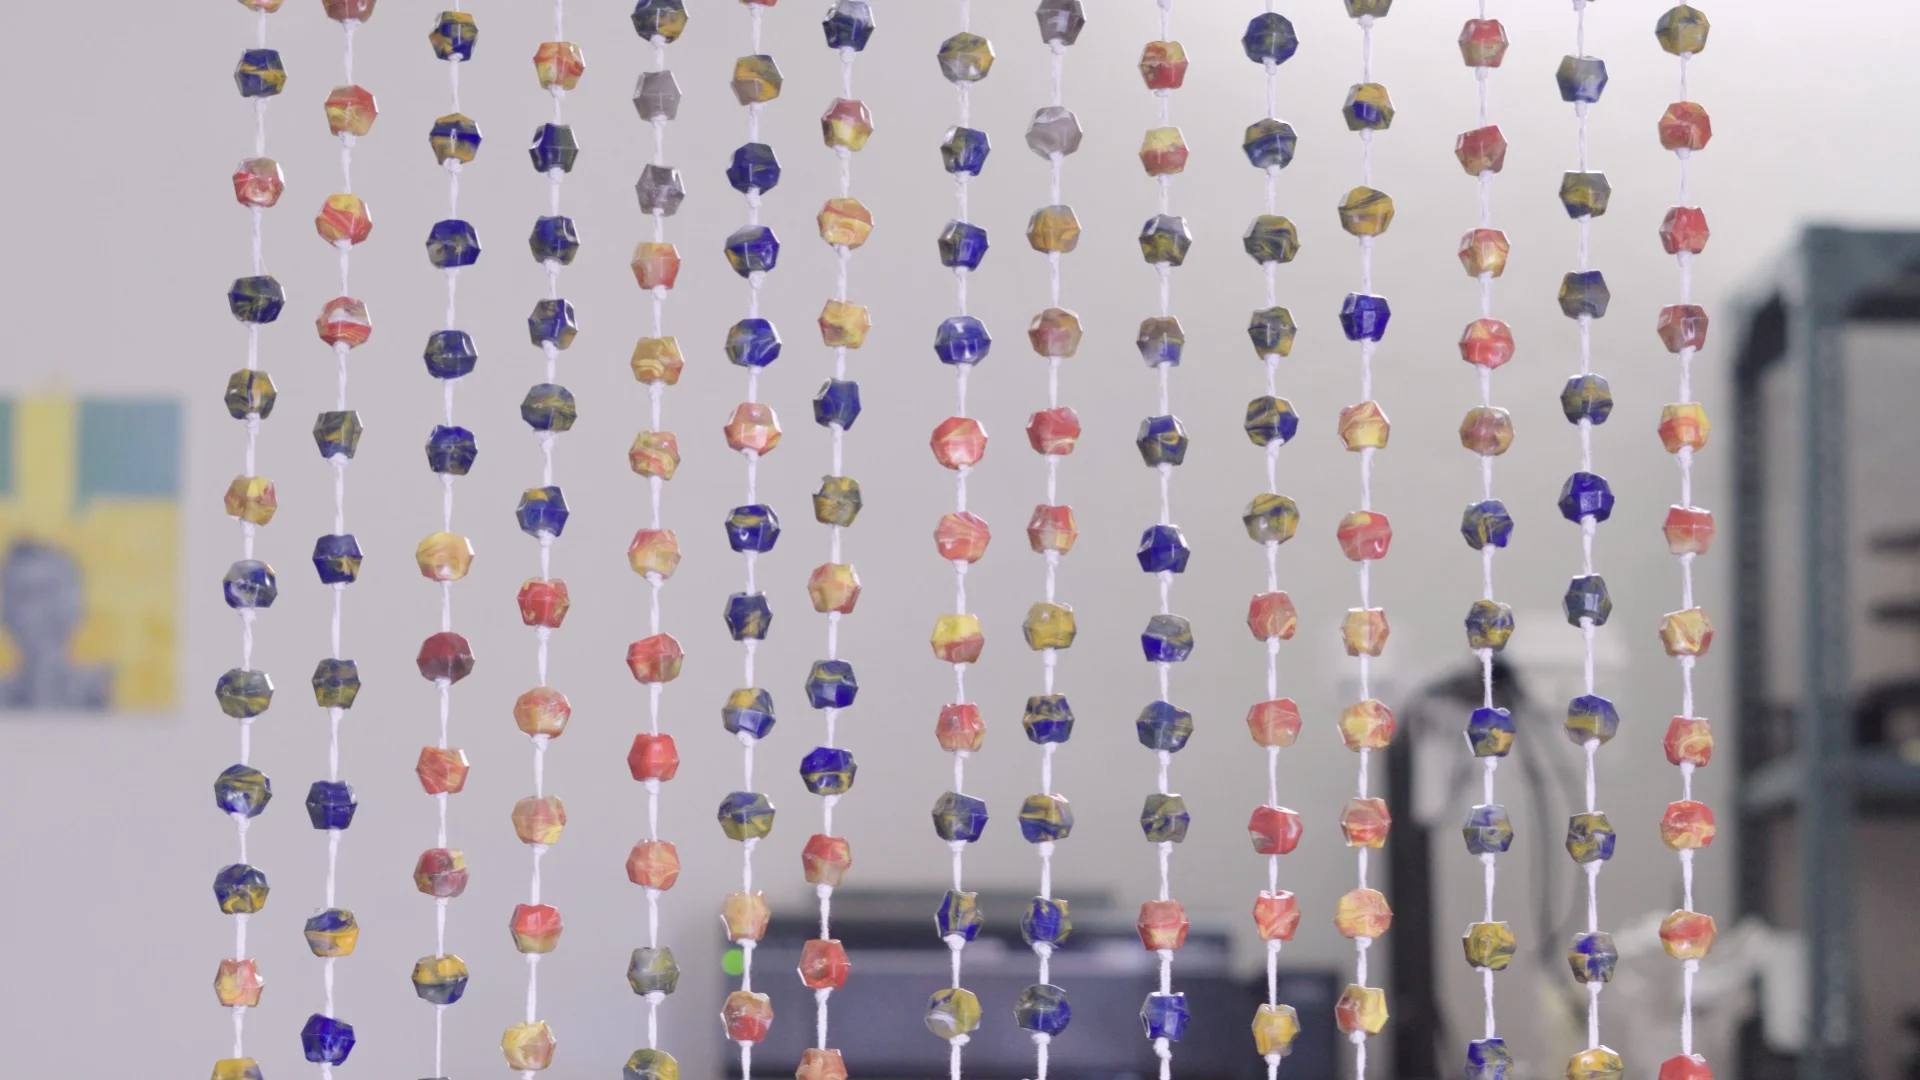
Final Result
The completed curtain represents the full workflow — from initial concept to final product. What started as a single CAD model resulted in hundreds of manufactured parts assembled into a functional object.
Closing Thoughts
This project is essentially a small-scale version of how many plastic products are made. It covers part design, tooling, machining, and production, all within a controlled and accessible setup.
Manufacturing is often associated with large-scale industrial systems, but this process shows that the underlying principles can be applied at a much smaller scale.
From a single design to a repeatable product, the transition from making to manufacturing becomes very tangible through a project like this.
If this project caught your interest, feel free to reach out via email.
