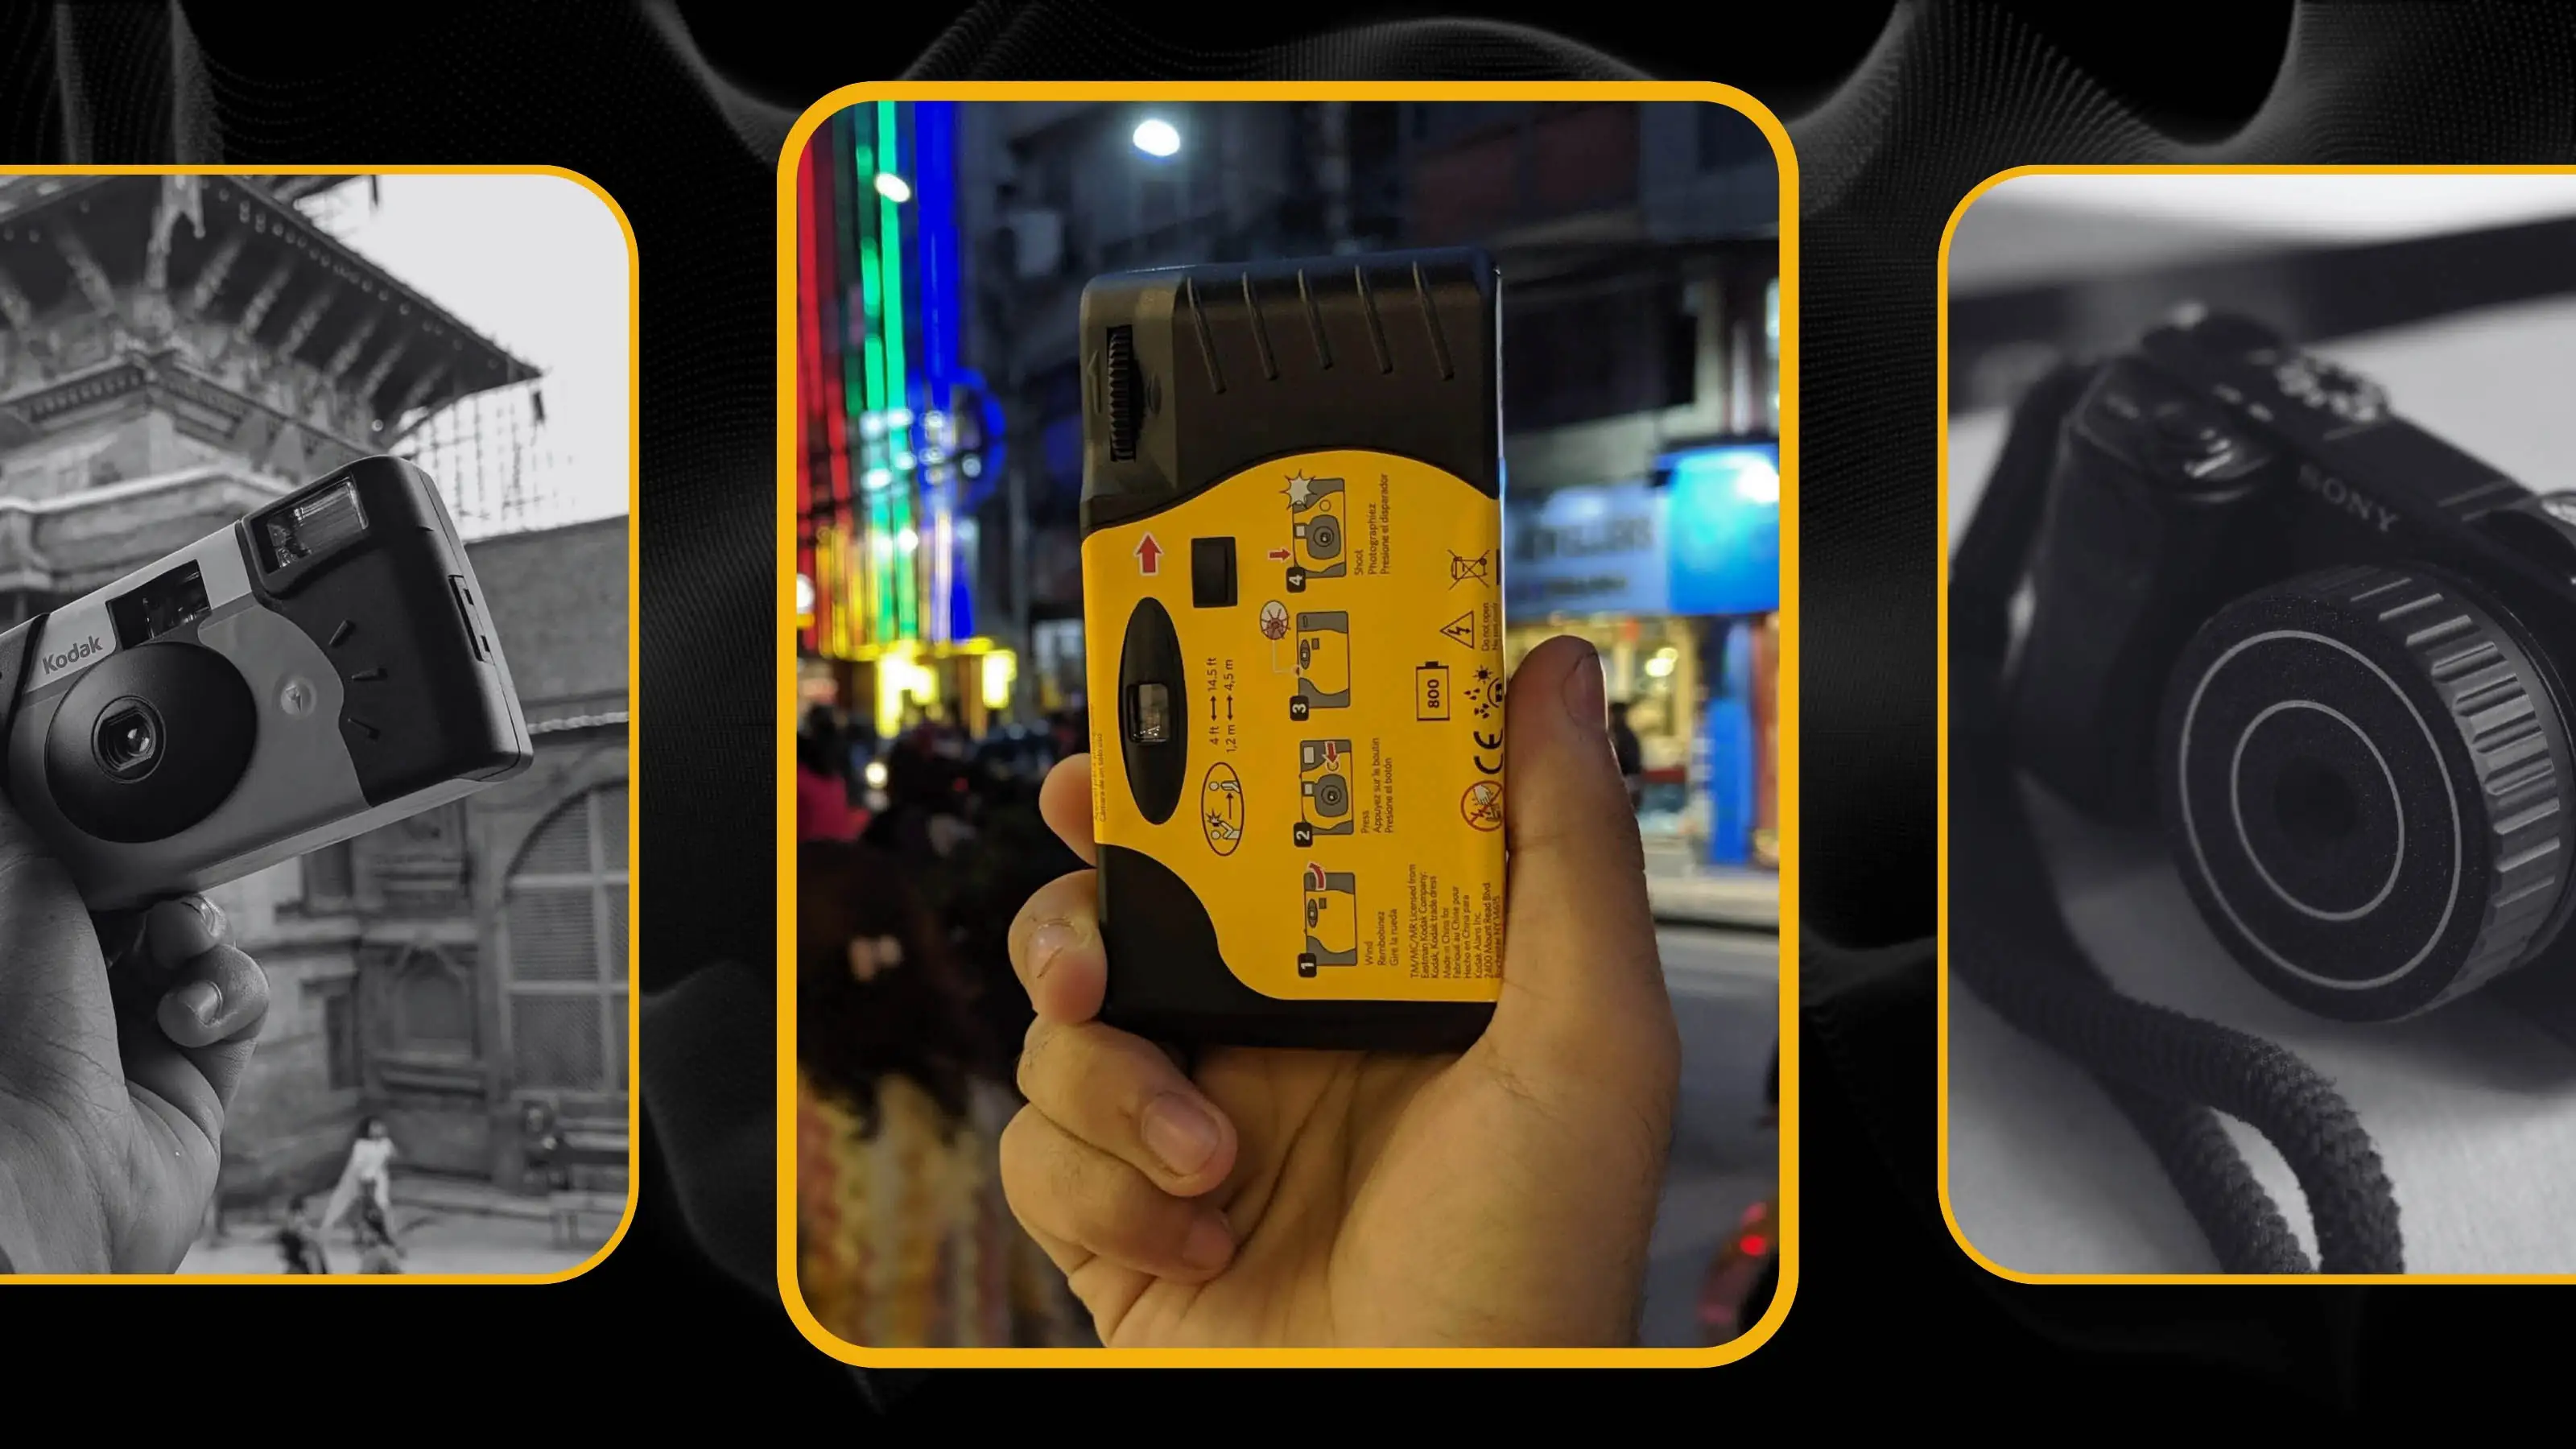
“A snapshot frozen in time.” That’s what I thought every time I held the vibrant yellow and black Kodak Funsaver disposable camera in my hands a few years ago. It was so much fun to use, and there was something magical about knowing you only had a limited number of shots to capture the best moments. But when I finally developed the film, I felt a rush of excitement only to be met with disappointment. Almost all my photos were either pitch black or grainy beyond recognition. The nostalgia of shooting was alive, but the results fell flat.
That bittersweet experience stuck with me. I loved the feel, the simplicity, and the tactile nature of the Funsaver, but the final images just didn’t hold up. Fast forward a few years, armed with a better understanding of optics, a 3D printer, and a growing curiosity to hack things, I wondered: What if I could take that same lens and pair it with my digital camera? The charm of the Funsaver, but with the clarity of modern sensors. And so, the DIY Kodak Lens Hack was born.
The Spark of an Idea
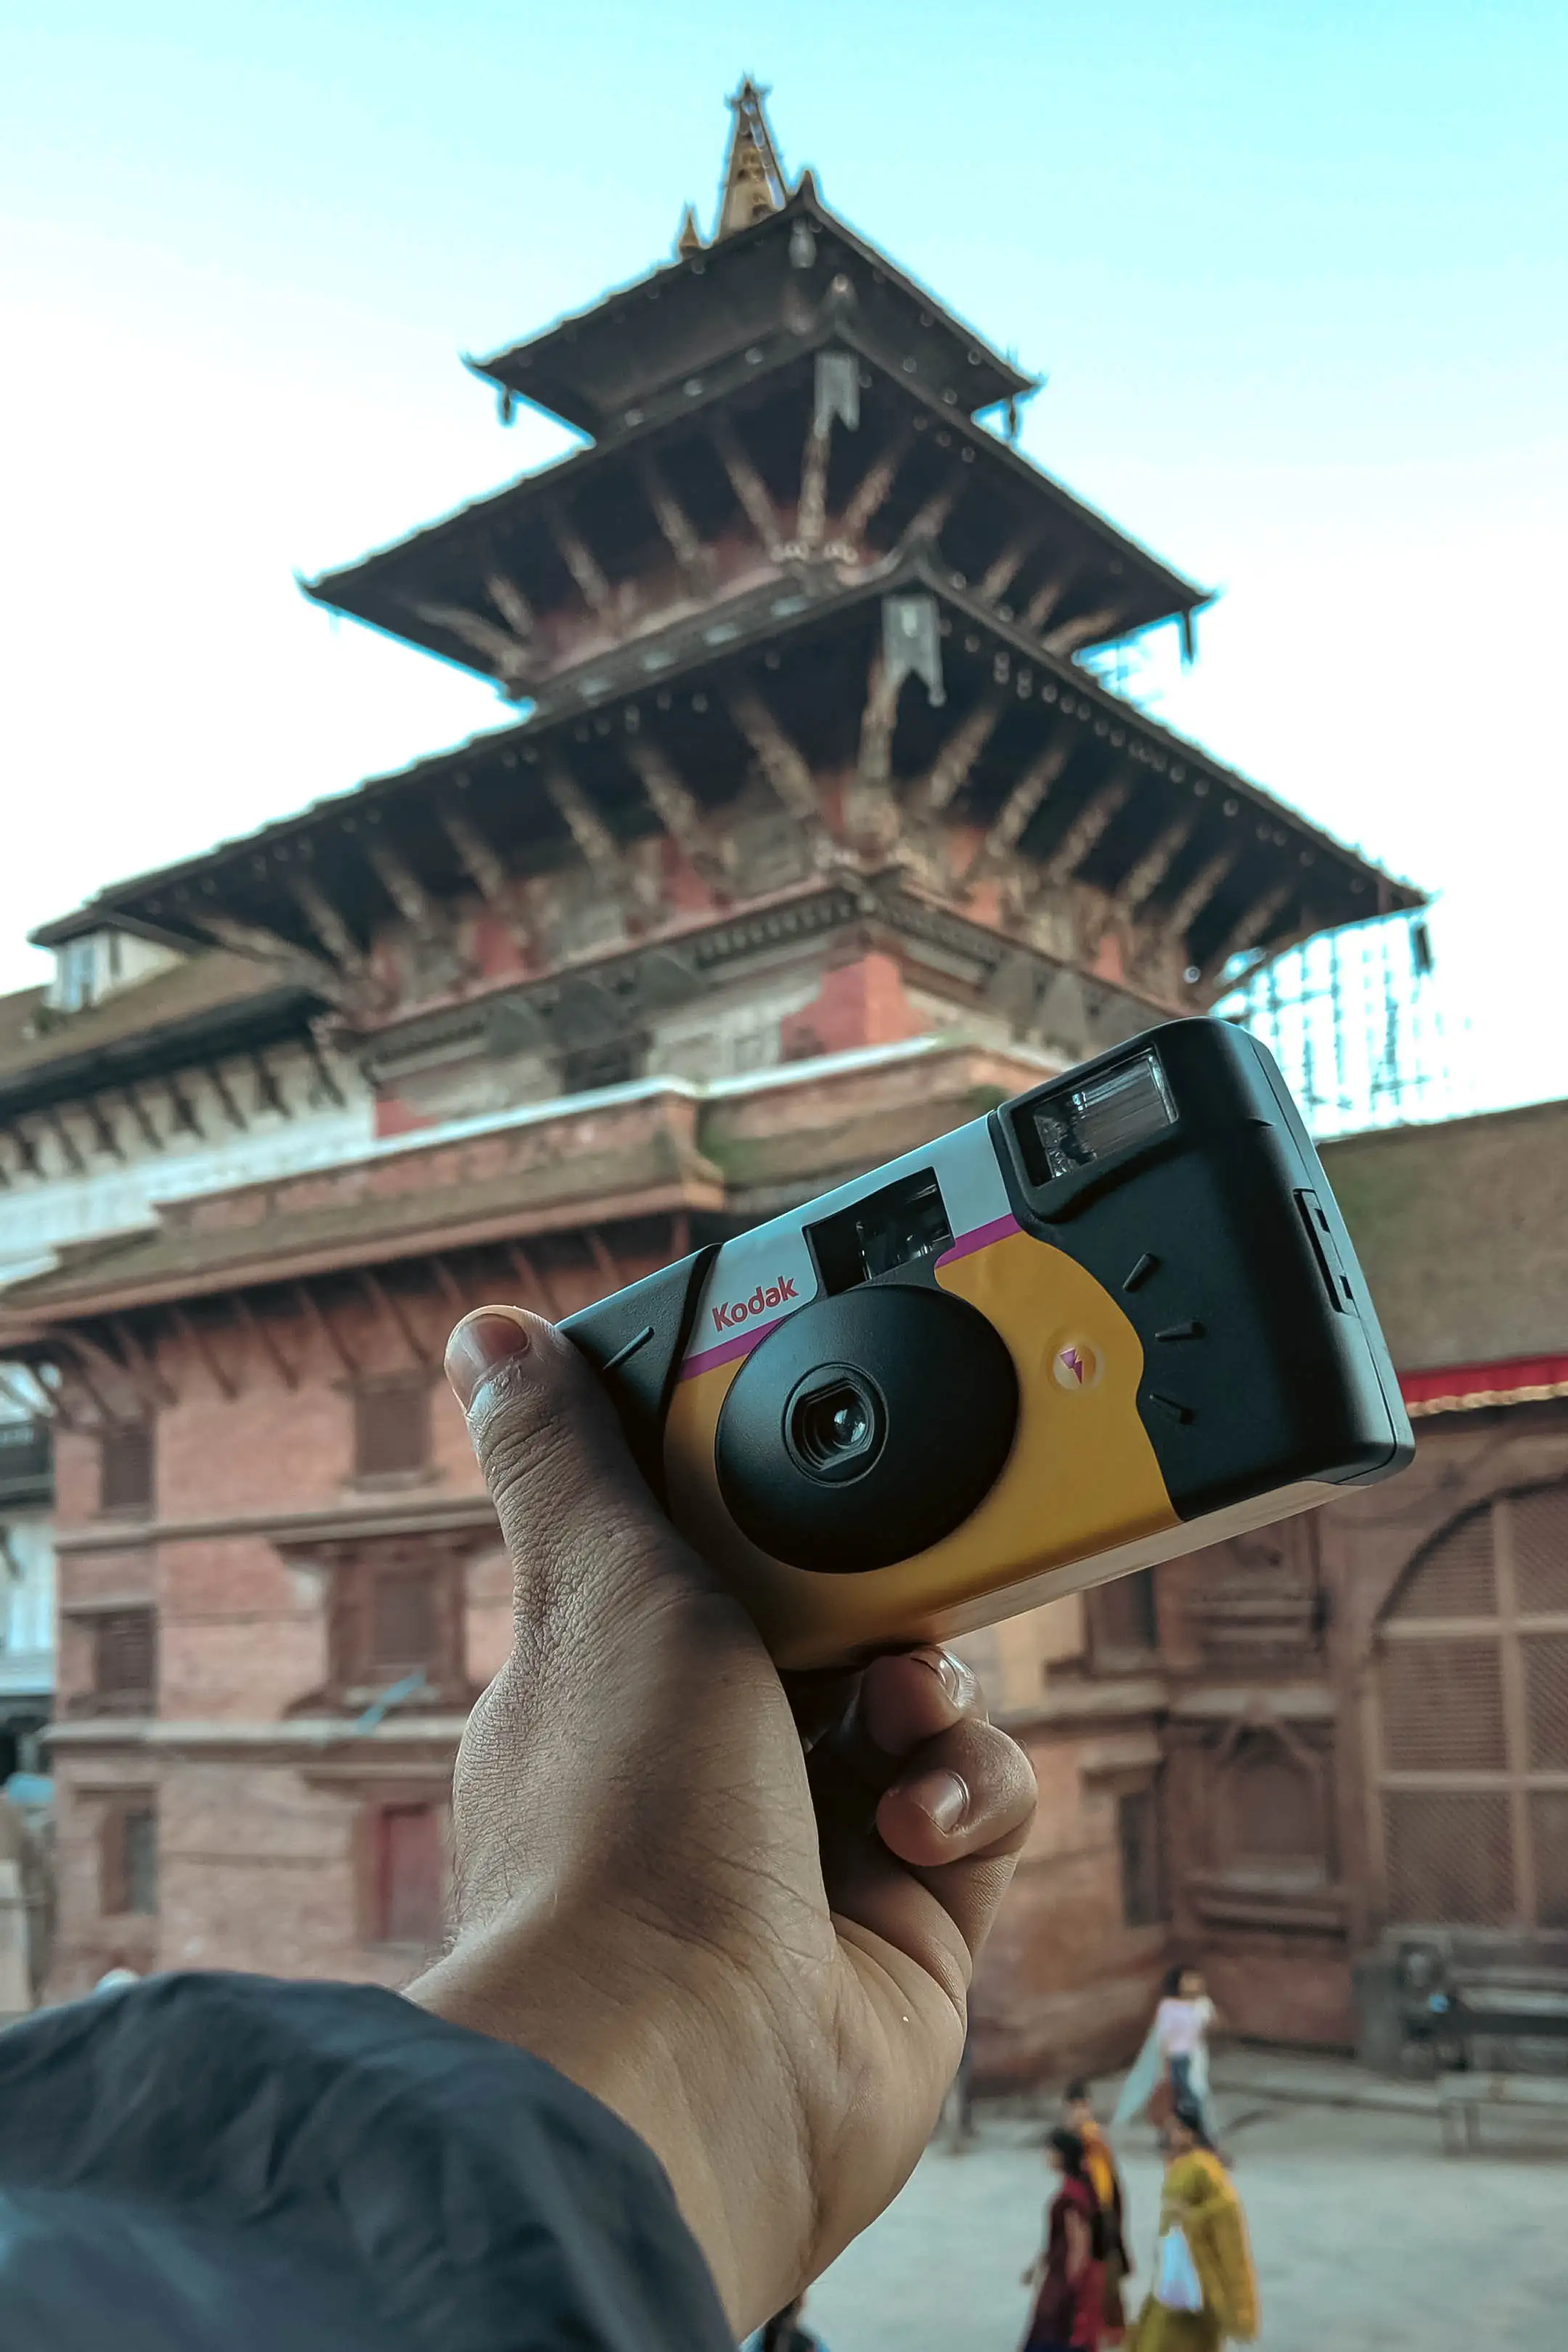
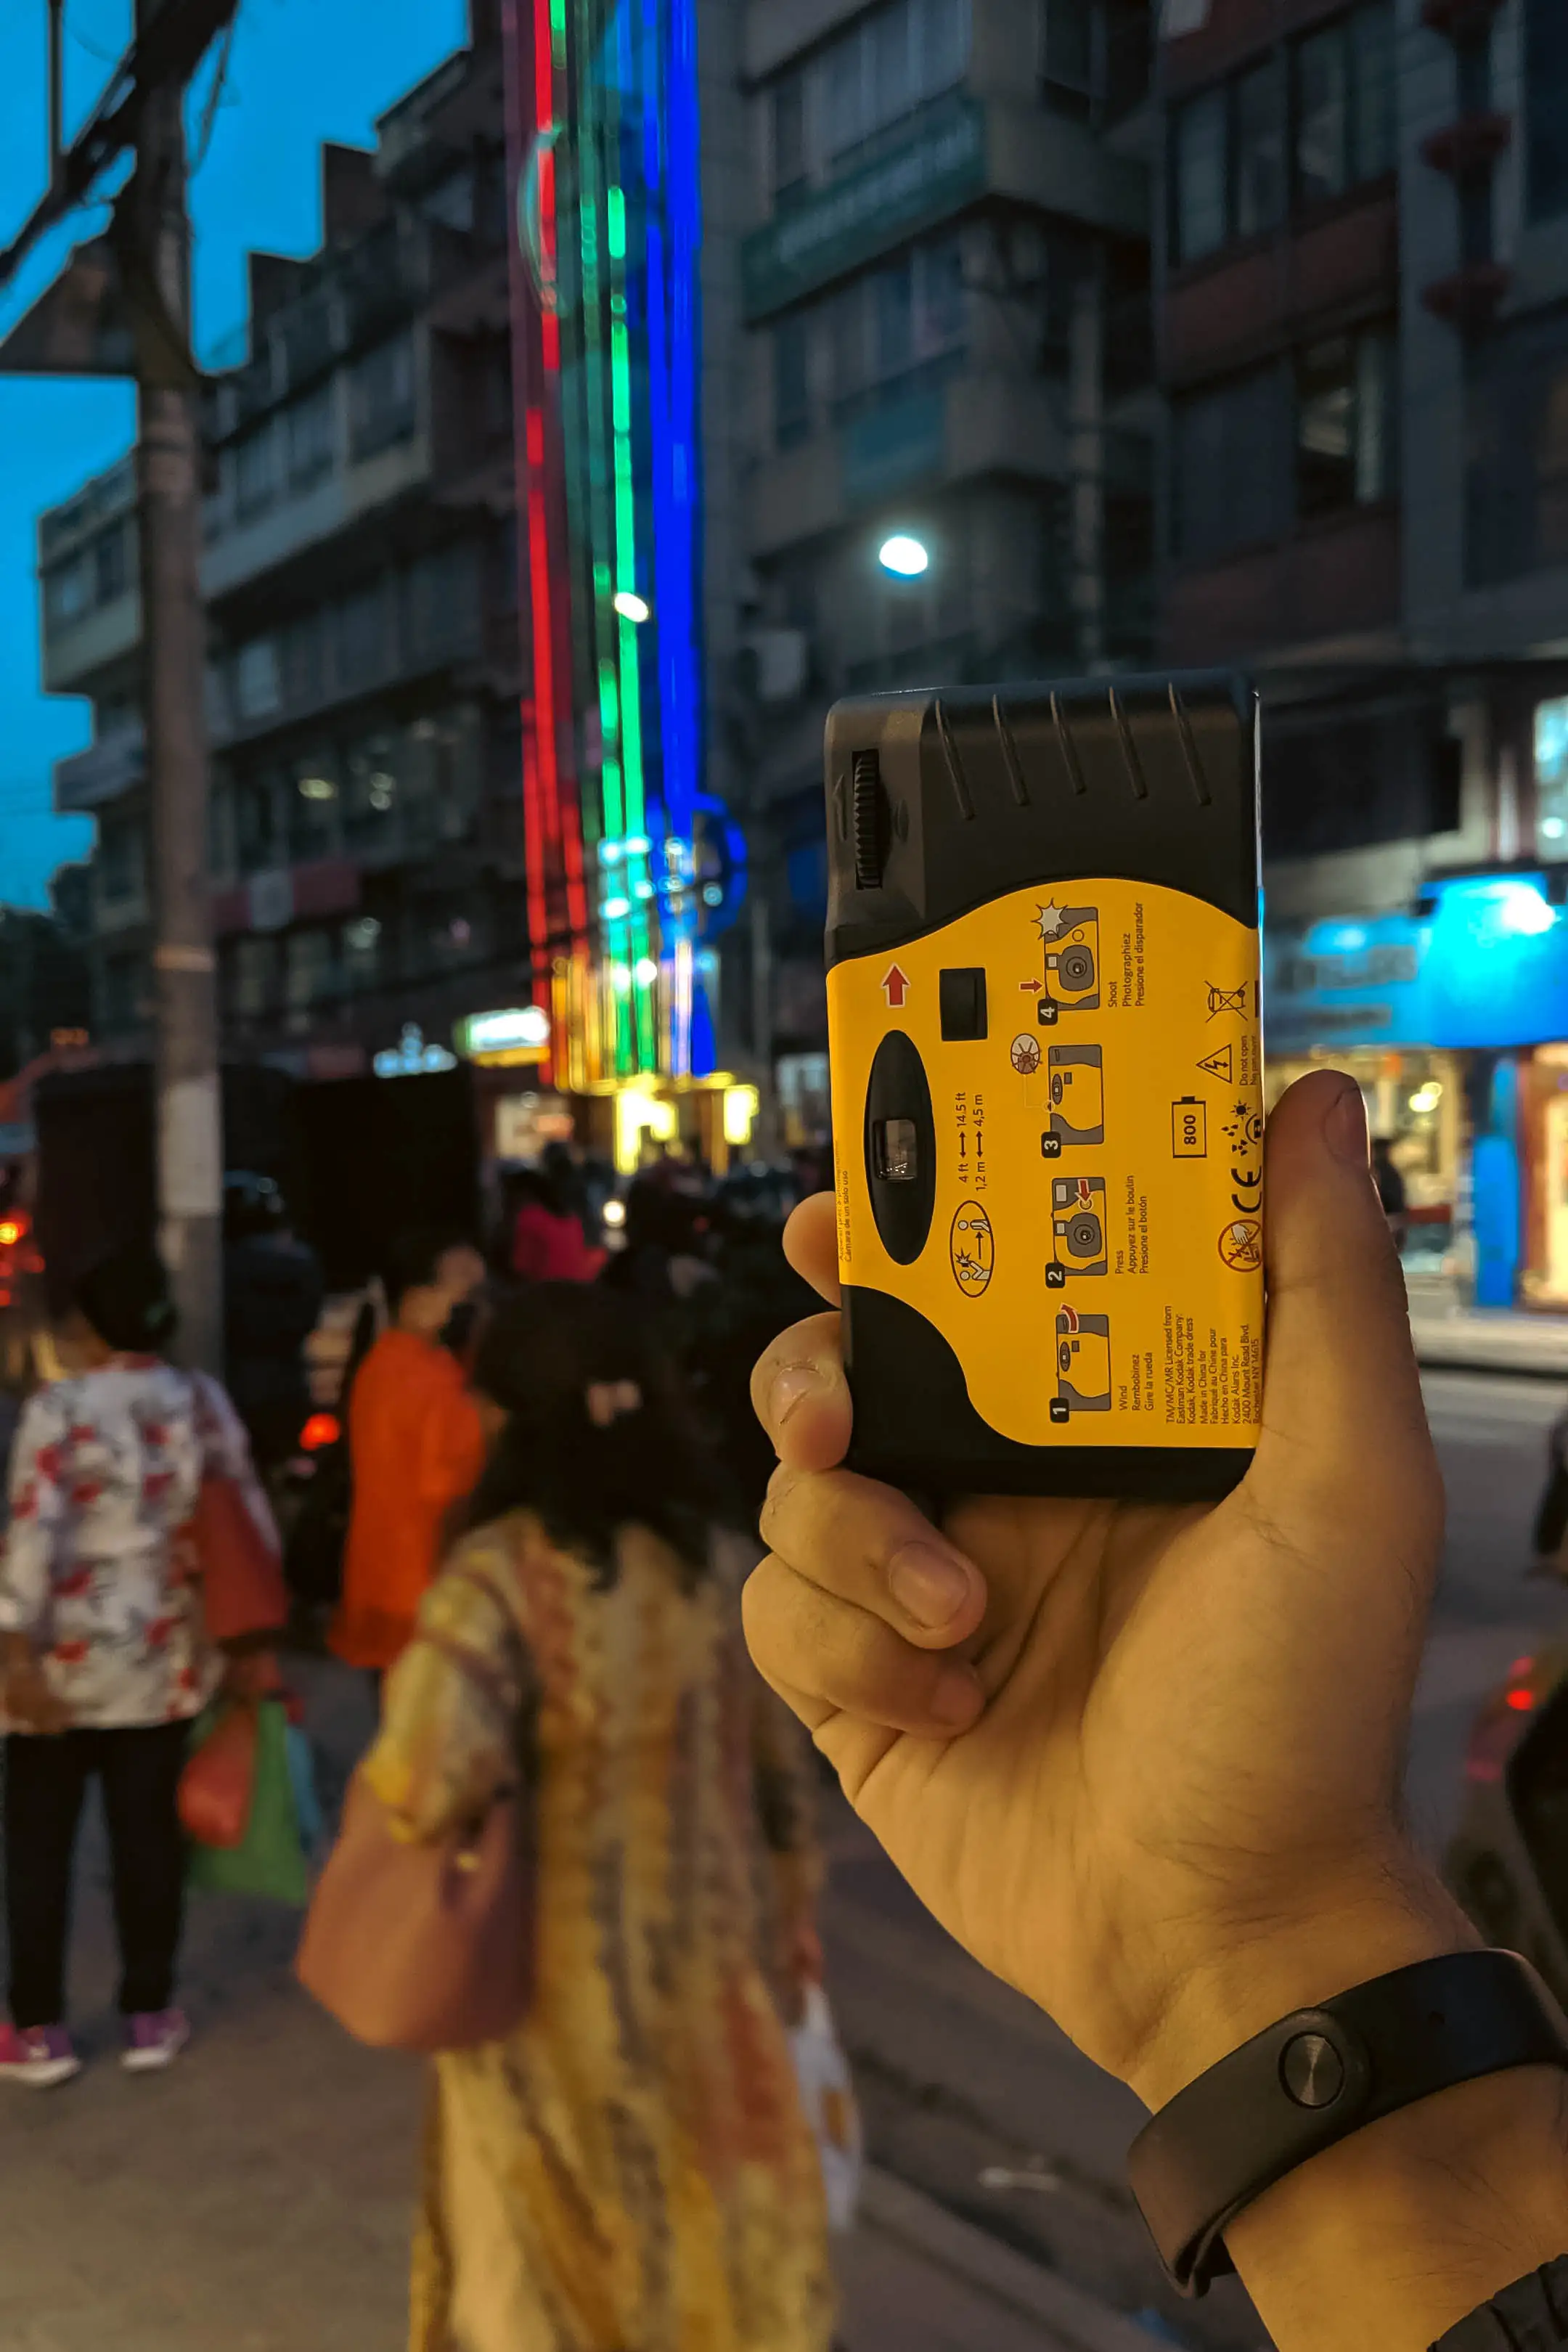
It all started on a lazy afternoon, digging through a drawer filled with old tech relics. There it was—that familiar yellow disposable camera. Holding it again, memories flooded back. But instead of just reminiscing, I saw potential. Maybe, just maybe, that tiny plastic lens had more to offer if given the right stage.
Disassembly: Cracking Open Nostalgia
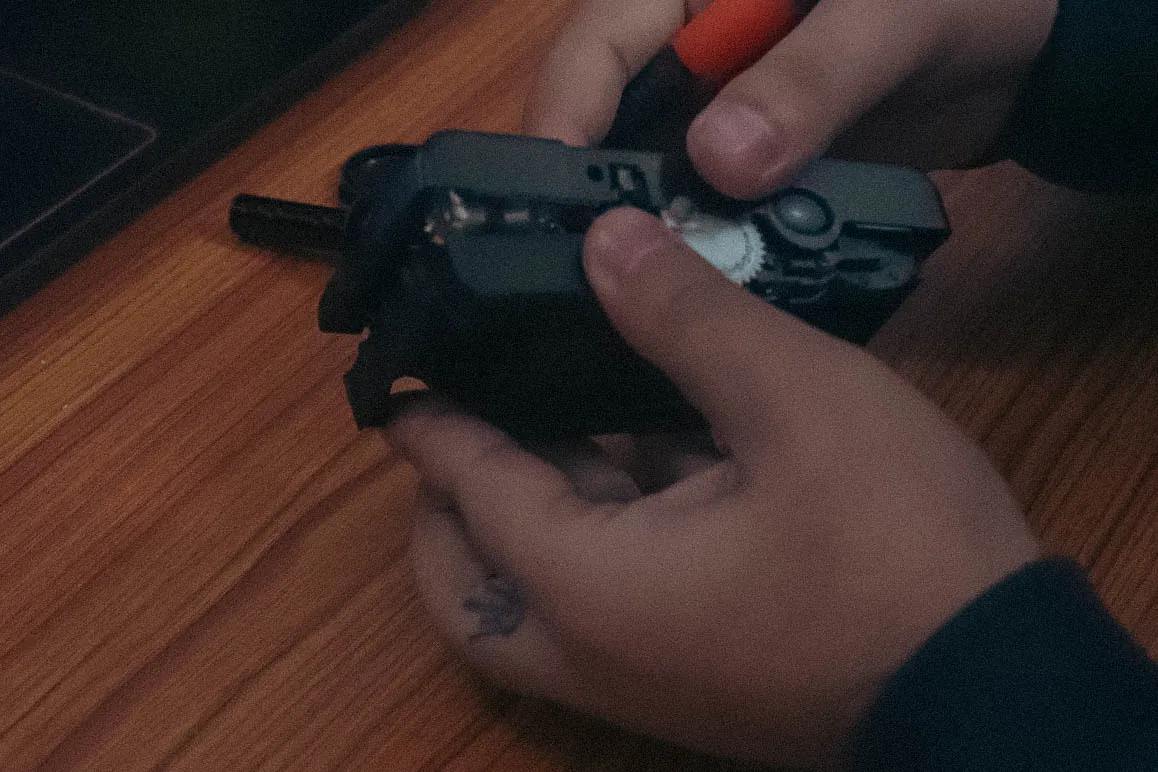
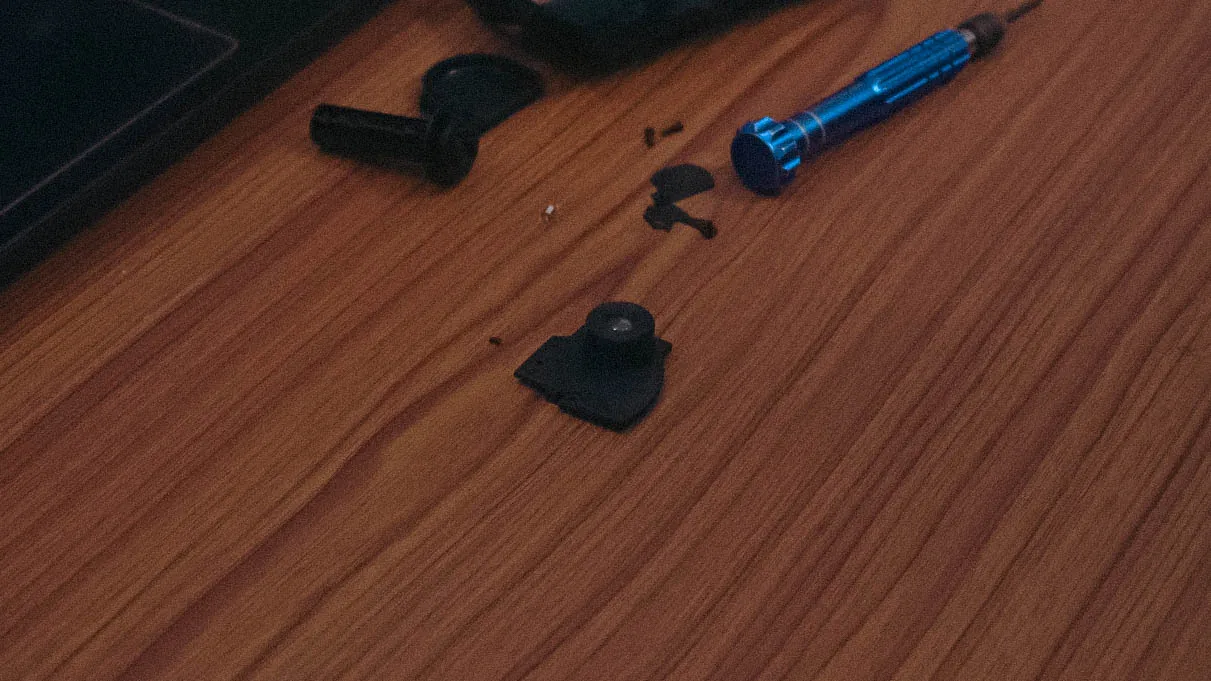
If you’ve never cracked open a disposable camera, let me set the scene. It feels like breaking into a time capsule—but with a bit more brute force. There’s an odd guilt that comes with dismantling something designed to be temporary, but curiosity overruled sentiment.
With a small screwdriver, I pried apart the plastic casing. The first thing you’ll notice? A PCB board with exposed soldered pads, where a high-discharge capacitor is mounted. You may not see the actual capacitor until you dig a bit further. Warning: these things can still hold a charge even after years in a drawer. (Ask me how I know.) A quick discharge with an insulated screwdriver ensured no accidental shocks. (Ensure you’re using an insulated tool and wearing rubber-soled shoes when discharging the capacitor.)
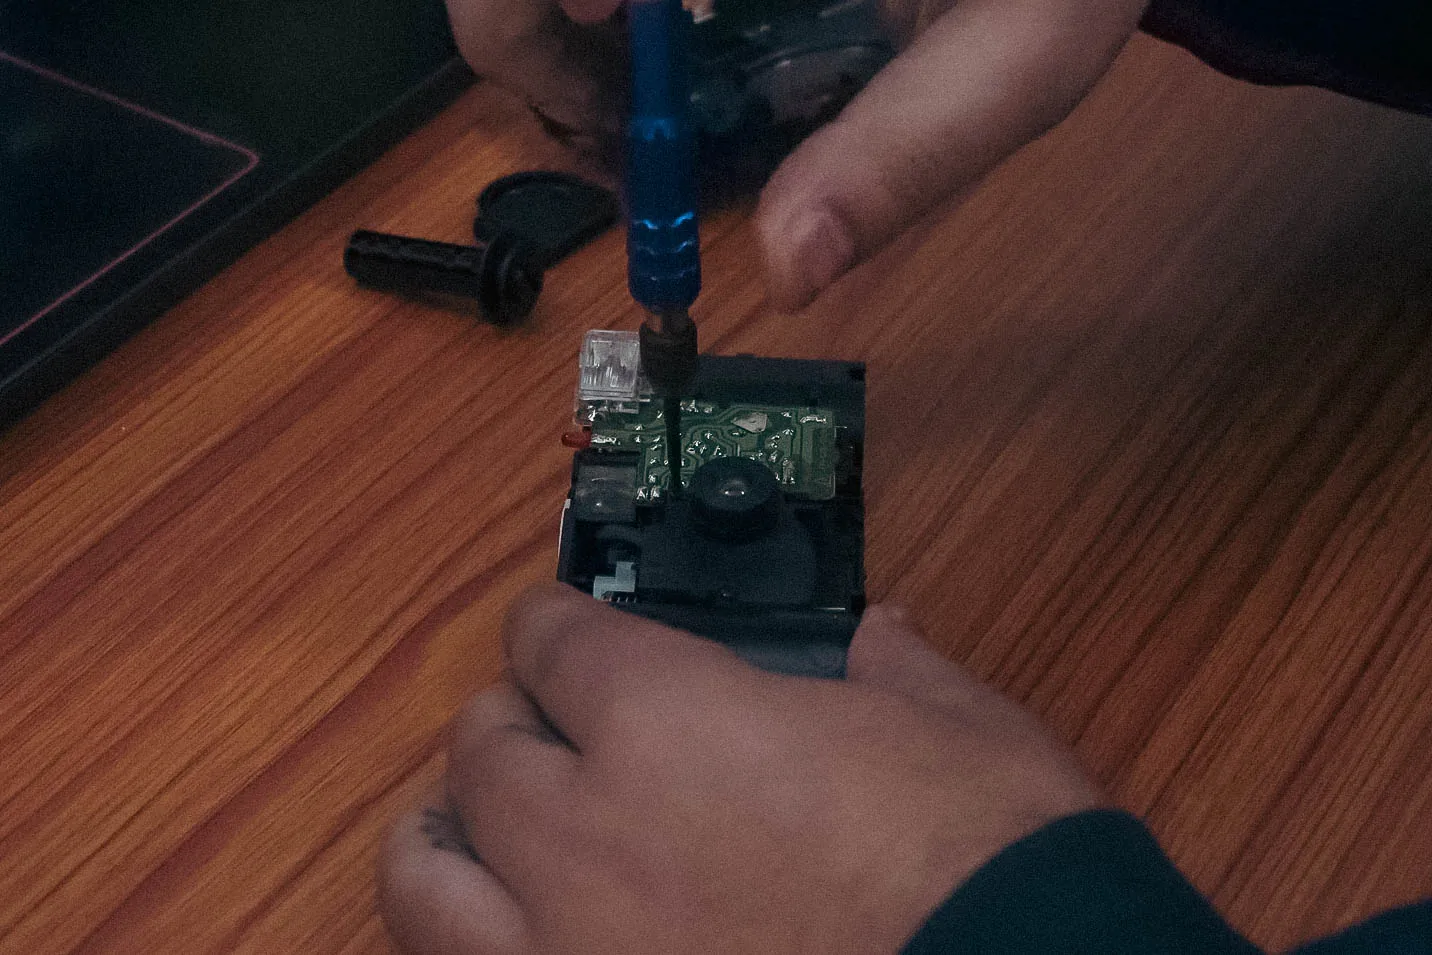
Nestled among the mechanical parts, was the crown jewel: the lens. A tiny, simple piece of molded plastic, yet full of potential.
Finding the Focus
Now came the first real challenge: determining the focal distance. This isn’t just plug-and-play. The lens was never meant to work with a digital sensor. I needed to figure out exactly how far it should sit from the camera sensor to achieve sharp focus.
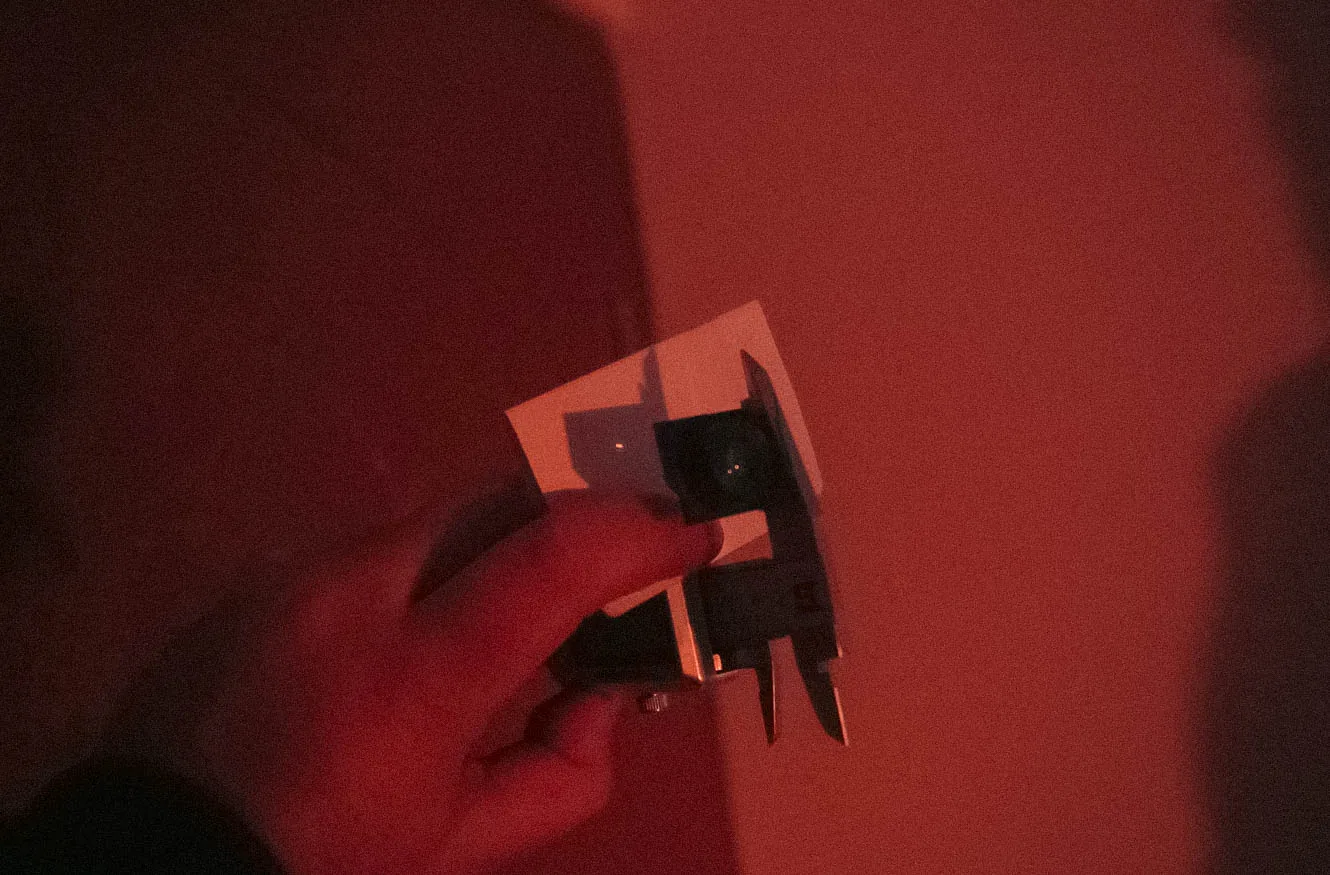
The Low-Tech Solution
I held the lens in front of the camera body, pointing it at a light source with a piece of paper behind it. Adjusting the distance until an image came into focus on the paper gave me a rough idea. Measuring that distance with calipers or a ruler provided the first critical data point.
Designing the Adapter
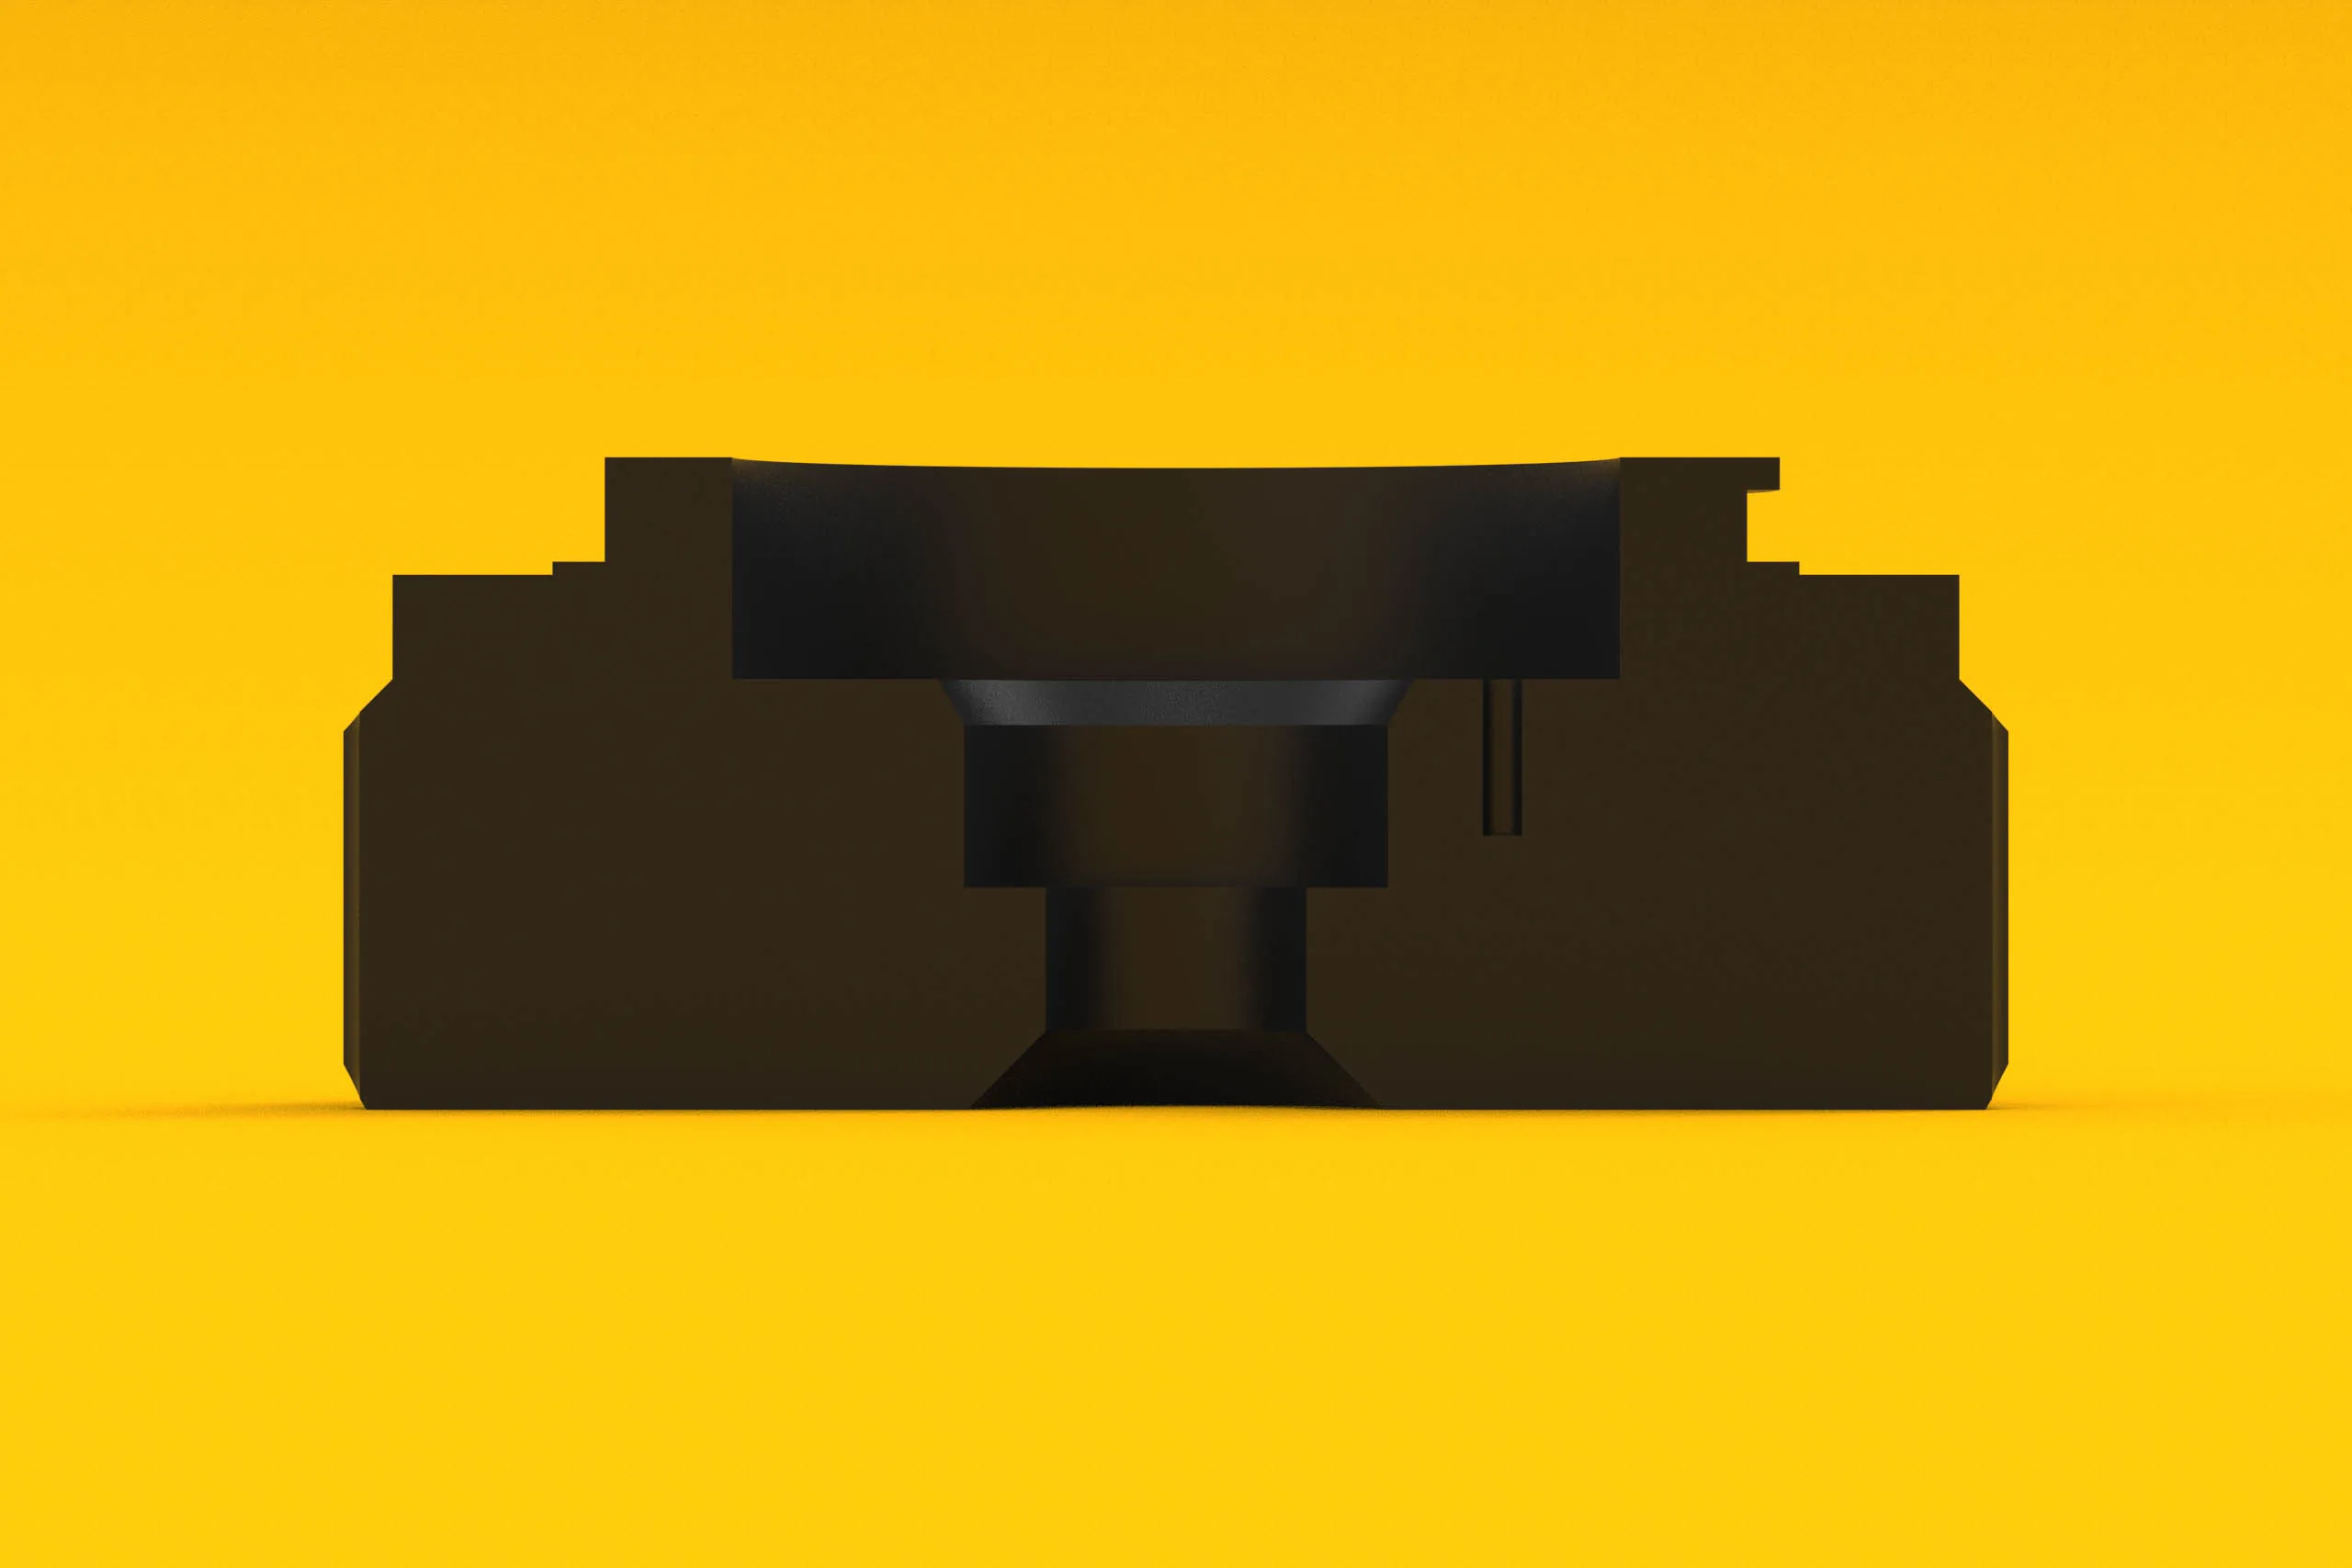
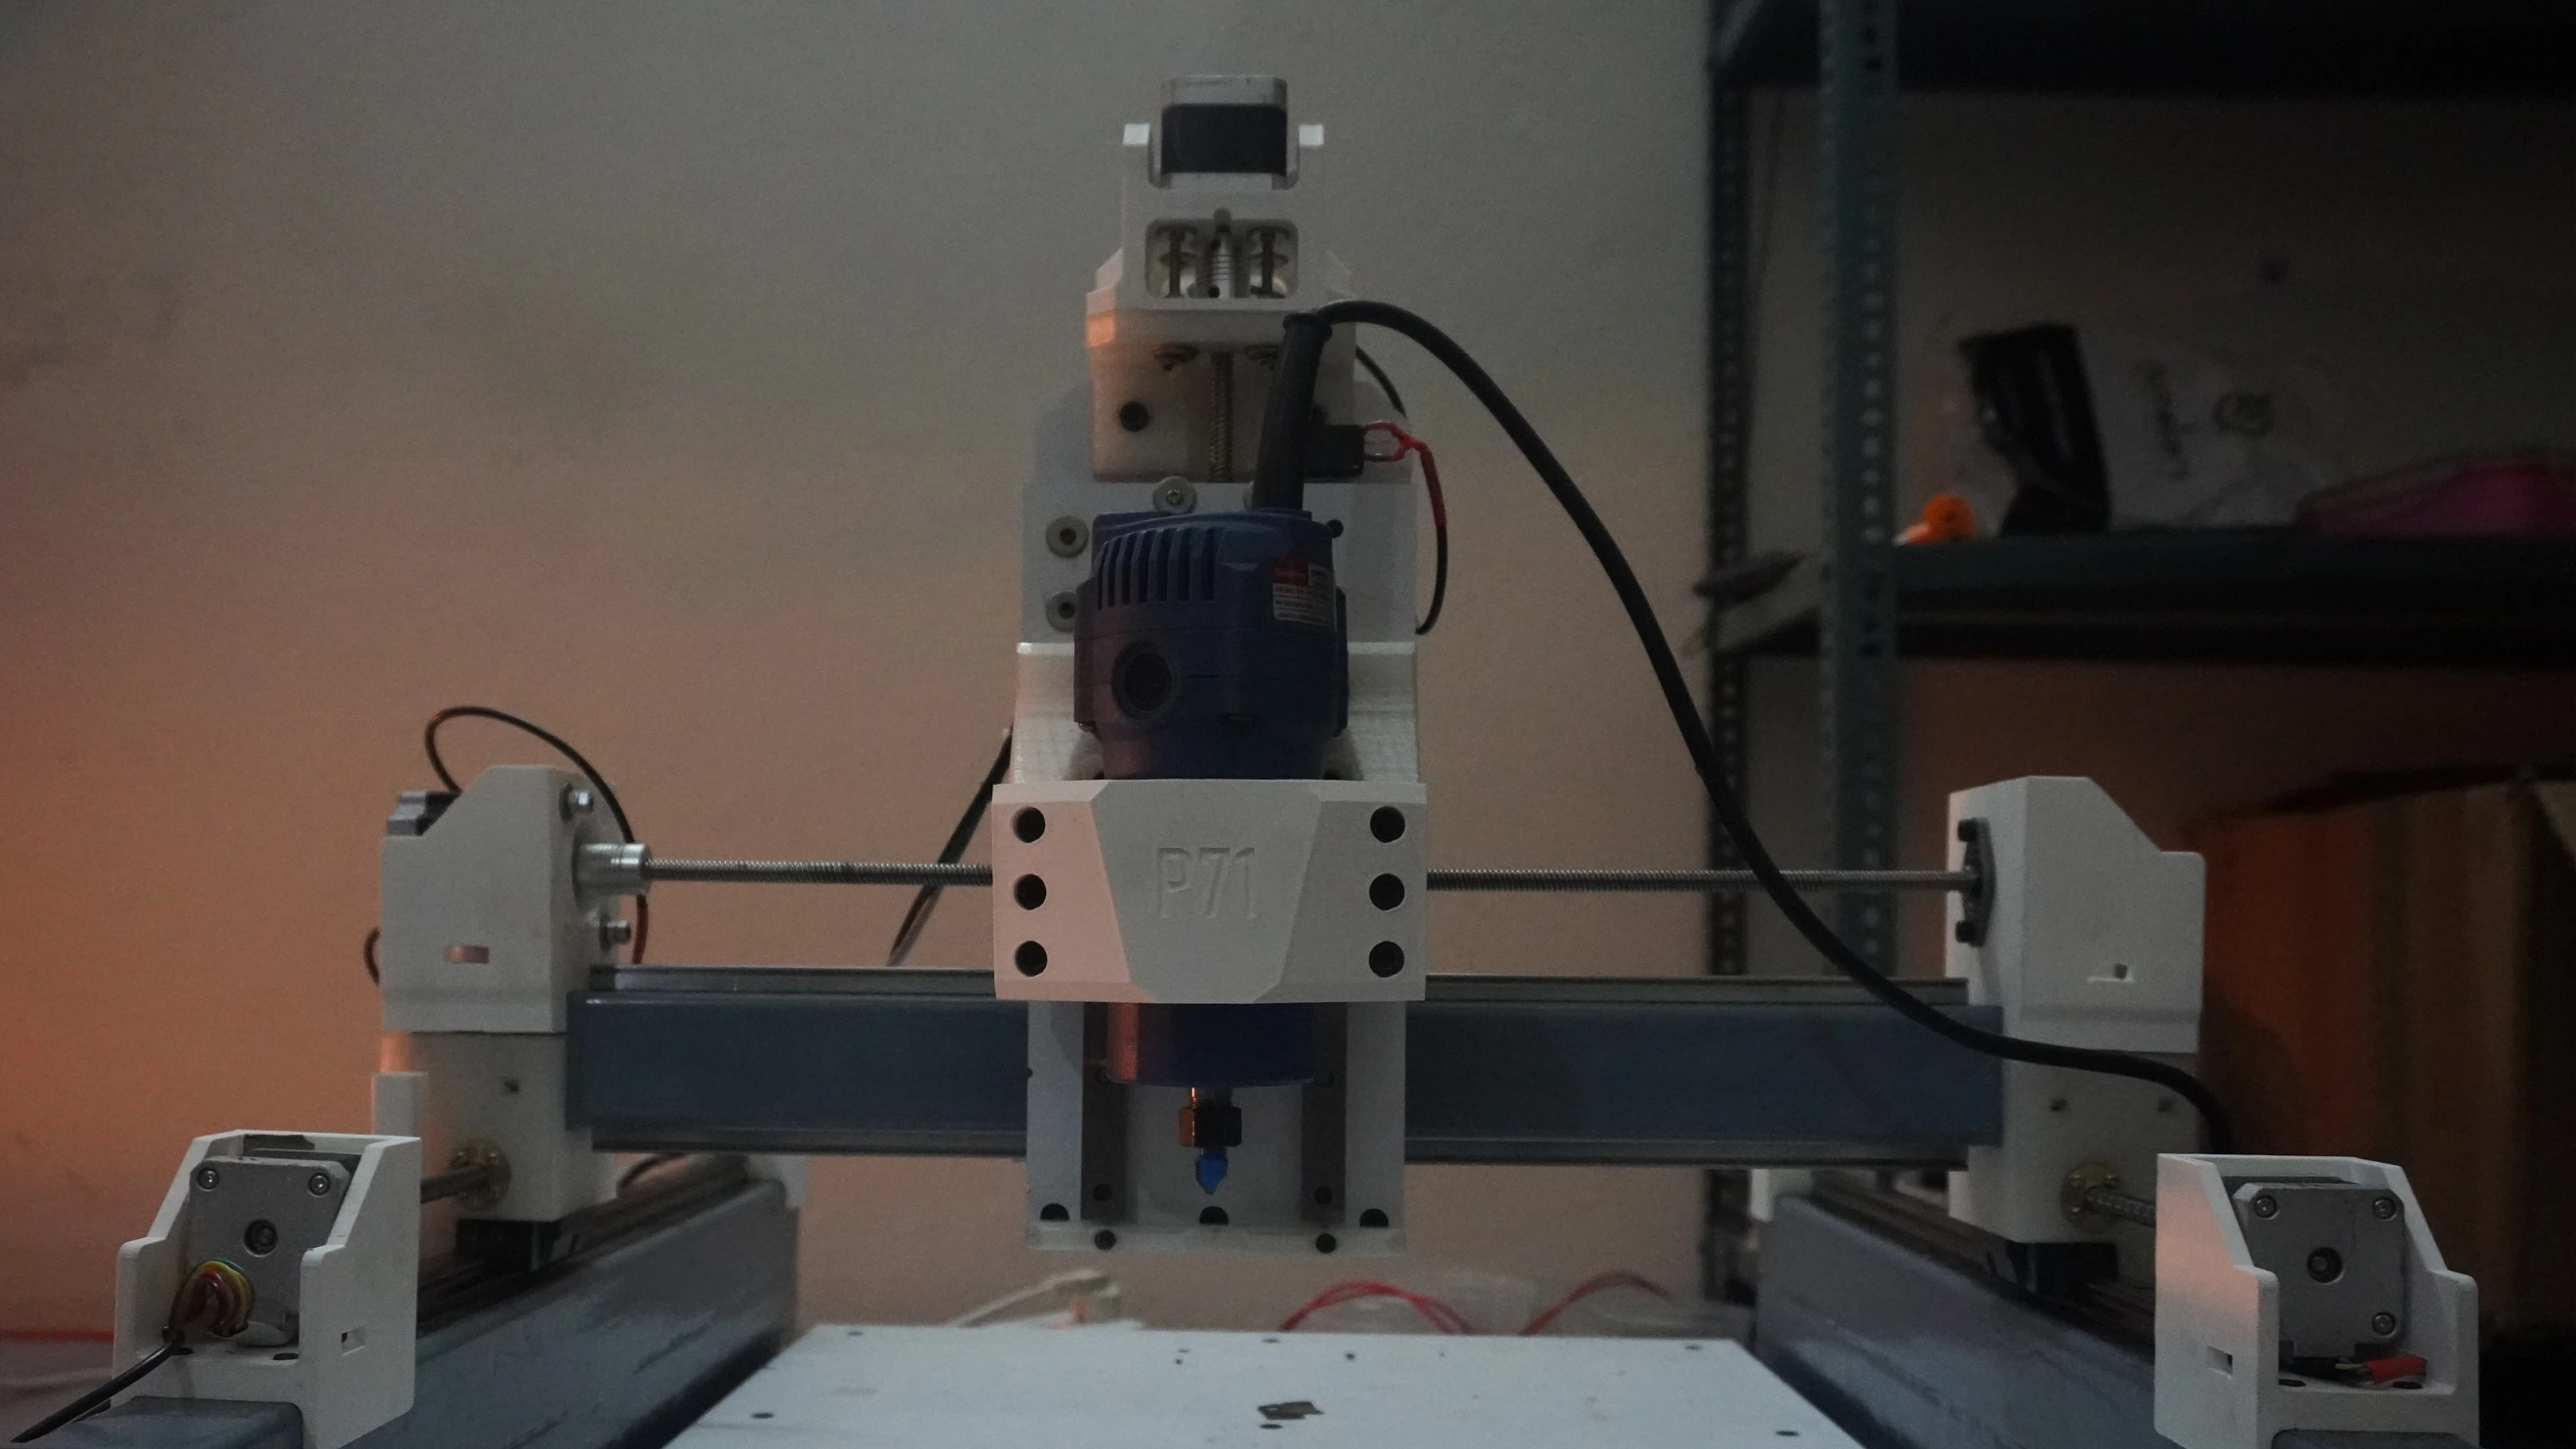
With the focal distance roughly calculated, I needed a way to mount the lens securely. Cue the 3D printer—the modern maker’s best friend.
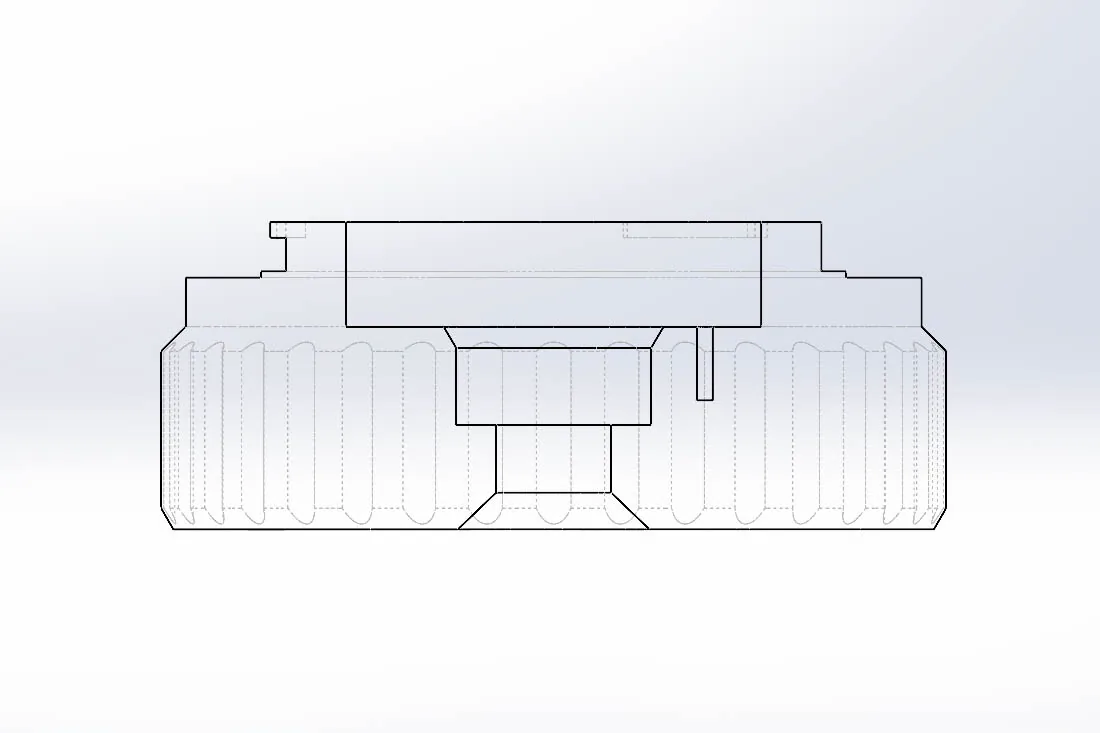
I fired up my SOLIDWORKS and began designing a simple adapter. It had to do two things: fit the Sony E-mount precisely and hold the tiny plastic lens at the correct distance. Sounds simple, right? In theory, yes. In practice, not so much.
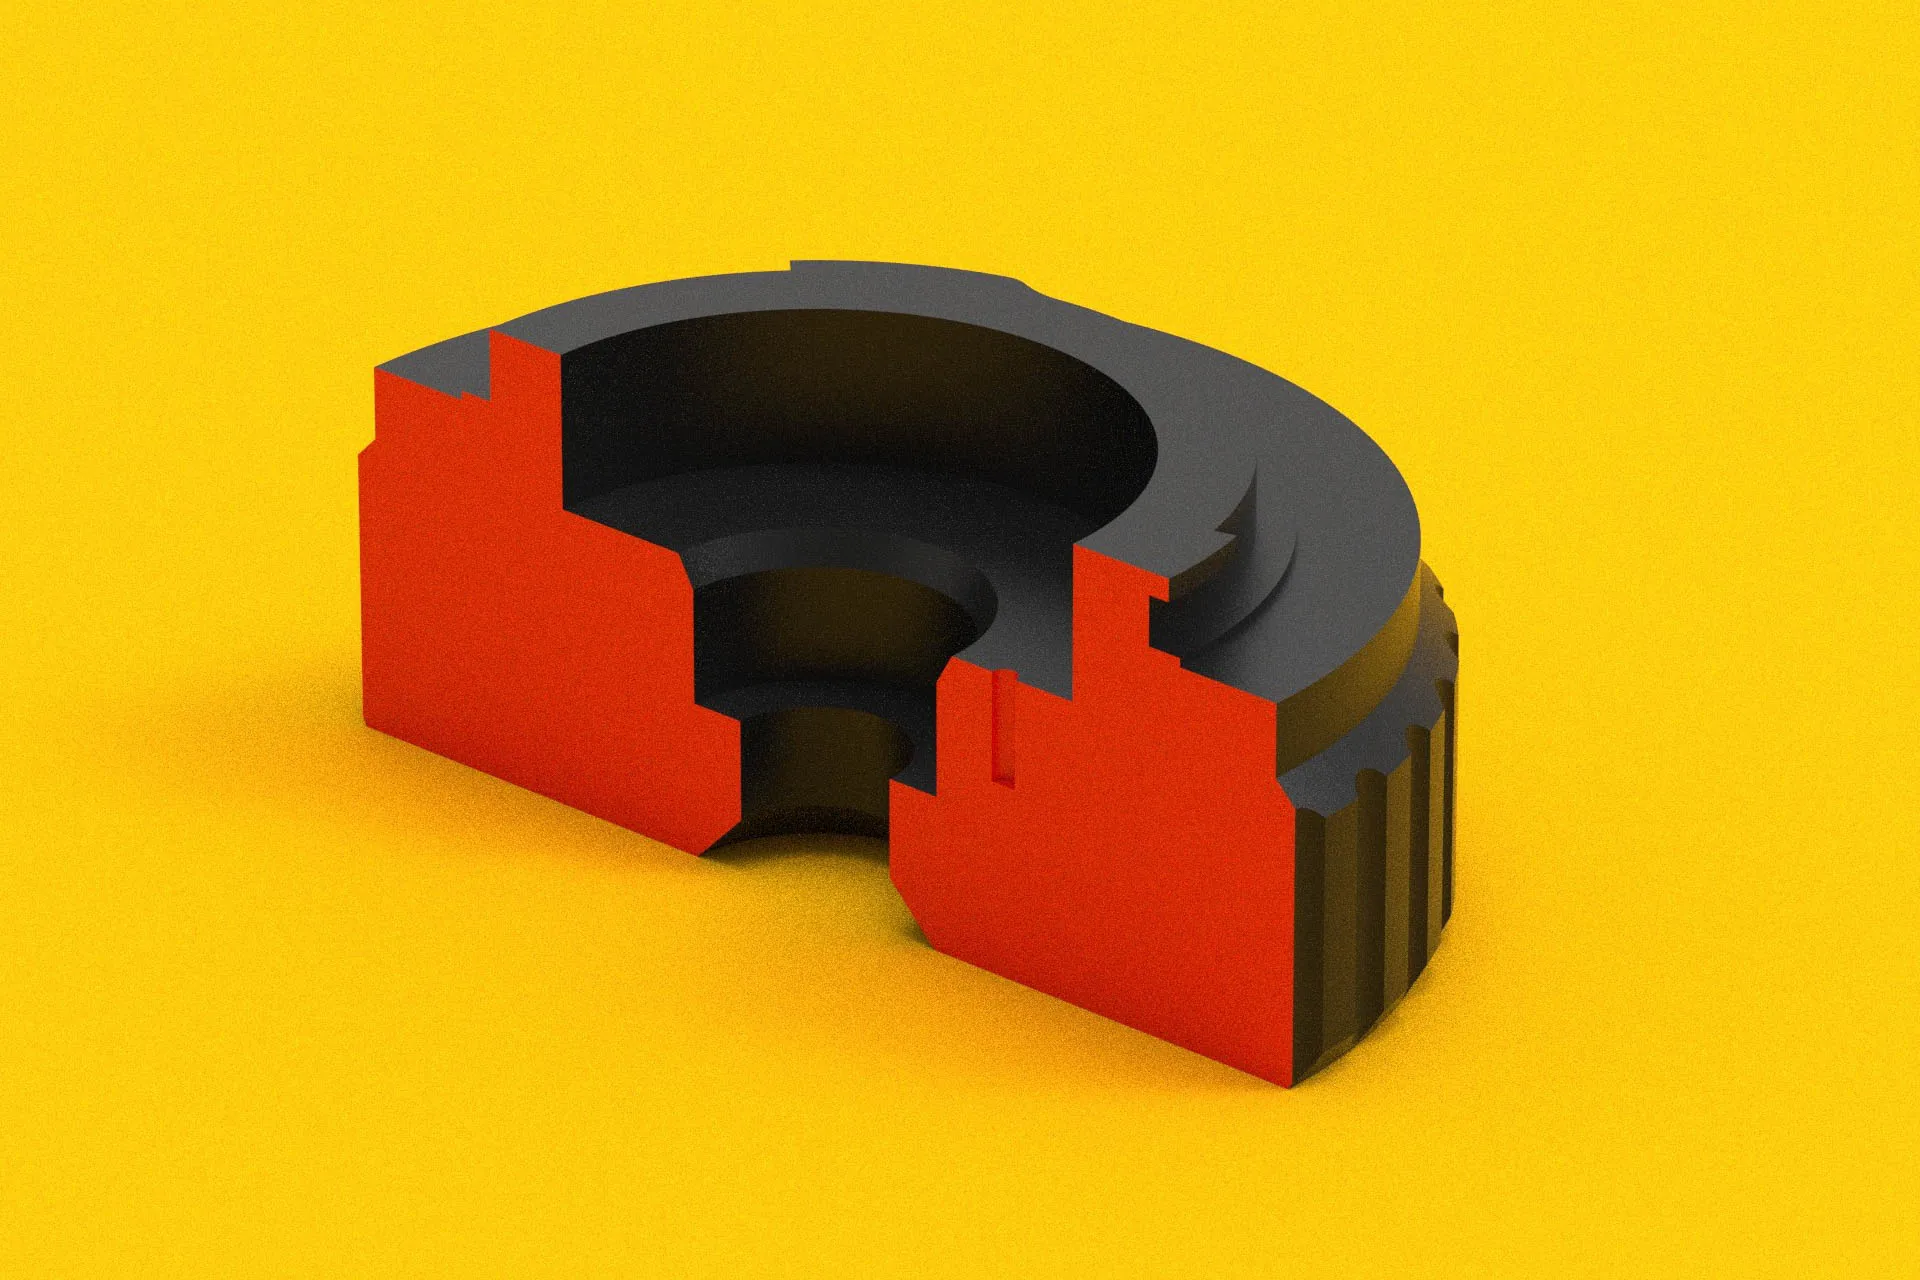

Trial and Error
- Version 1: Too short. Images were blurry blobs.
- Version 2: Too long. Focus improved, but still off.
- Version 3: Getting closer, but the images were still blurry. I adjusted the focus using small 3D-printed rings, each with slight variations in thickness. After testing and shooting with different rings, I finally identified the practical focal distance. With this measurement in hand, I reprinted the adapter model to achieve sharper focus and a more reliable fit.

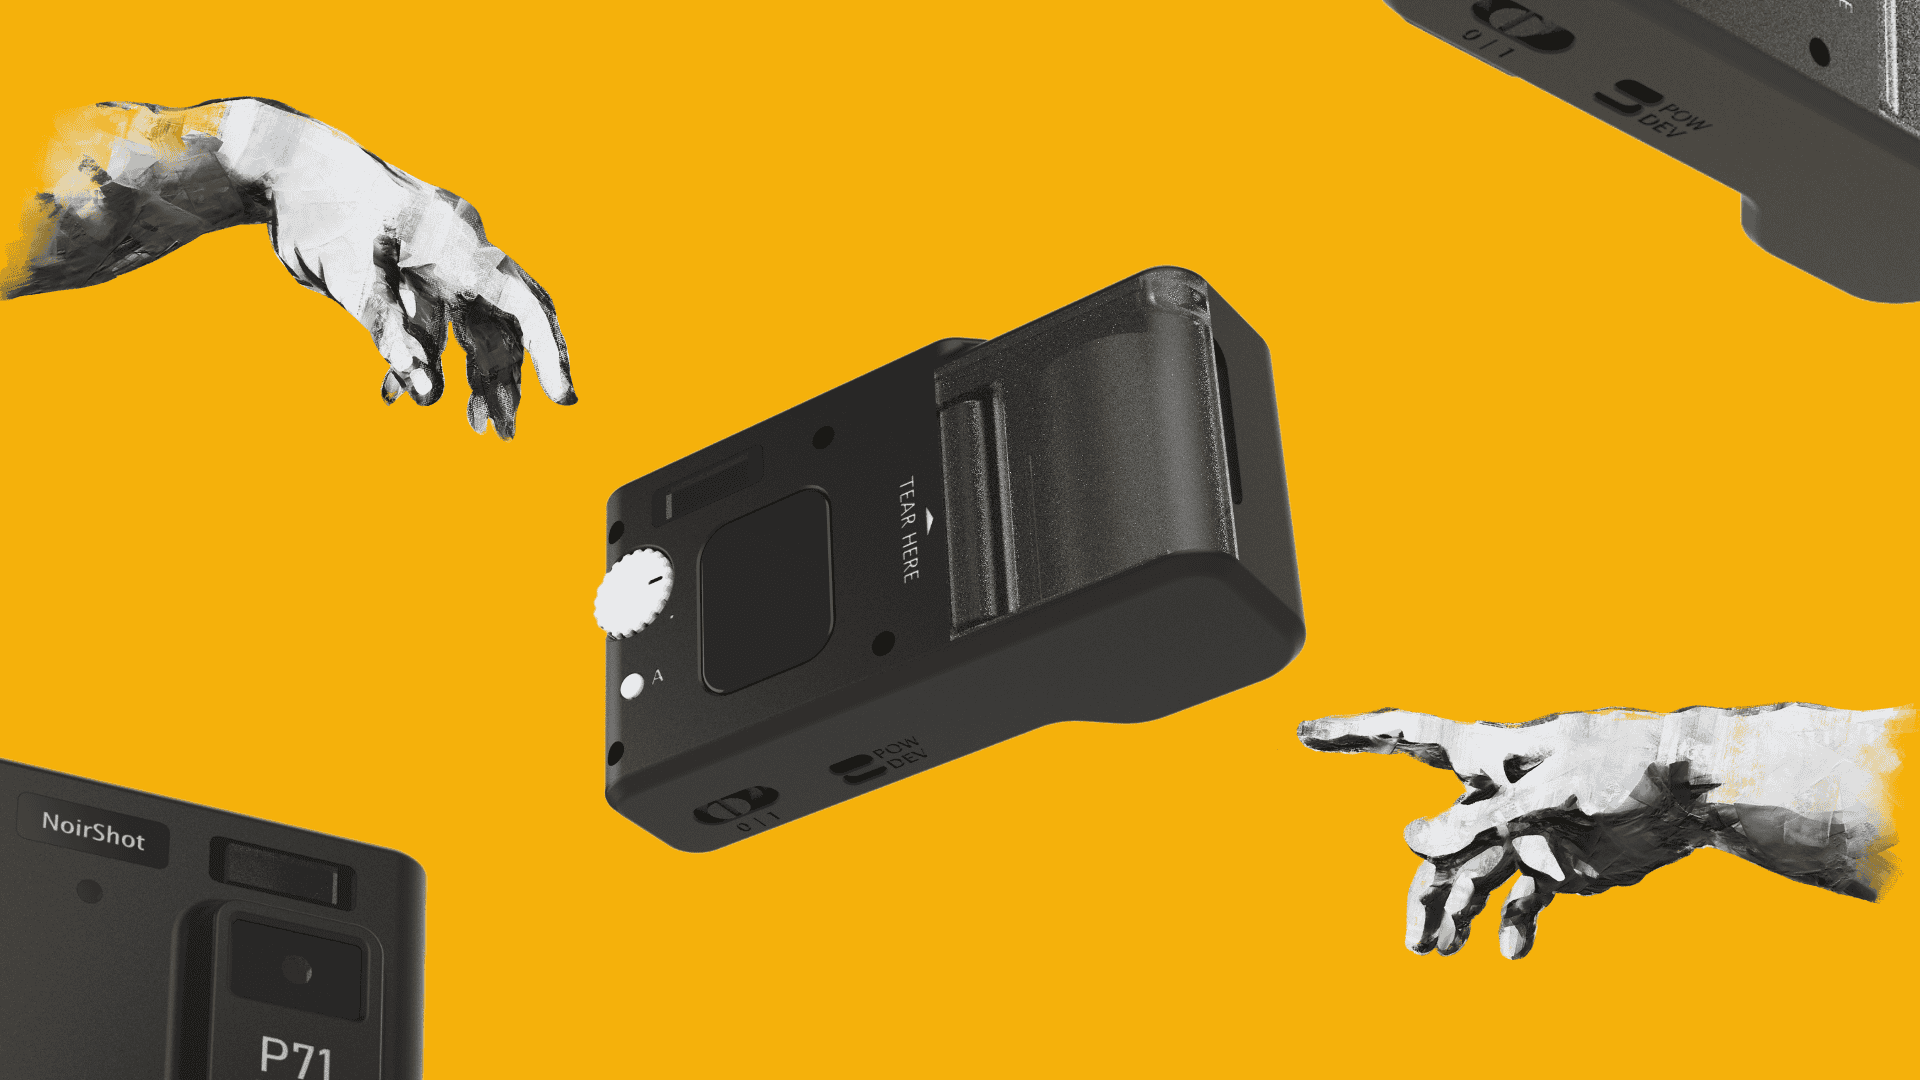
With this, I had a snug-fitting, light-tight adapter. (Tolerance issues with 3D printing also meant rechecking dimensions after each print.) The lens clicked into place, and it finally felt like a real piece of camera gear.
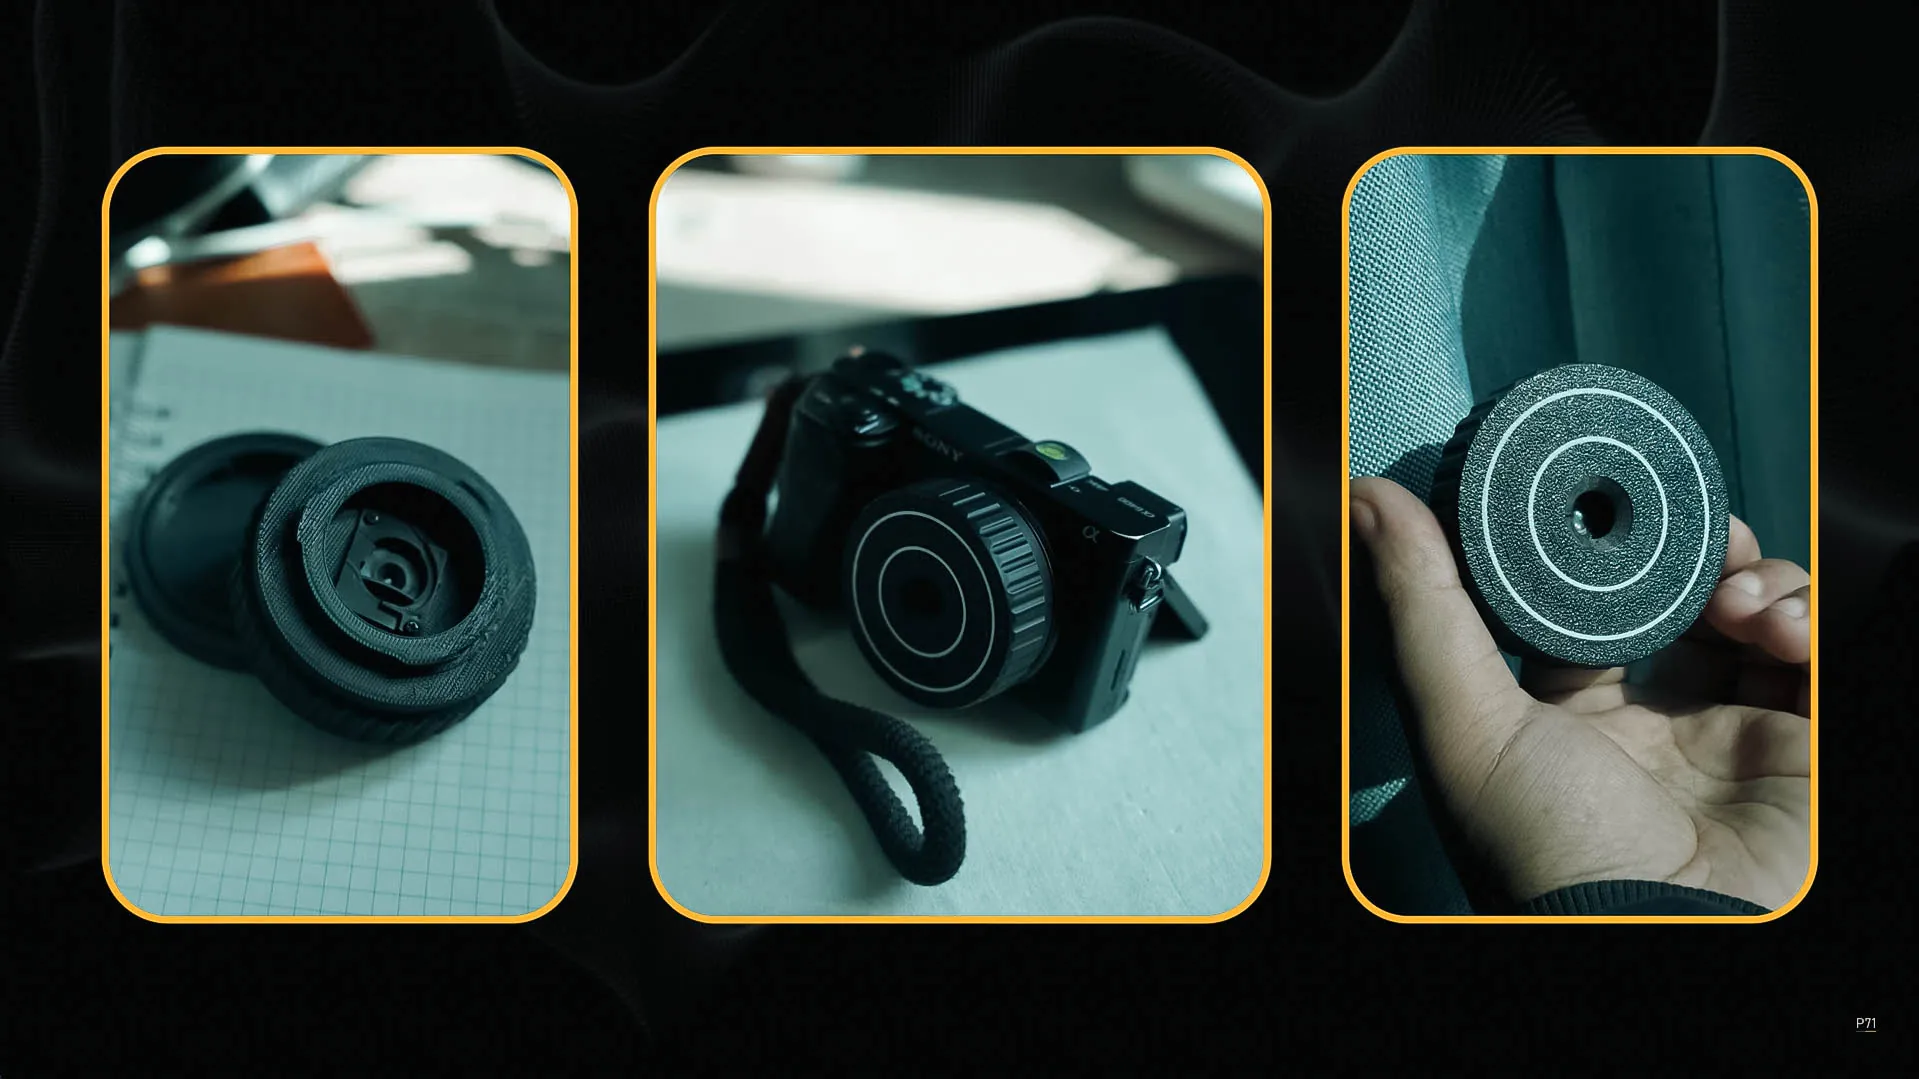
The First Successful Shot
Mounting the hacked lens onto my A6400 felt surreal. I pointed it at the window and hit the shutter. Of course, it wasn’t perfect. The first few test shots were hilariously blurry—think impressionist paintings but without the artistic intent. But each adjustment brought incremental improvements.
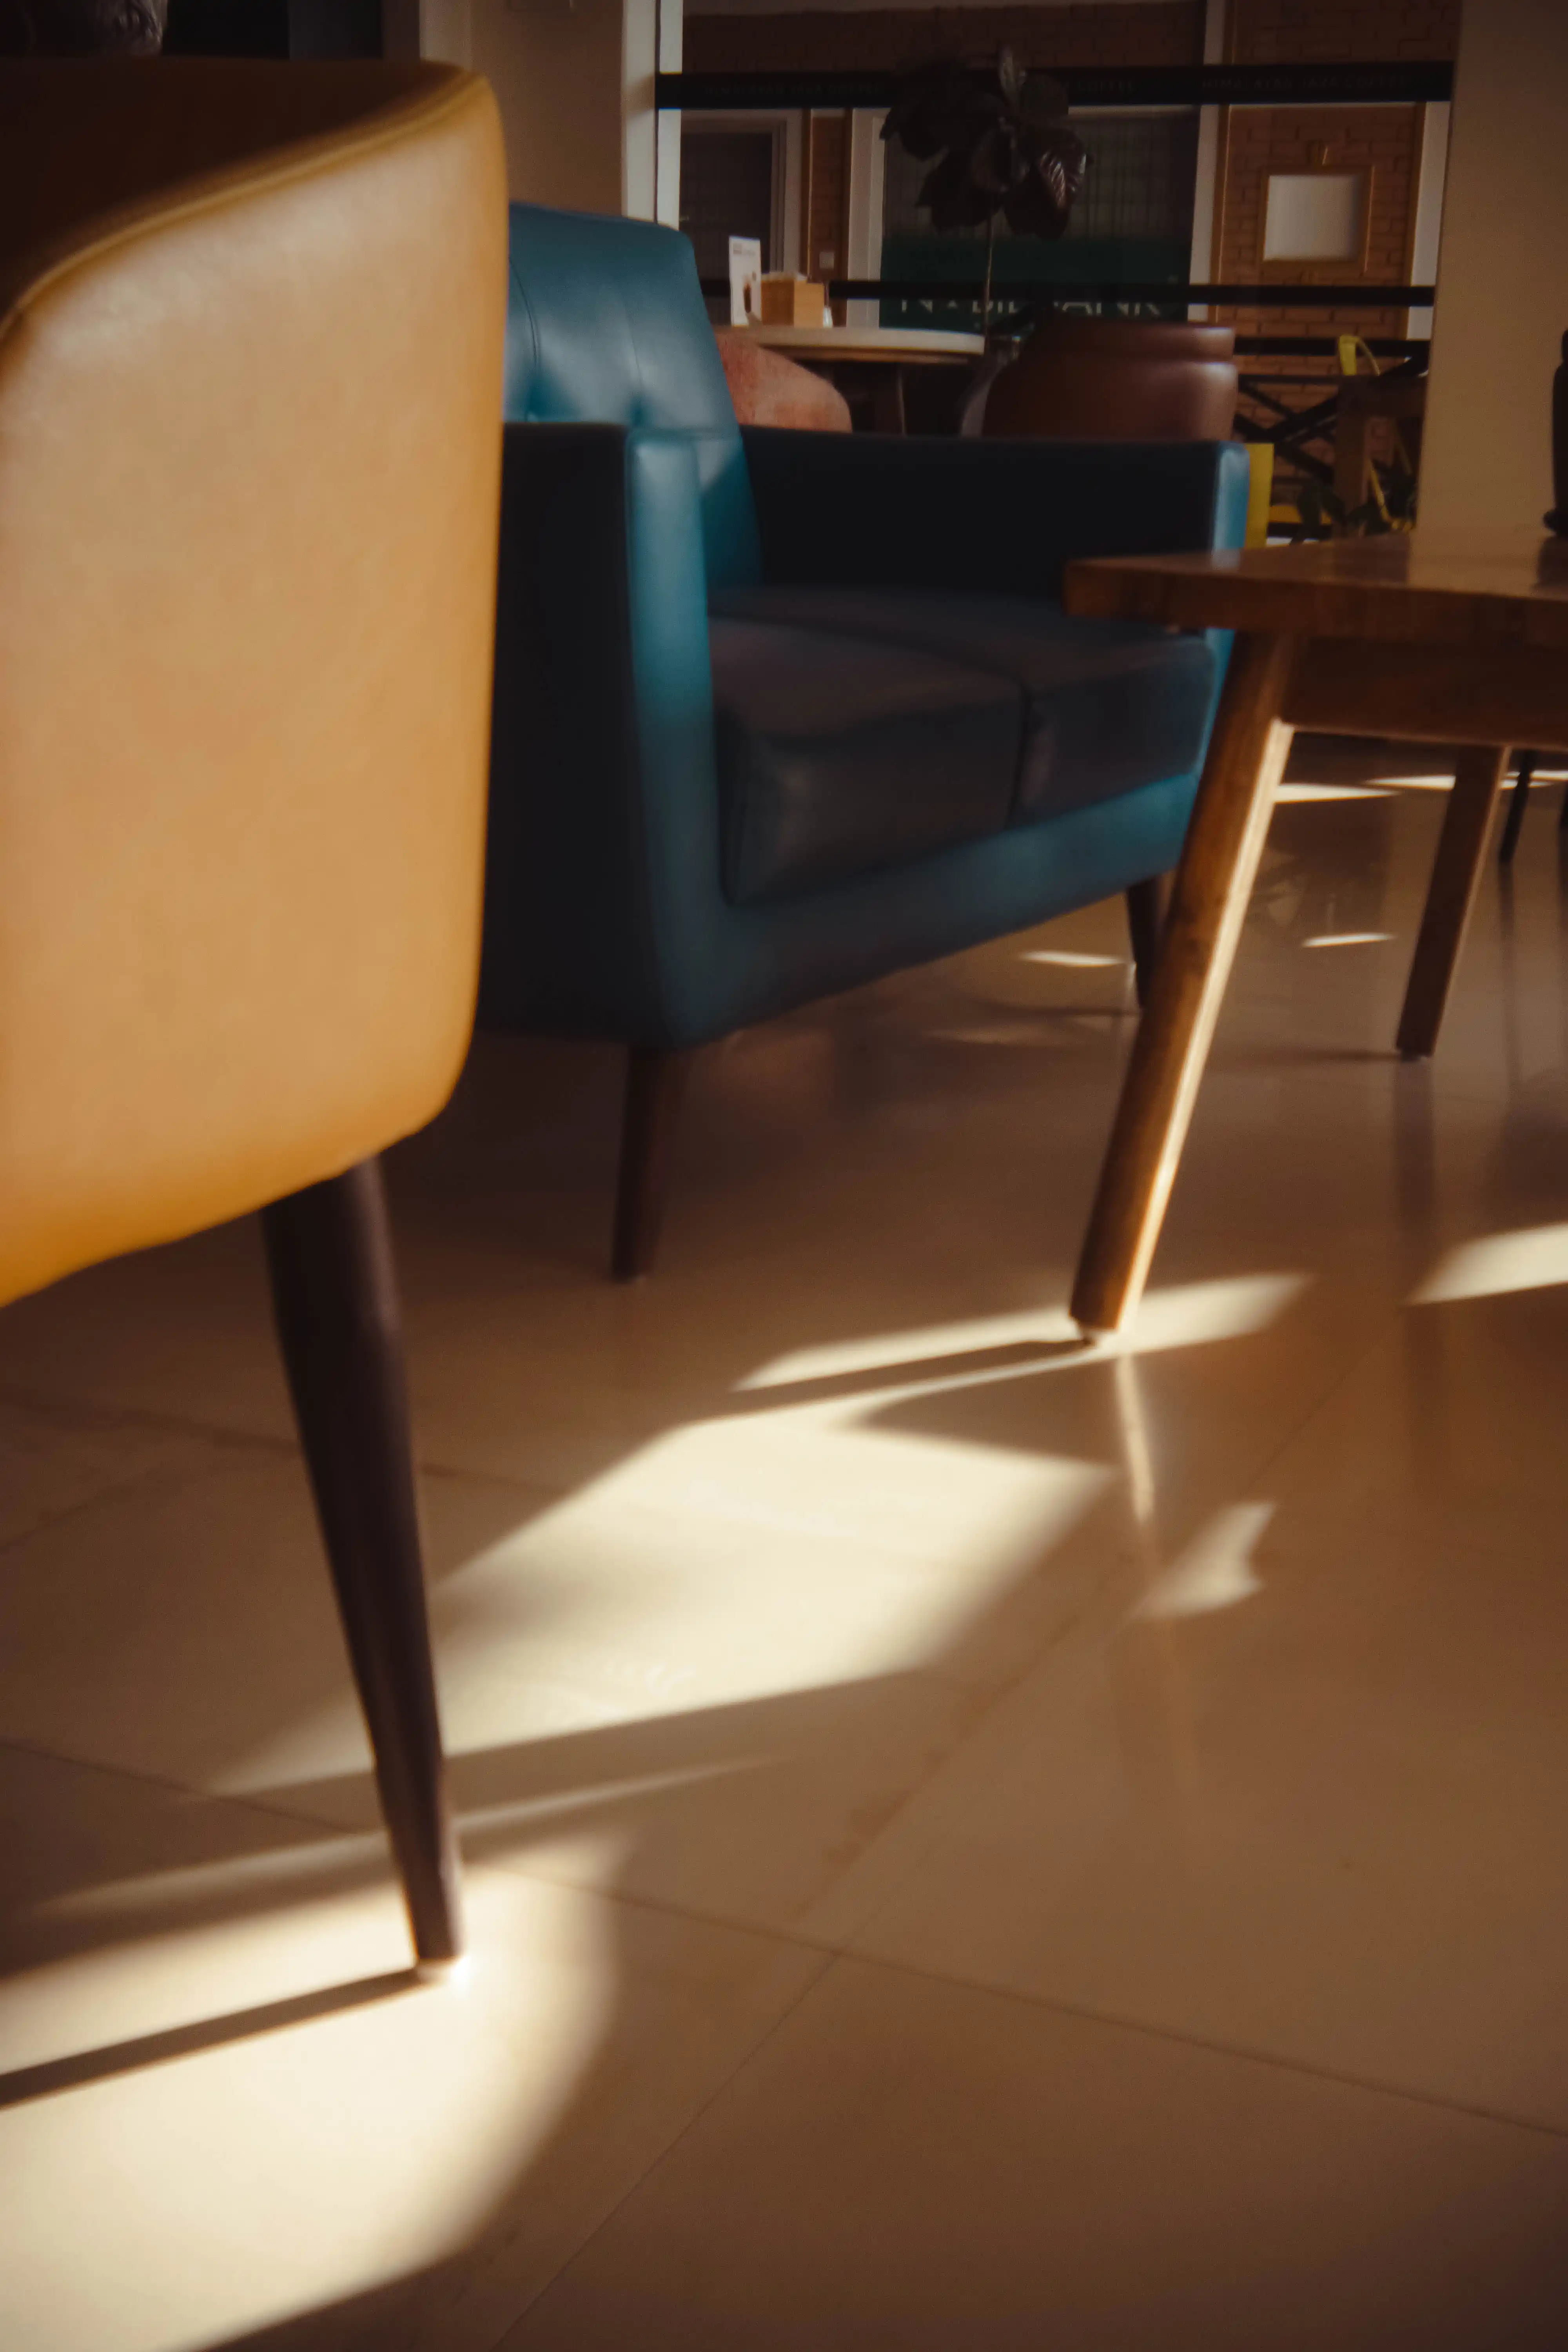
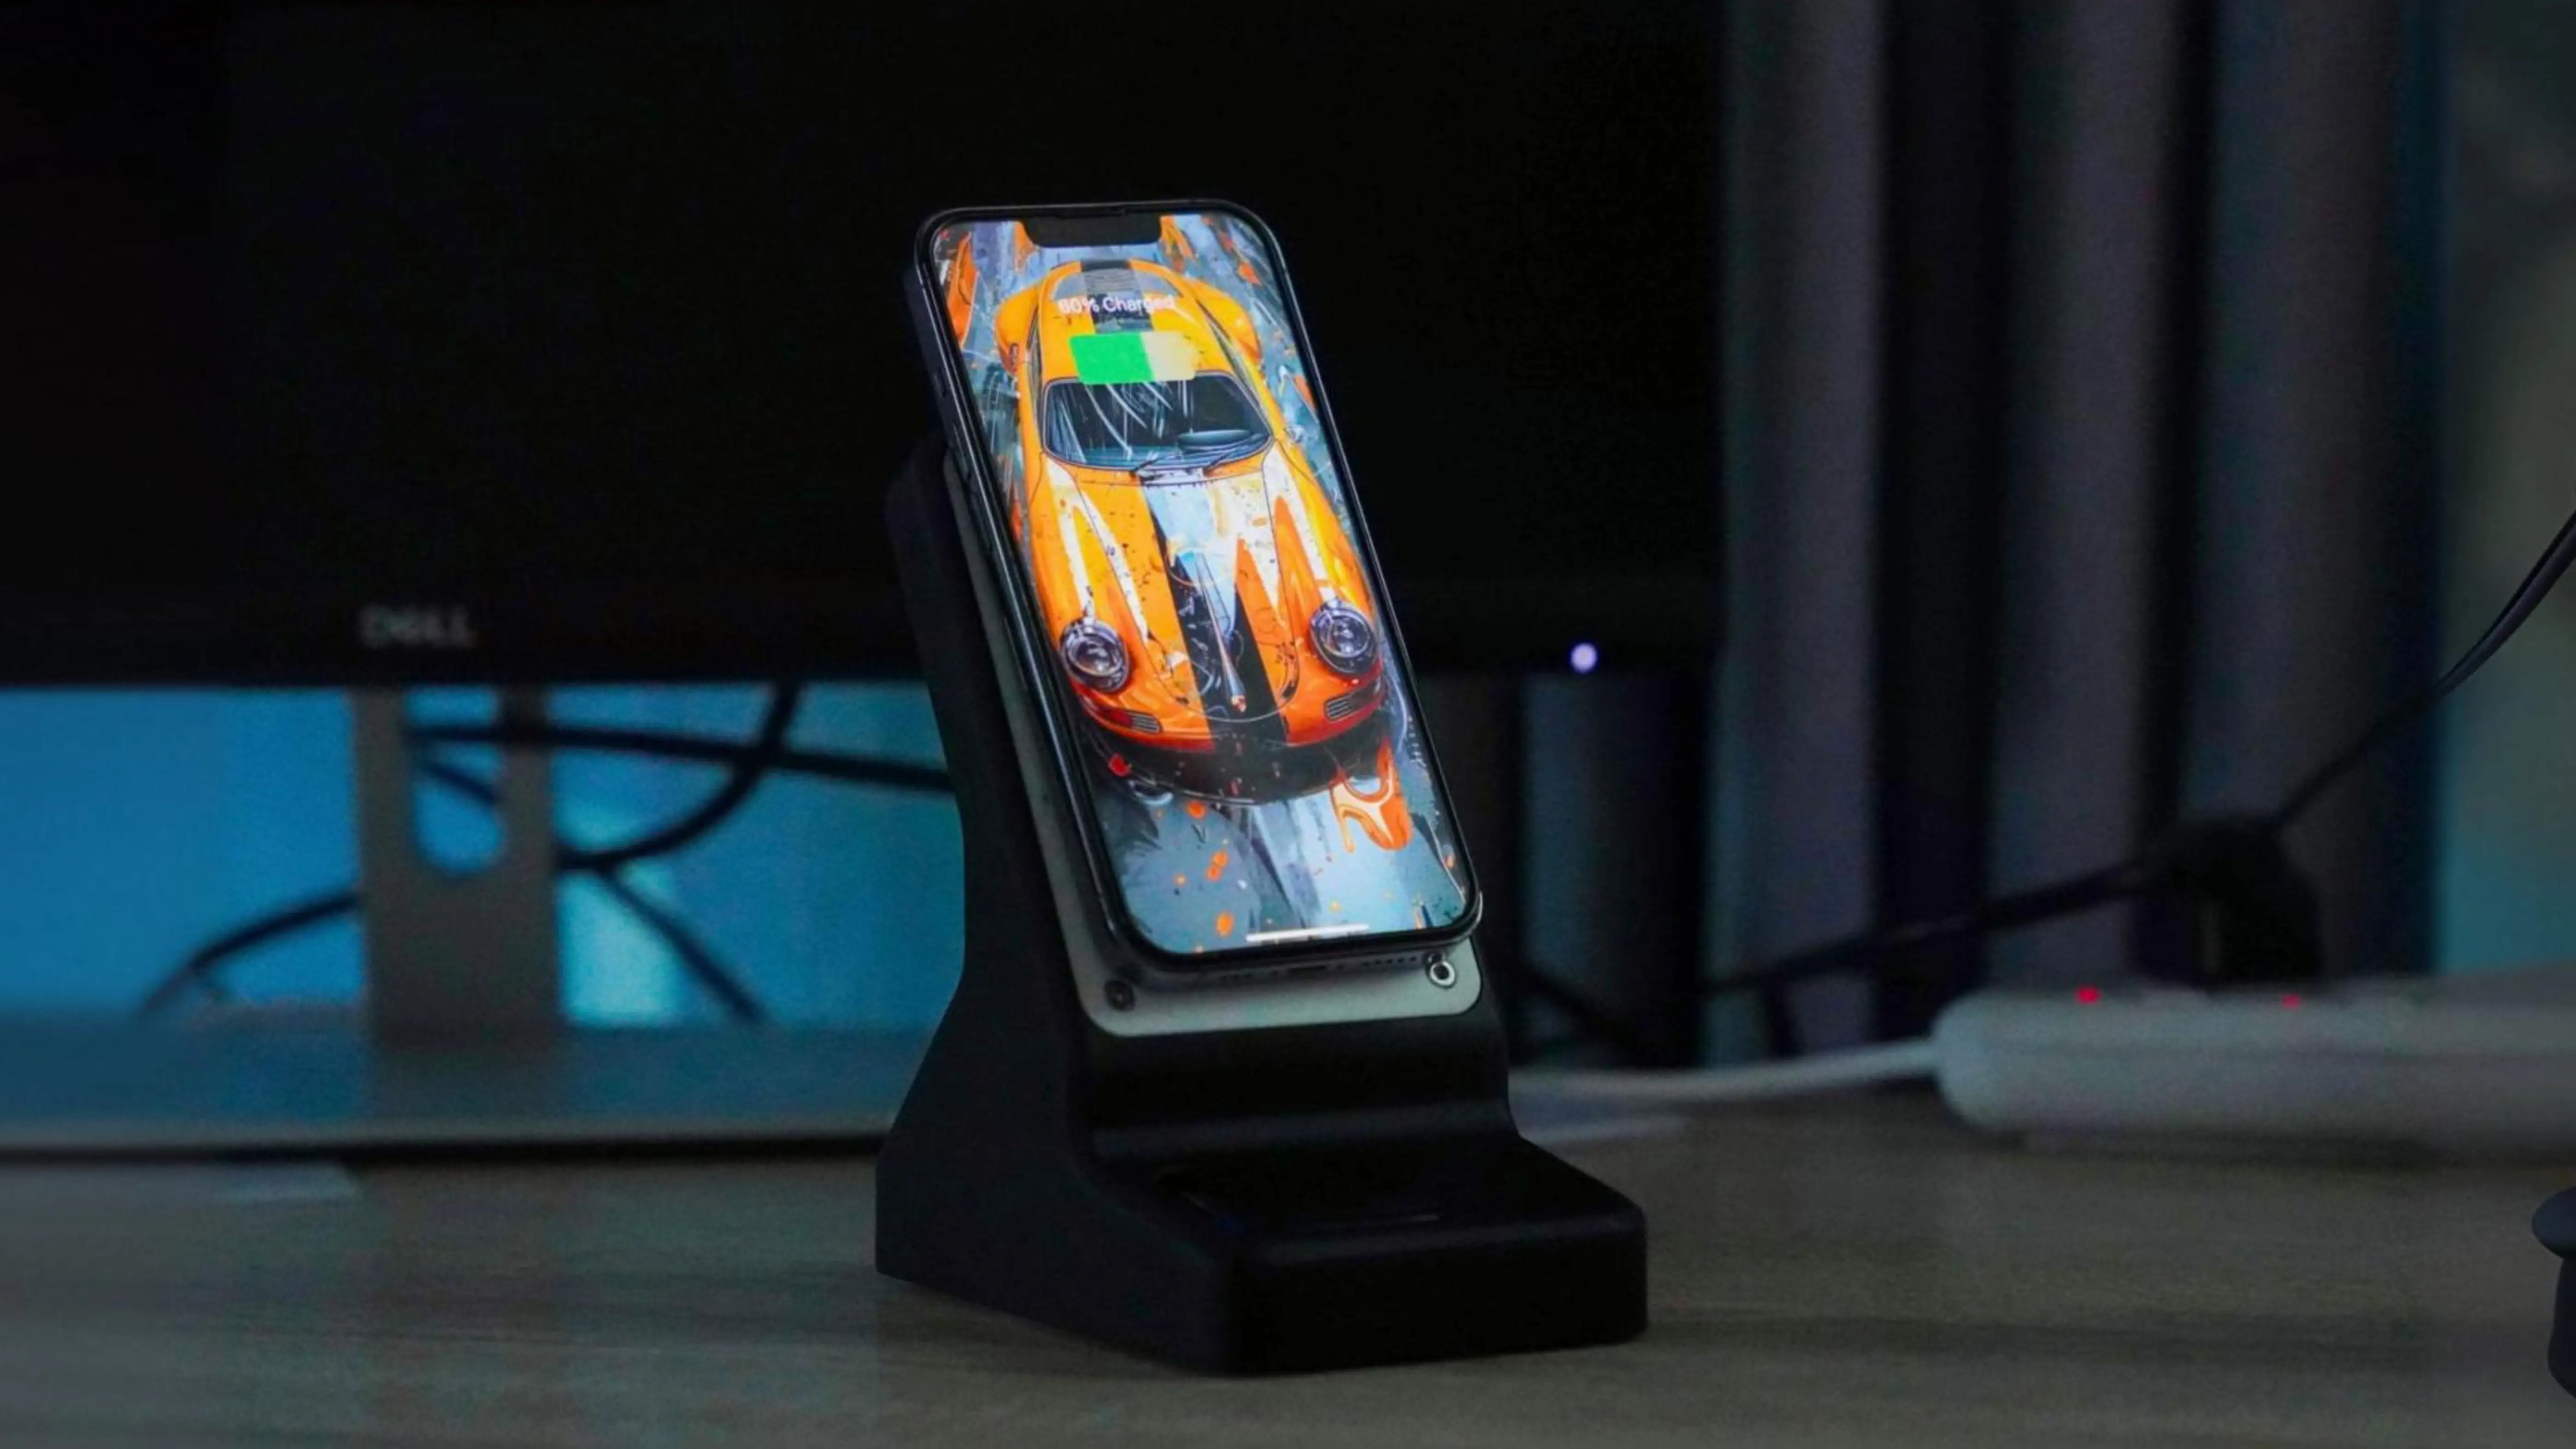
And then there it was—an almost sharp, dreamy image with soft edges and unique vignetting. It wasn’t technically perfect, but that wasn’t the goal. The image had character, a lo-fi charm that felt authentic. It was the Funsaver spirit, reborn in digital form.


The Quirks and Charm
Using this DIY lens is nothing like modern glass. The focus is fixed due to the lens’s original design as part of a disposable camera. Exposure can be tricky. Chromatic aberrations? Oh, absolutely. But that’s the point.
What I love about it:
- The natural vignetting gives photos a vintage feel.
- Soft focus around the edges creates an organic, dreamy look.
- Flare and light leaks add unexpected artistic touches.
- It forces you to slow down, to compose thoughtfully, to embrace imperfections.


Lessons Learned
This project wasn’t just about creating a quirky lens. It taught me a lot:
- Precision matters: Even a slight off in focal distance can ruin sharpness.
- Embrace failure: Every blurry photo was a step toward success.
- Nostalgia is powerful: Combining old and new tech creates something uniquely satisfying.
Final Thoughts
The Kodak Funsaver lens hack turned out to be more than a weekend project. It was a journey through nostalgia, frustration, discovery, and ultimately, creative joy. The photos I capture with this lens aren’t perfect, but they tell stories—of moments frozen in time, through a lens that was never meant to last.
And that, to me, is the essence of making.
Check out my build video on YouTube and the step-by-step guide on Instructables.


