Every maker dreams of building tools that not only serve a purpose but also tell a story. For me, that story unfolded through the creation of my DIY gantry-style desktop CNC machine. It wasn’t just about assembling parts; it was a journey of discovery, problem-solving, and pushing the boundaries of what could be achieved with limited resources.
The Spark: Why Build a CNC?
Because I like cool things, and CNCs are cool. Commercial CNC machines, while impressive, often come with hefty price tags and unnecessary features for small-scale projects. Building my own CNC offered a tailored solution—compact, versatile, and personal. Plus, there’s undeniable satisfaction in crafting the very tool that helps bring your designs to life.
Designing with Constraints
Starting with limited components forced me to think creatively. I knew the machine had to be robust yet adaptable, capable of handling tasks from prototyping to light-duty machining. The frame became the foundation of this vision—an iron structure that promised rigidity without overcomplicating the build.
Key Design Elements:
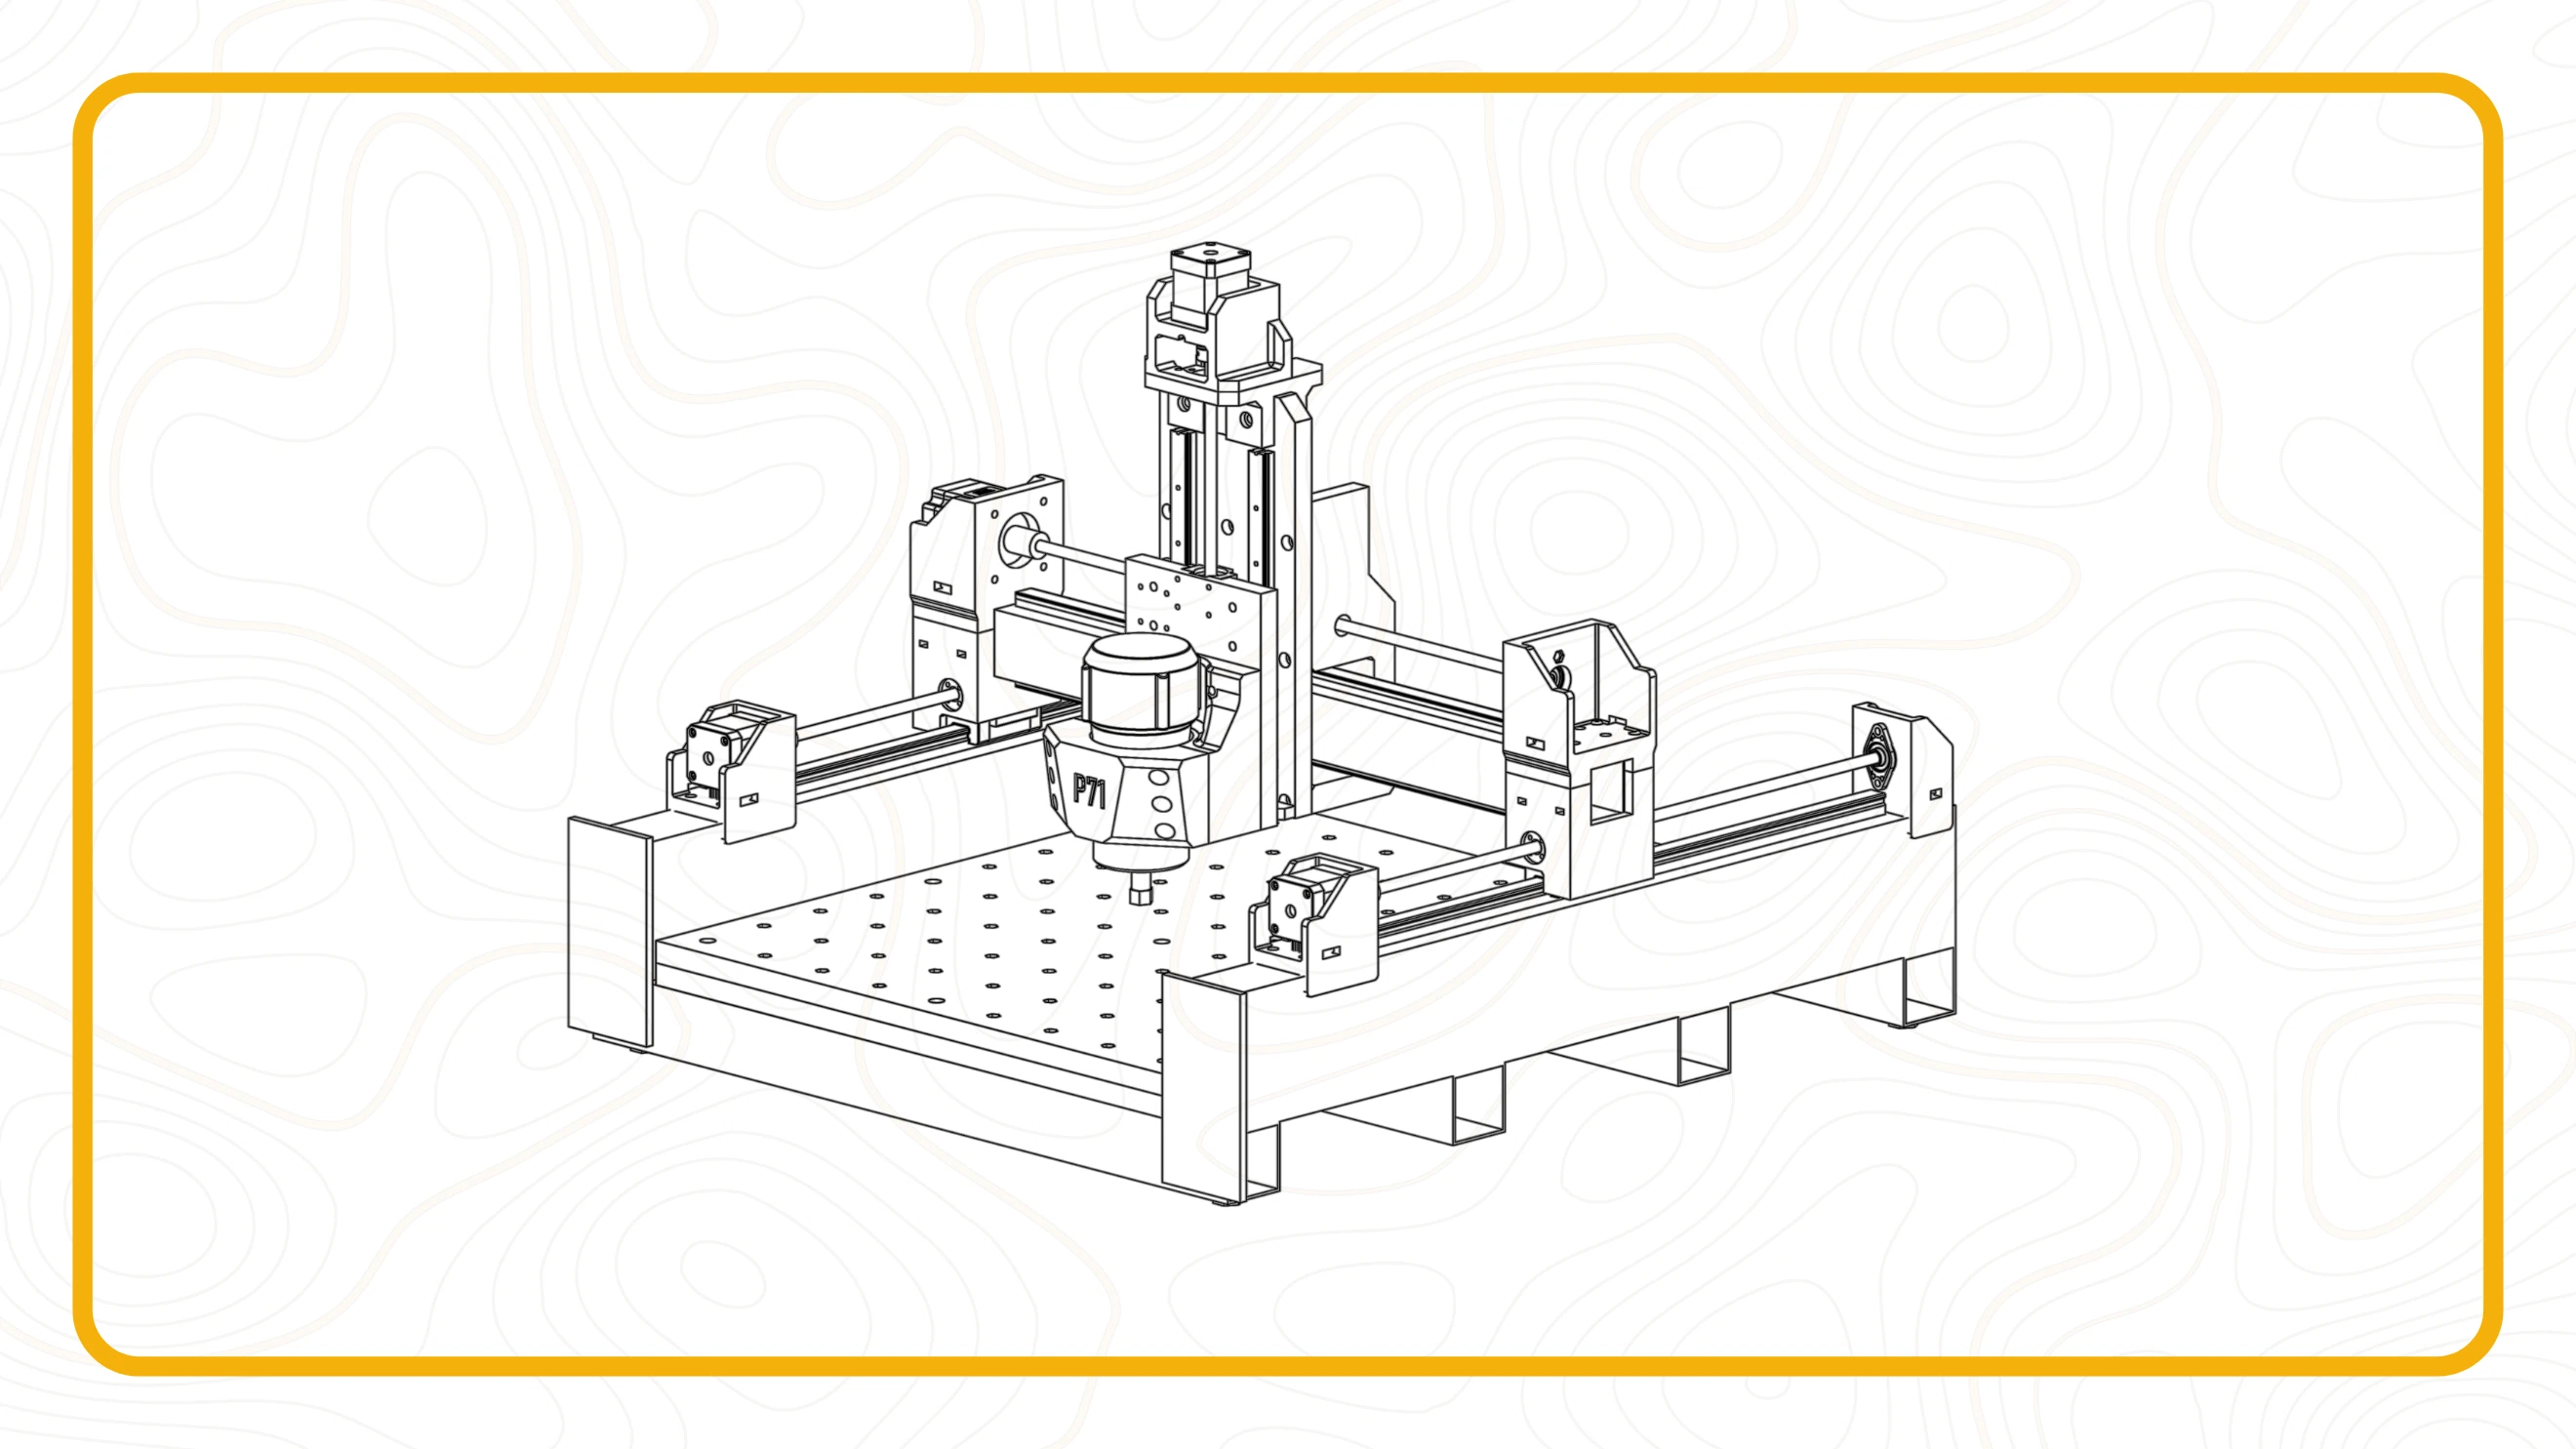
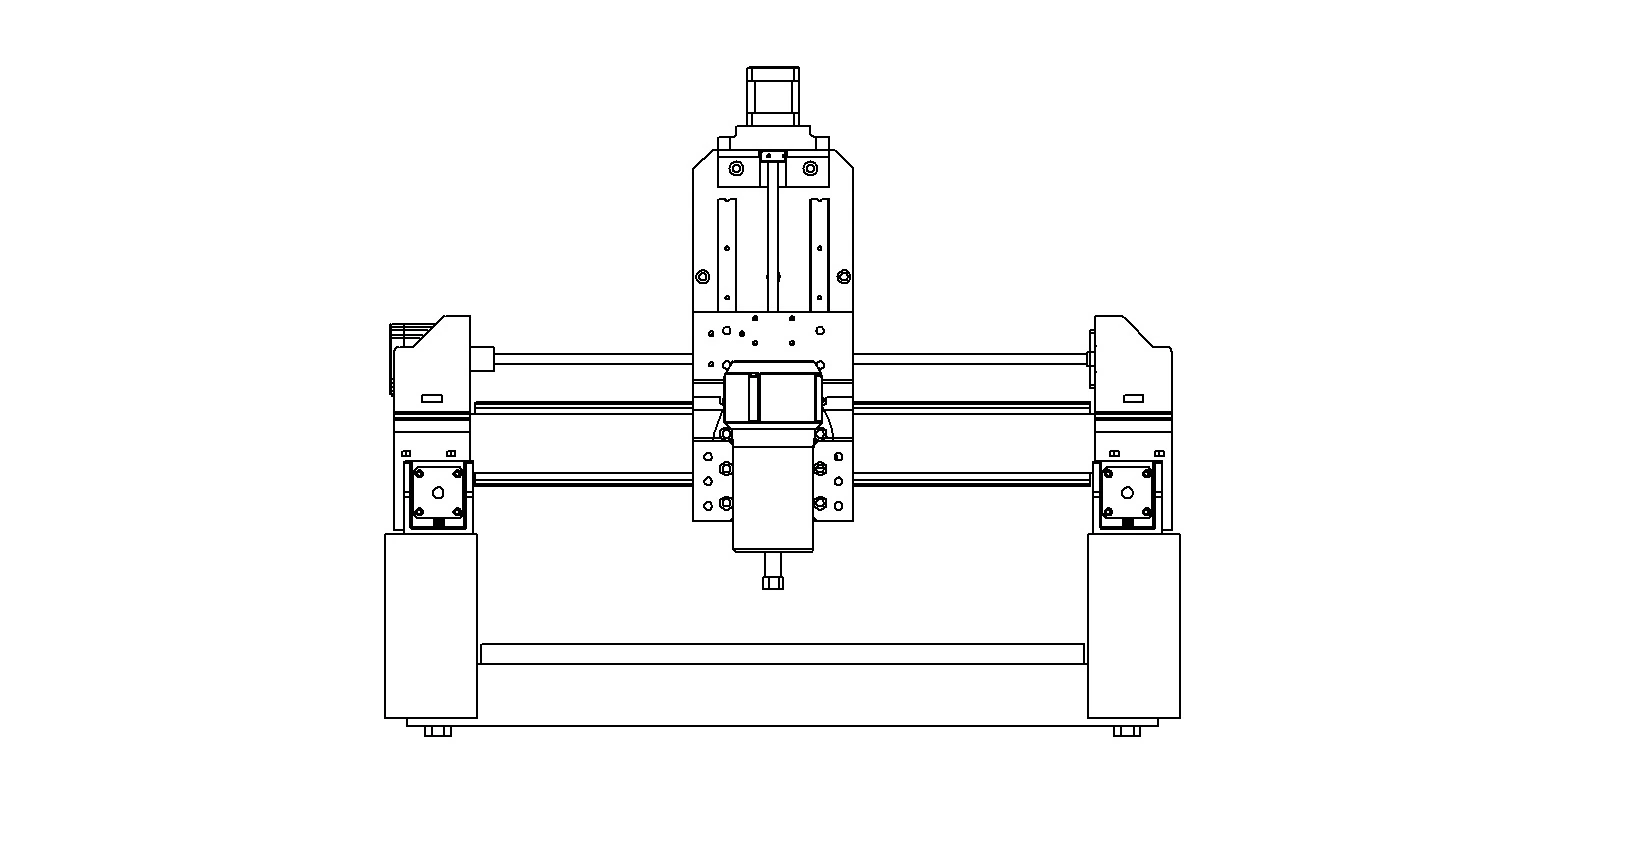
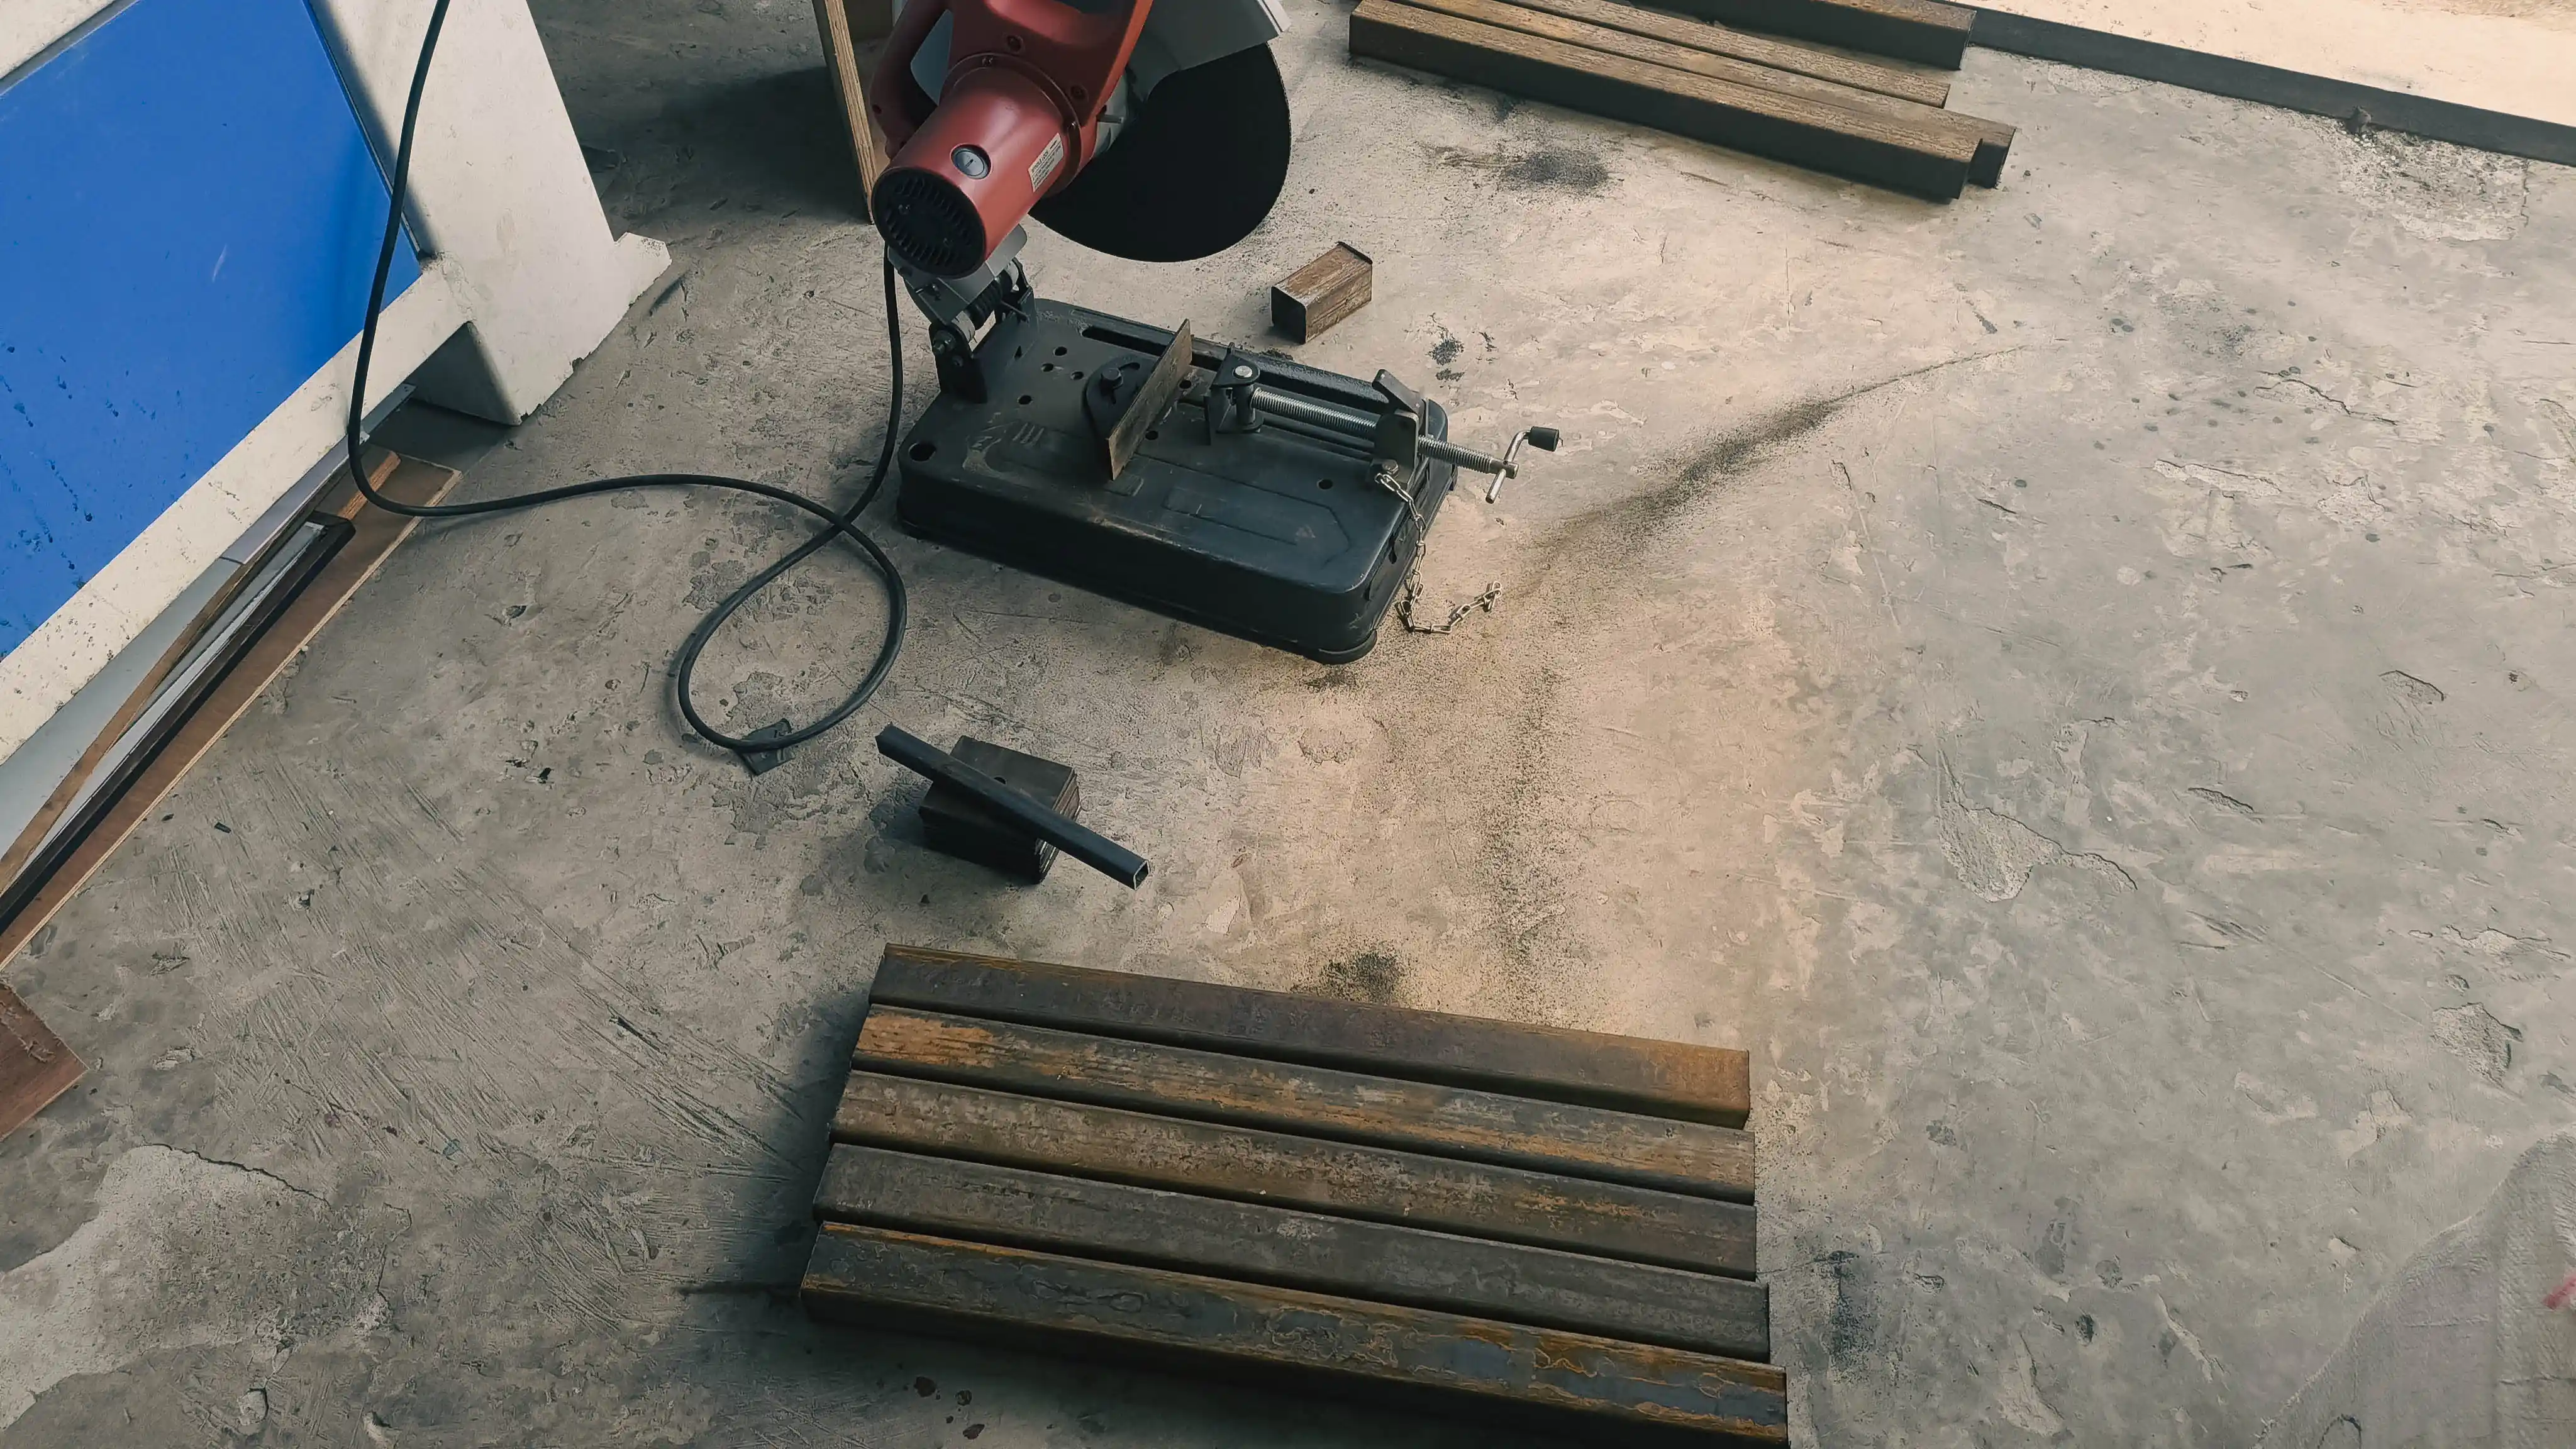
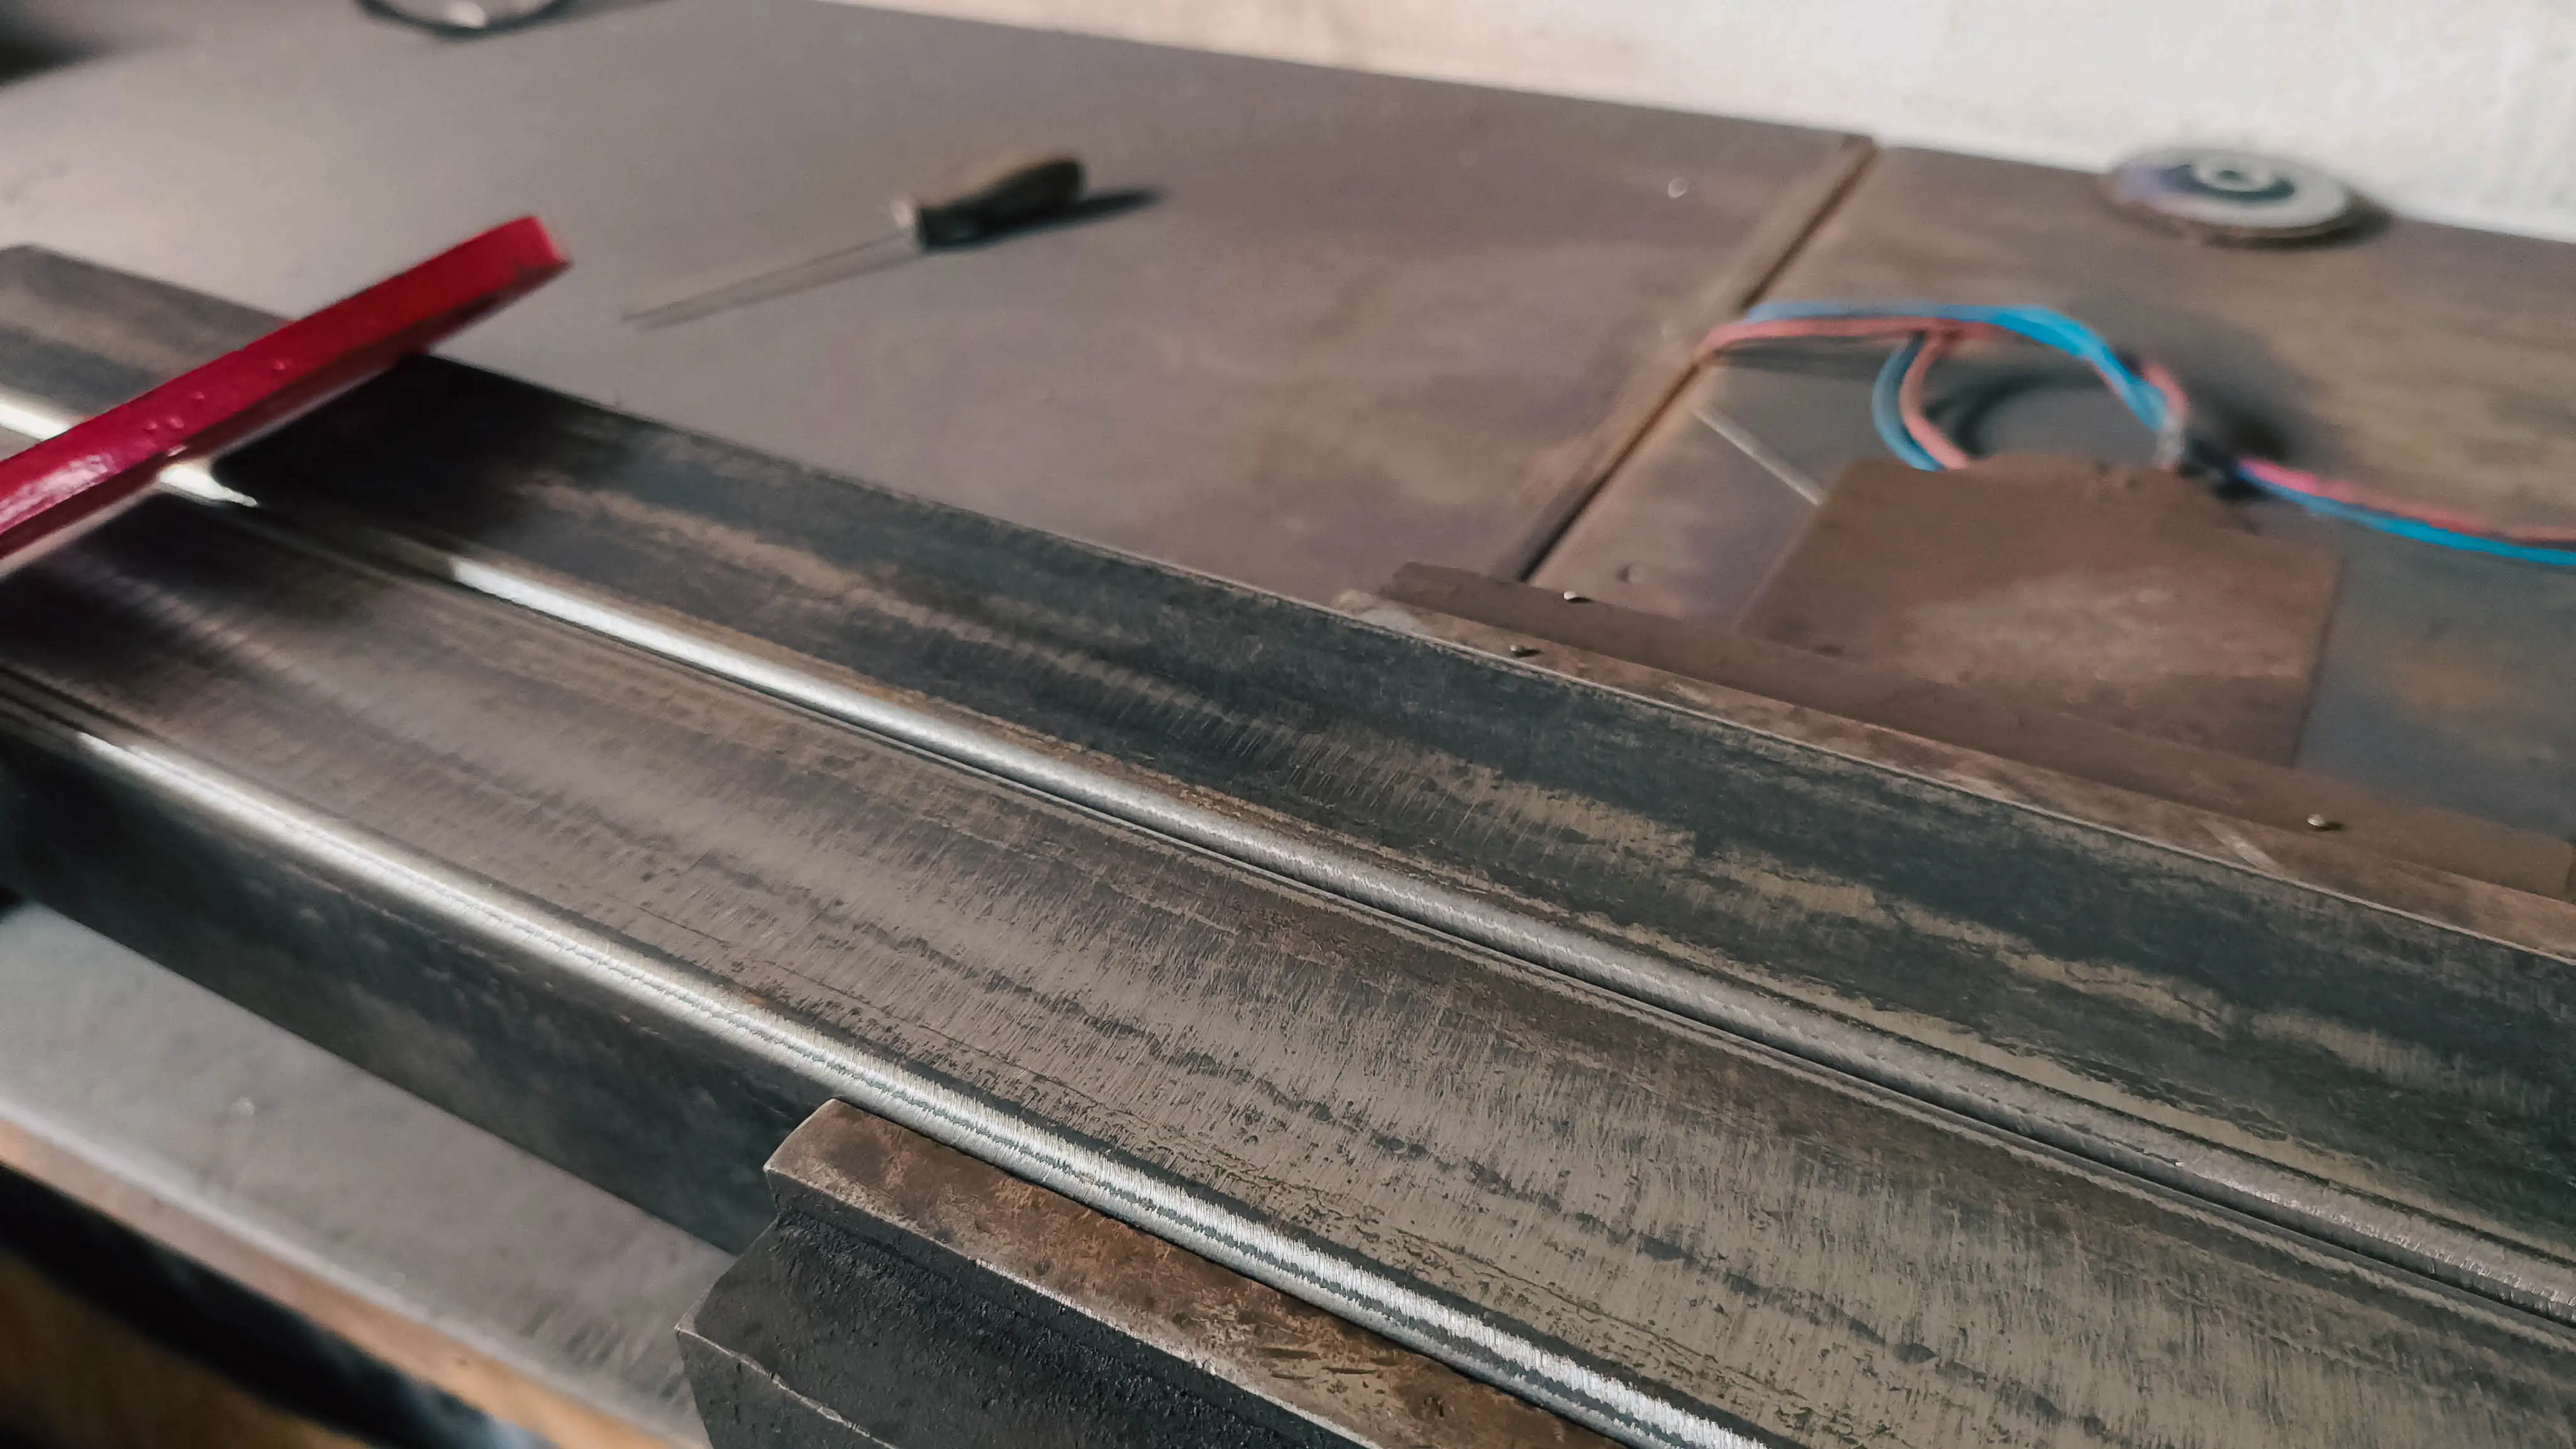
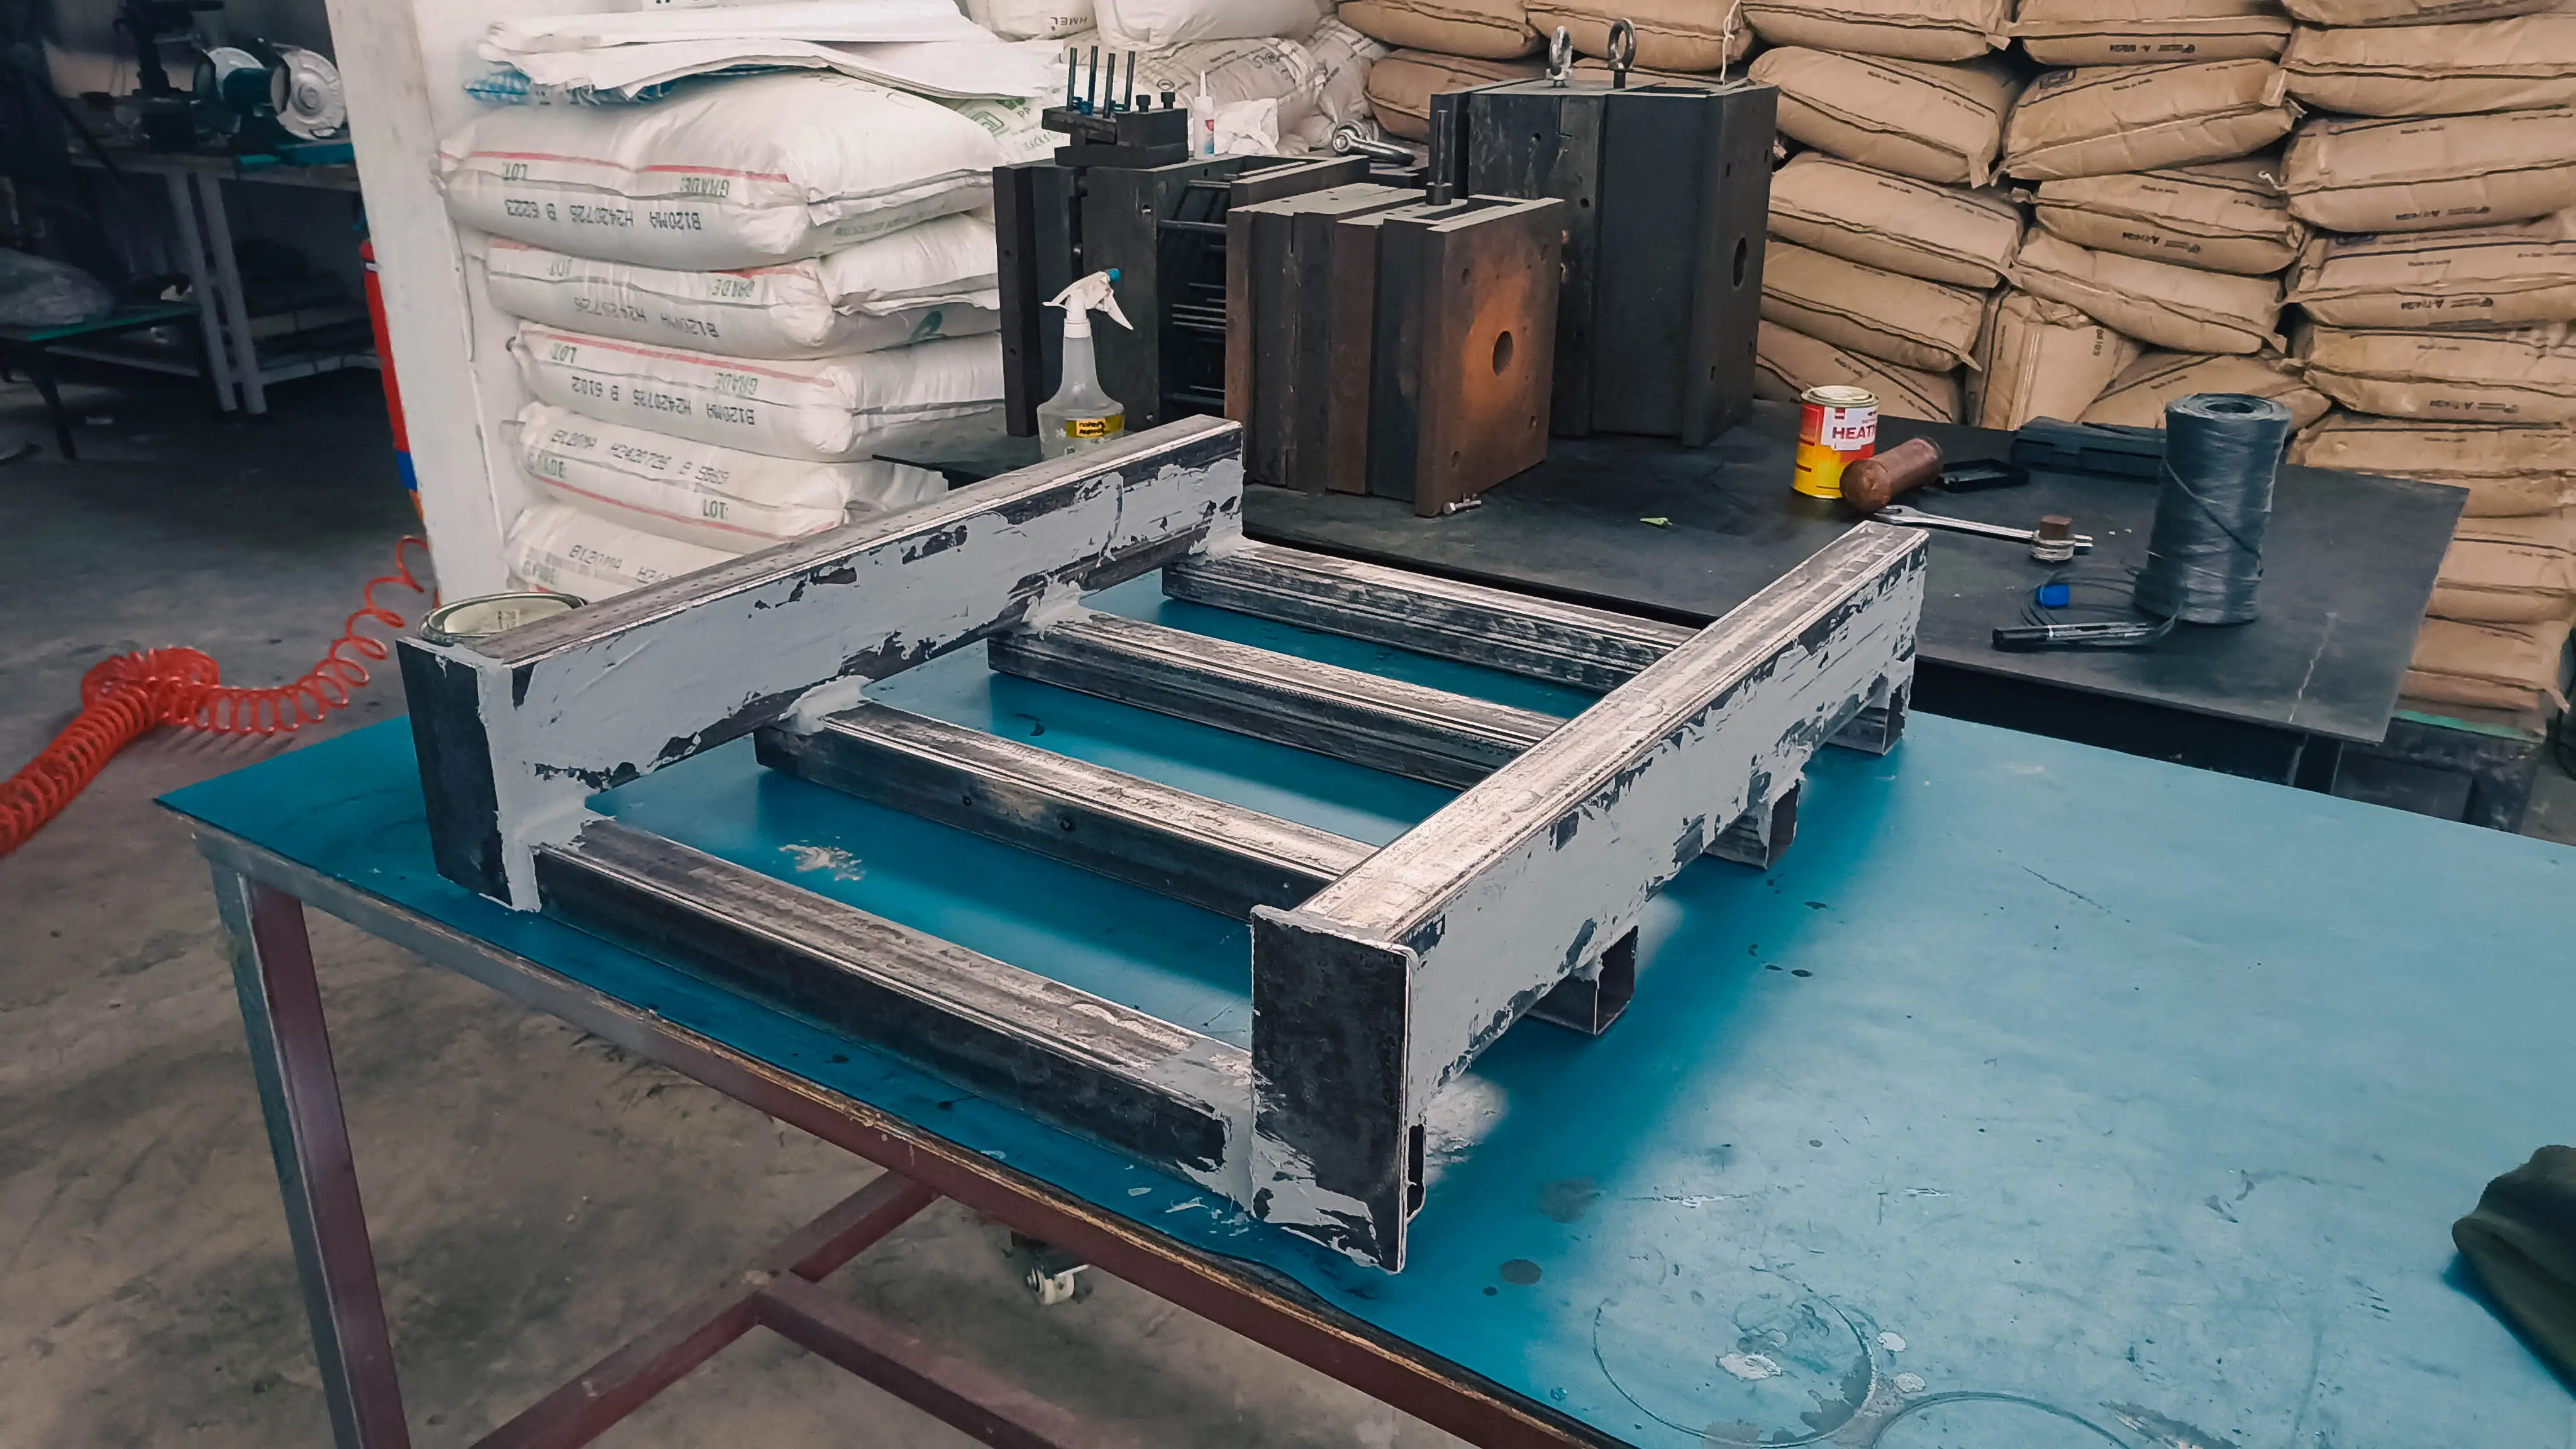
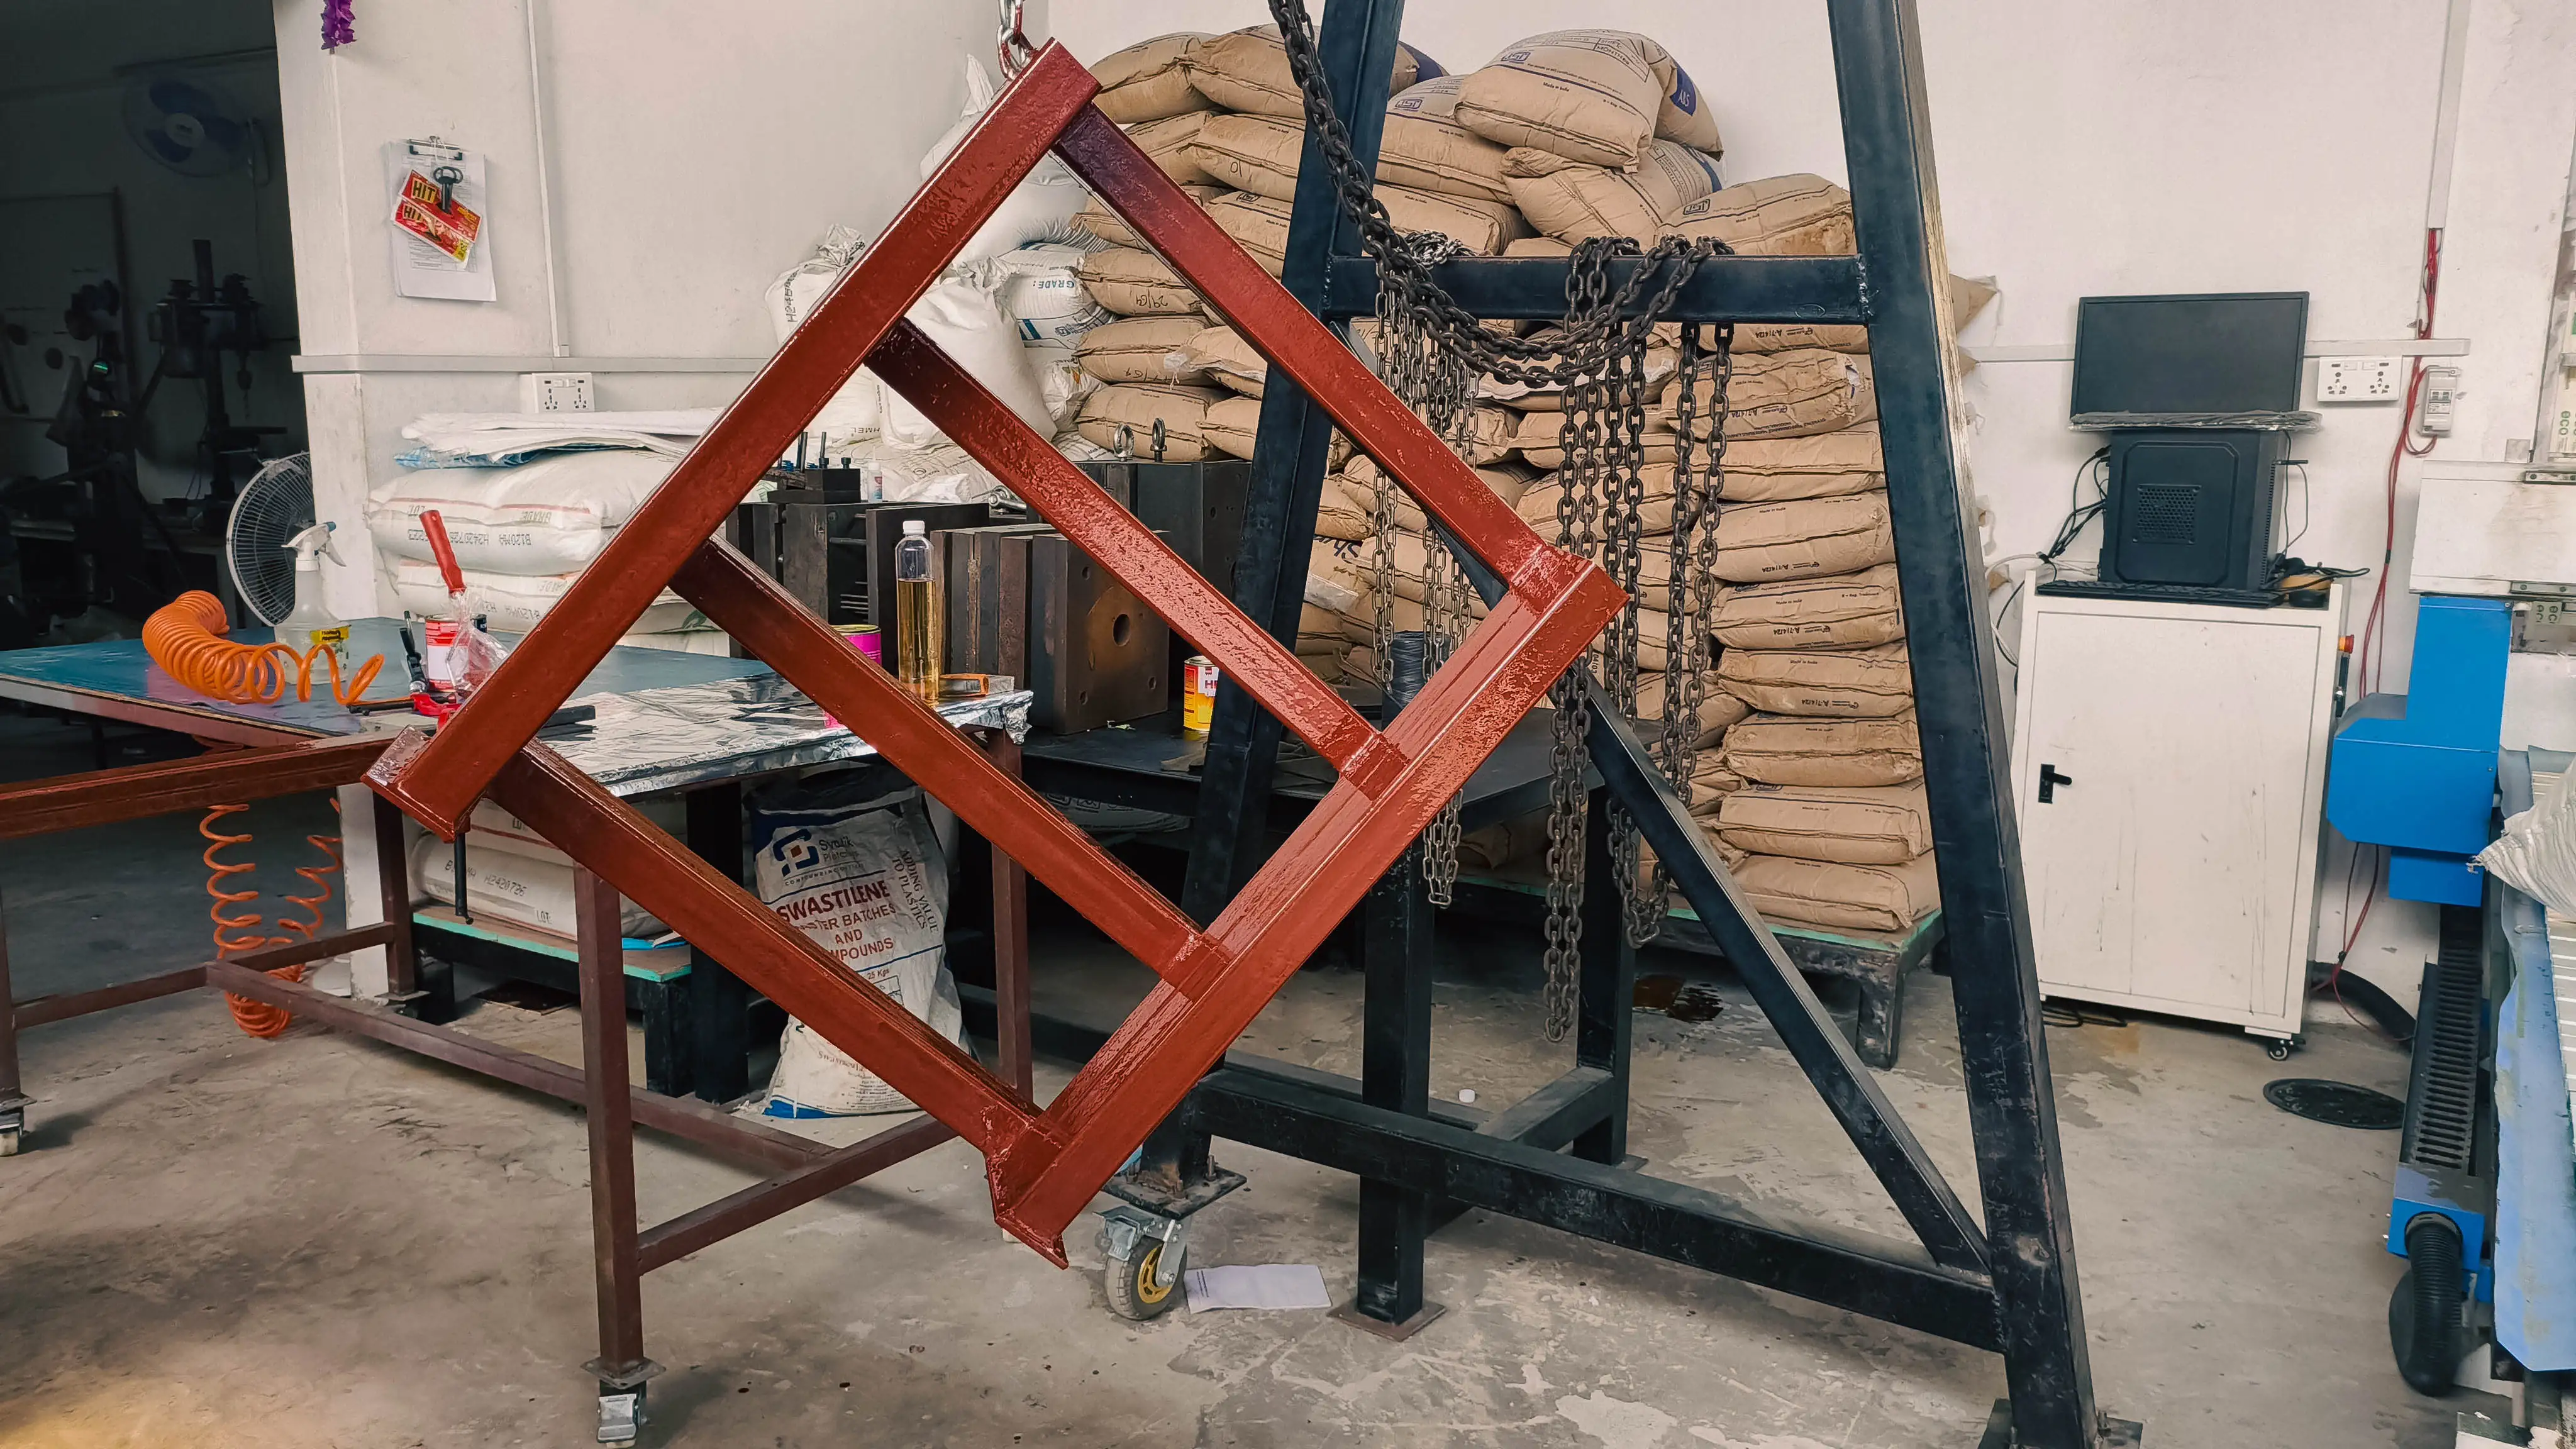
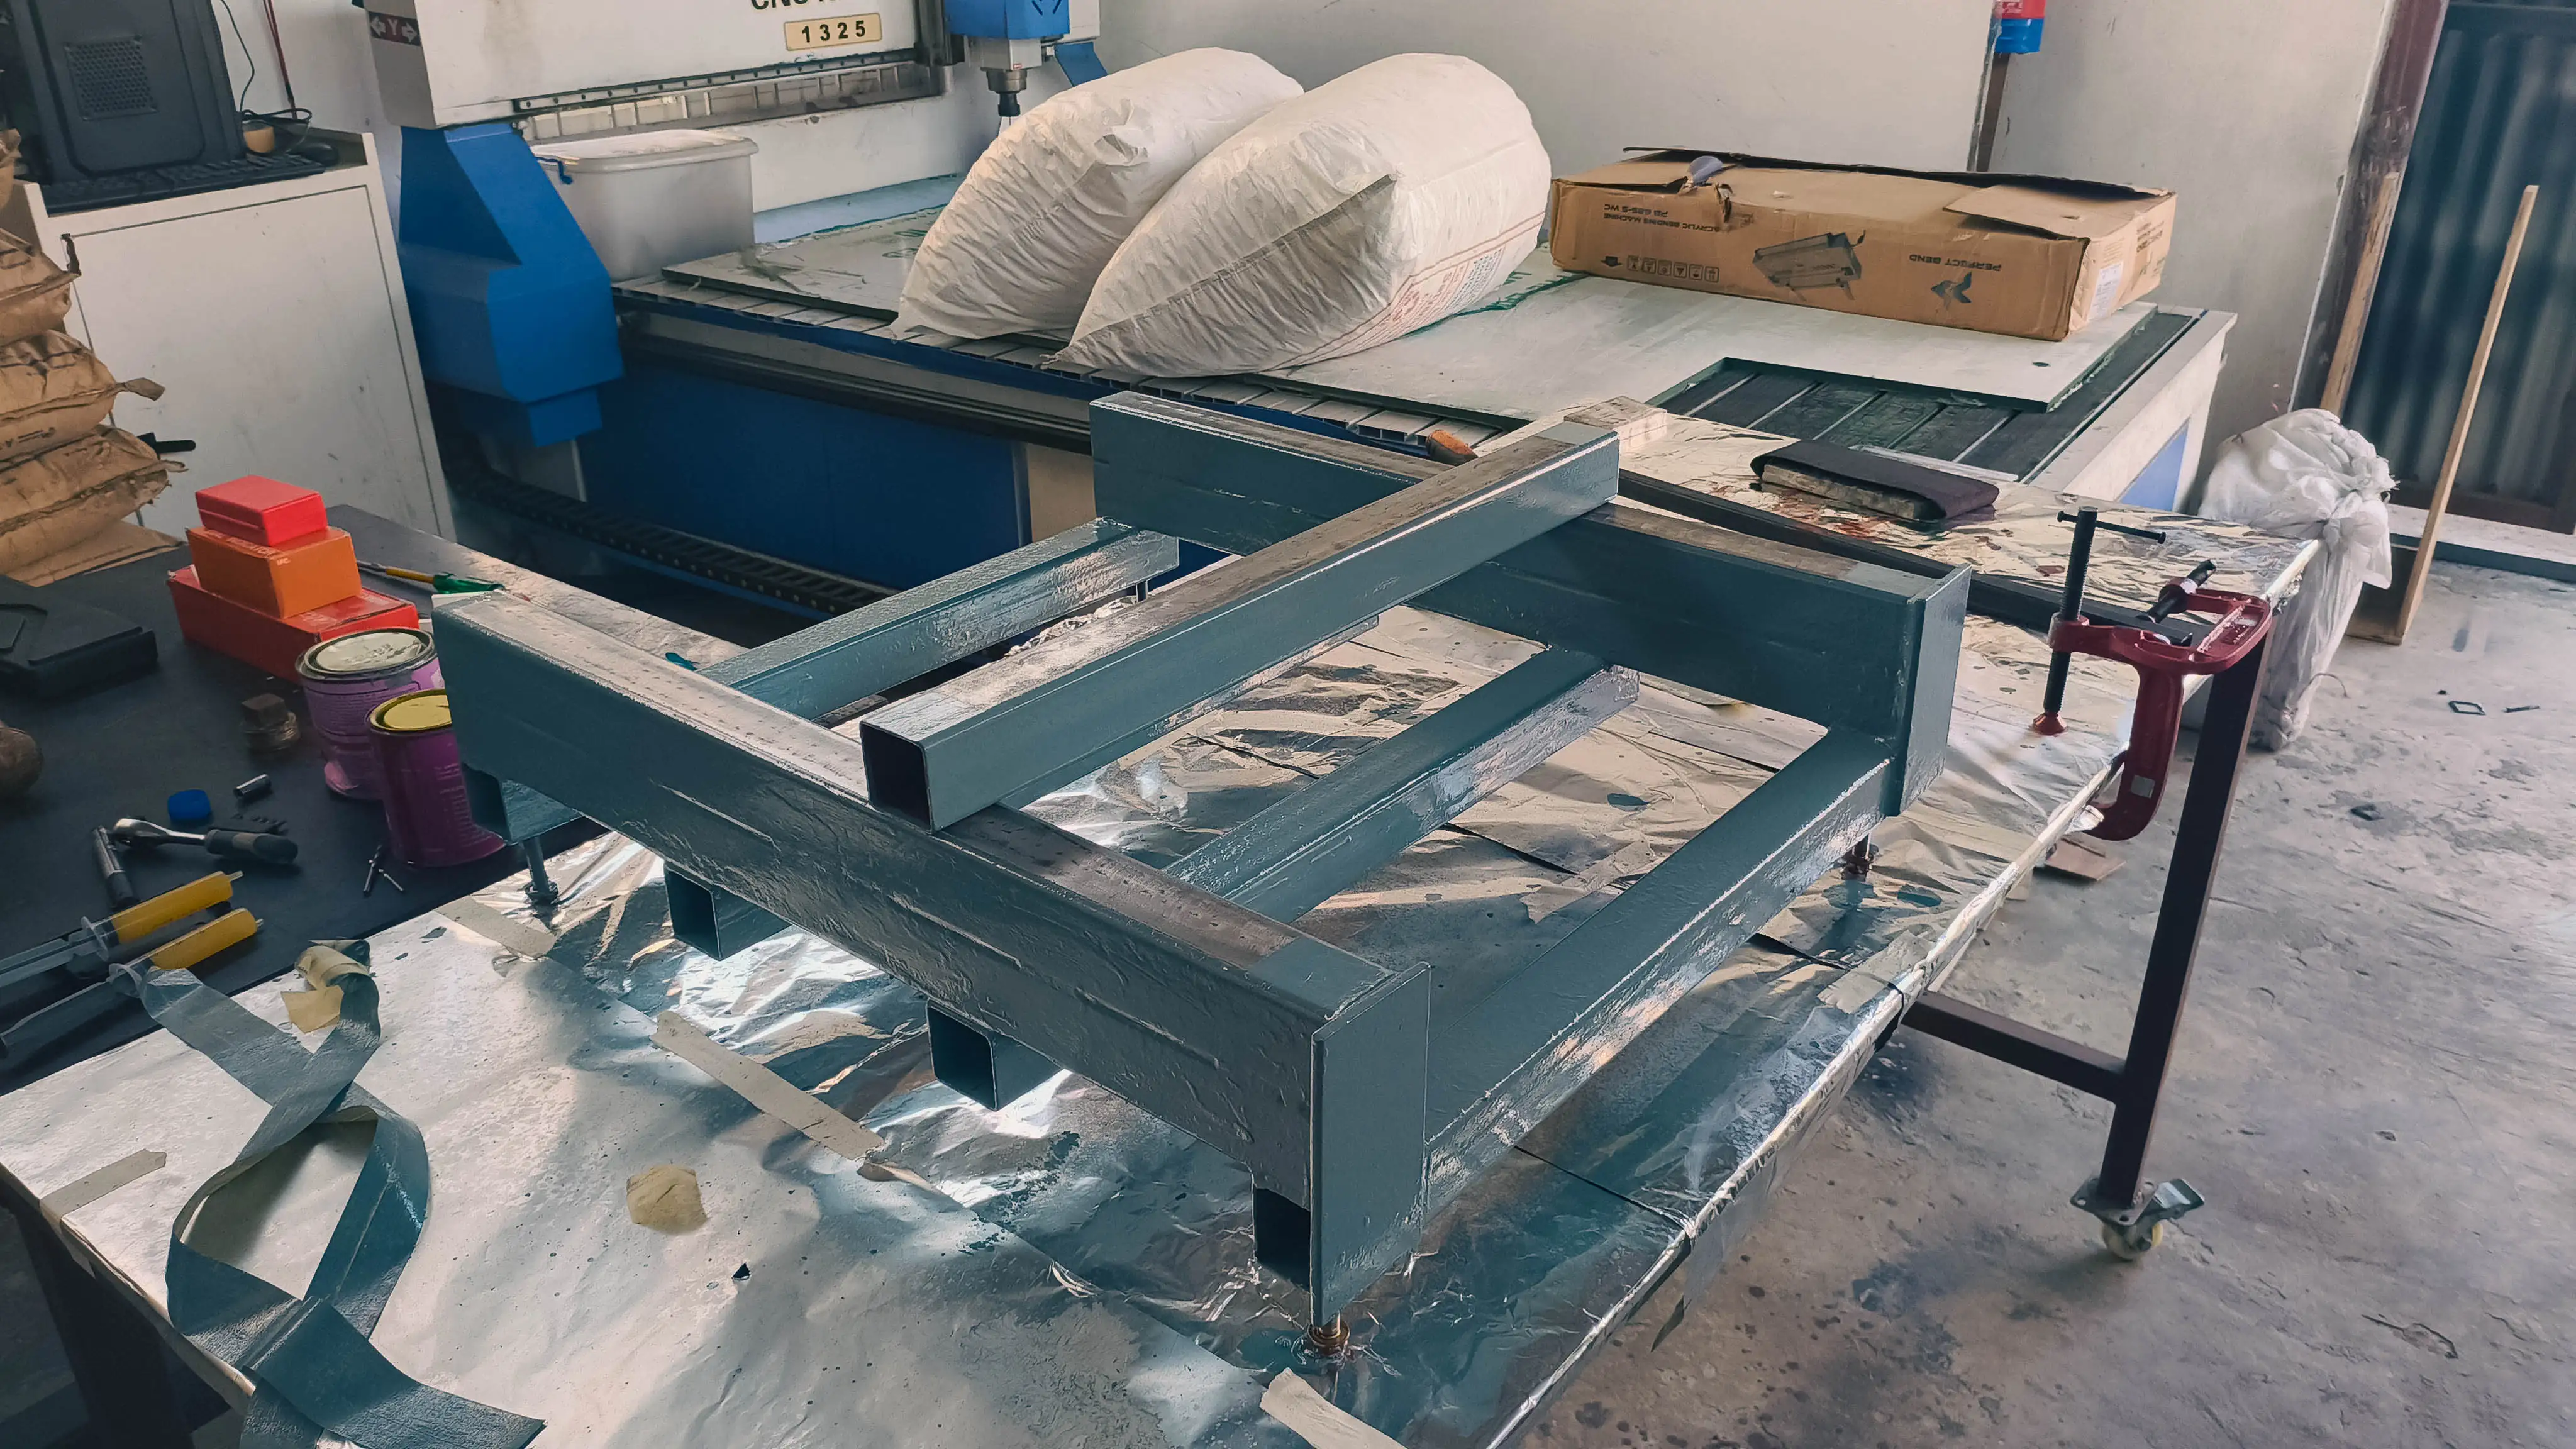
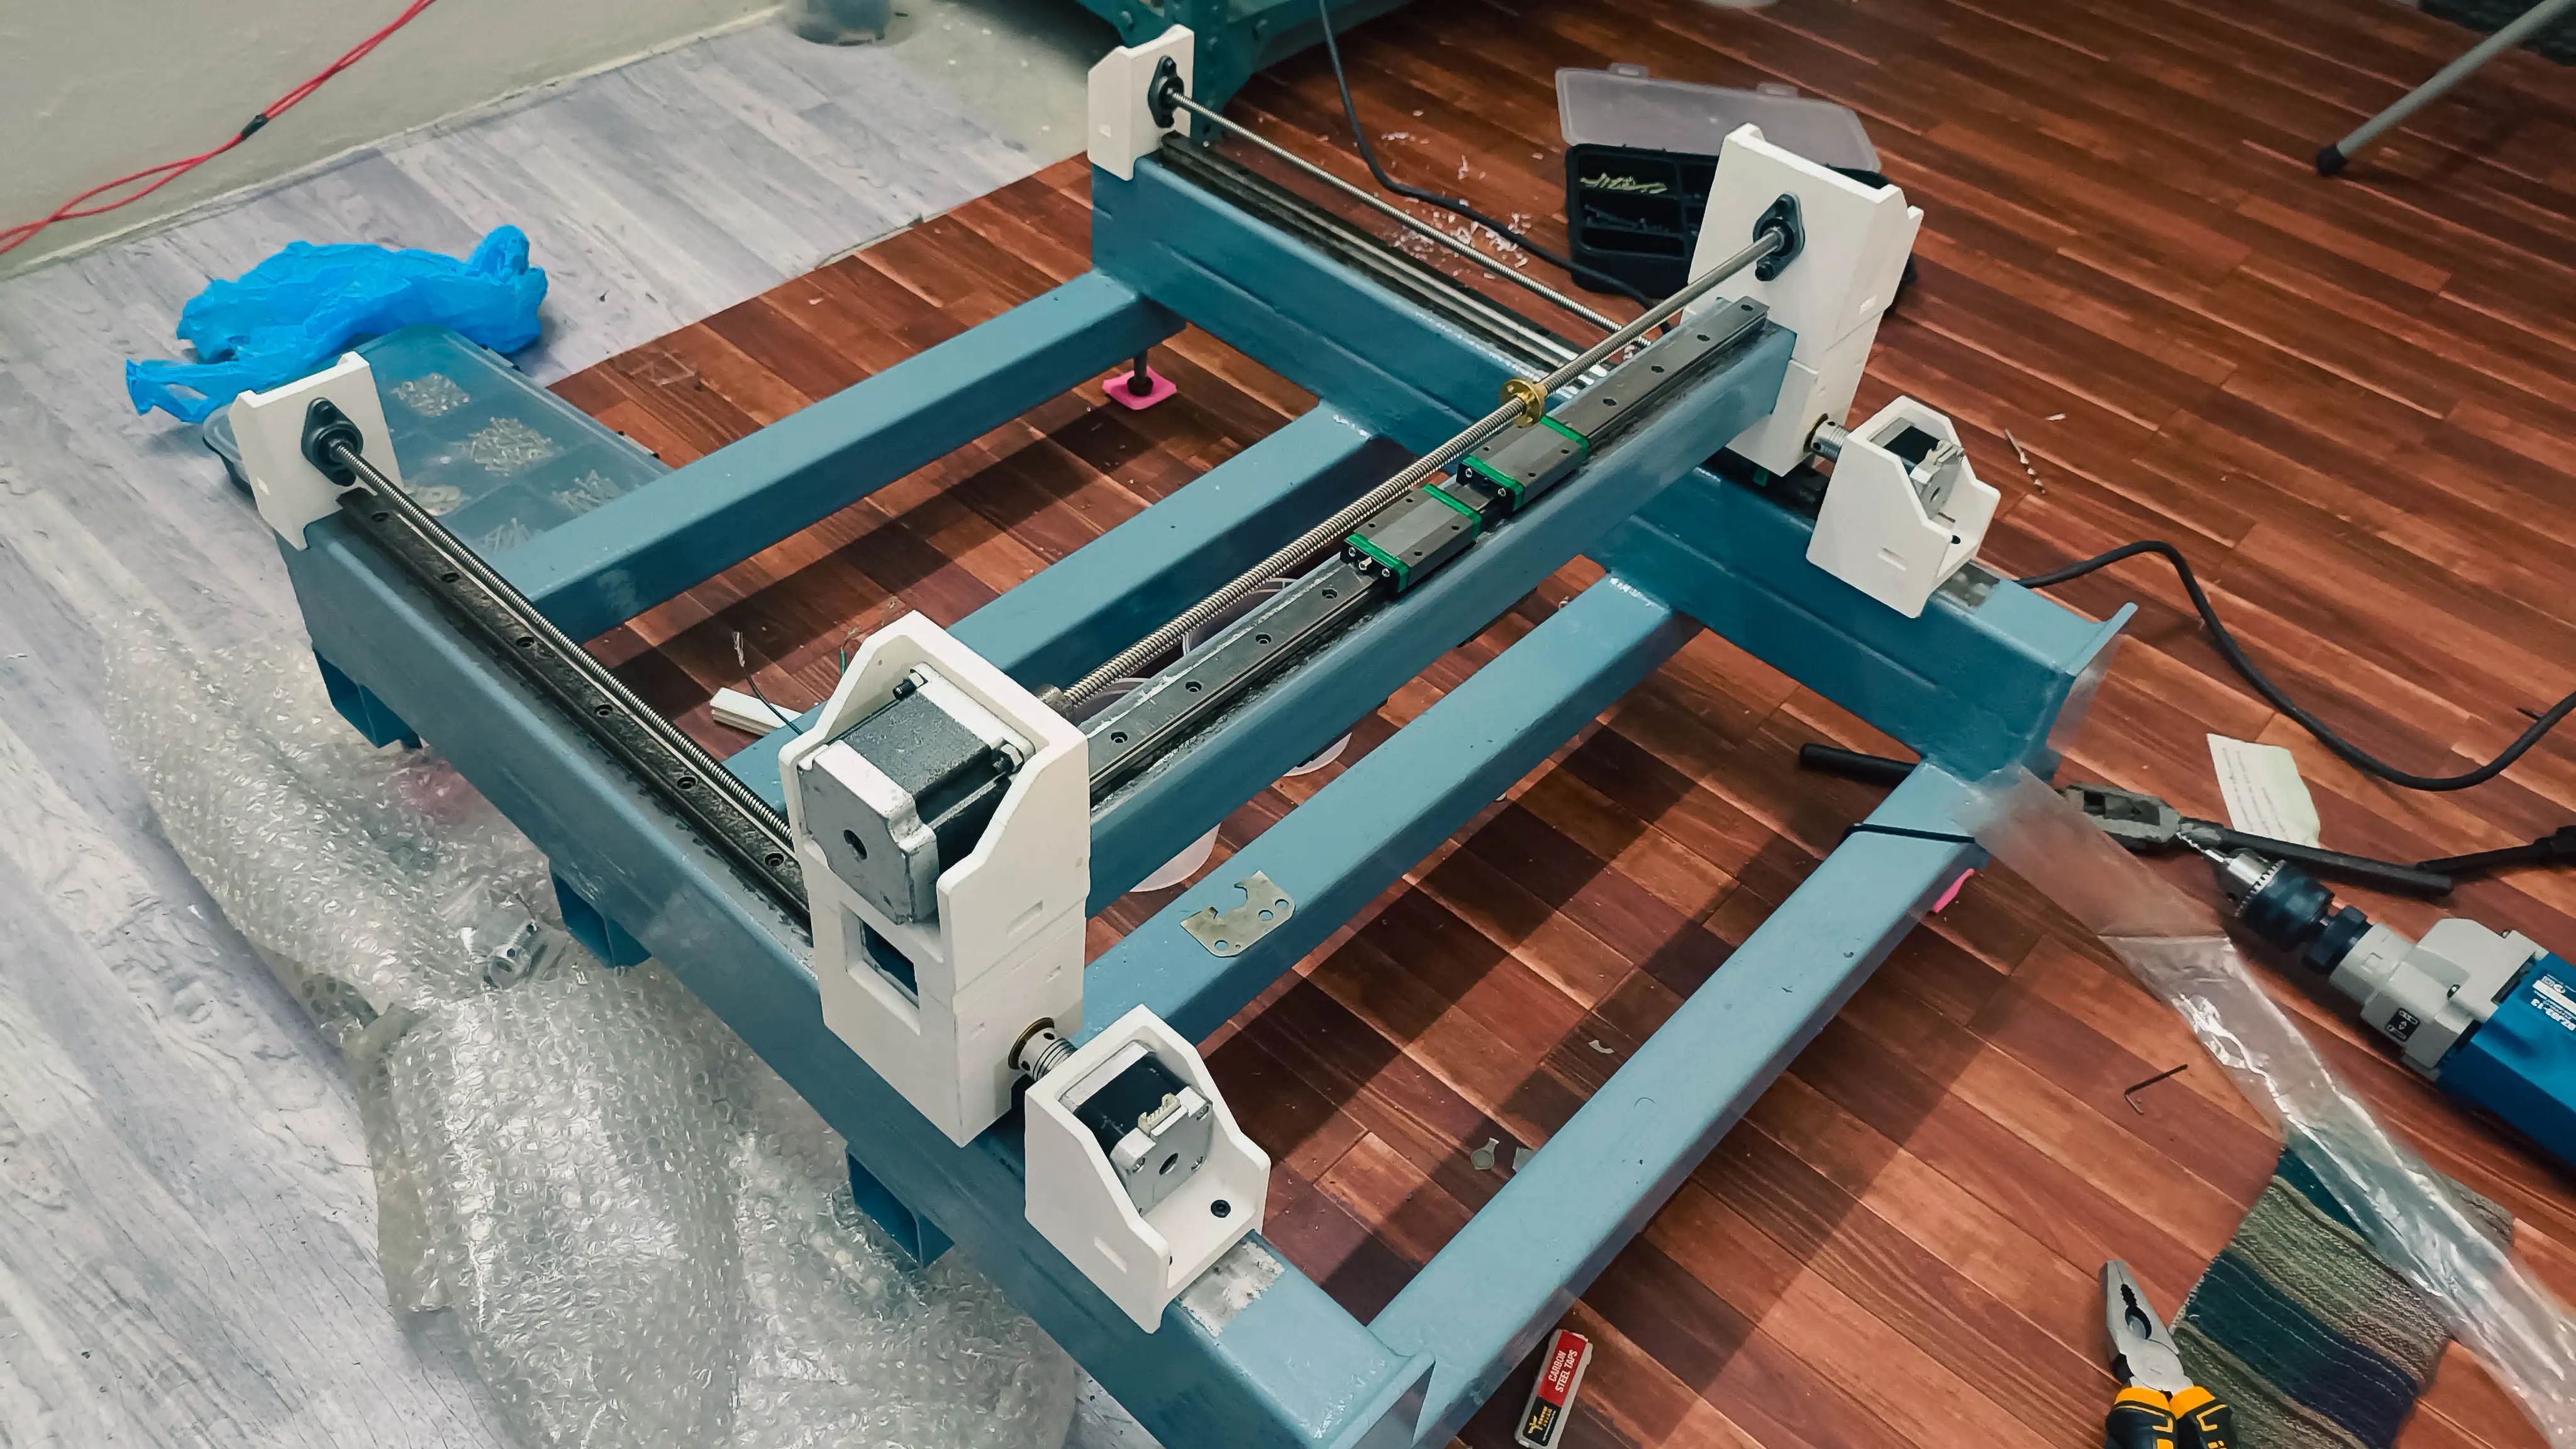
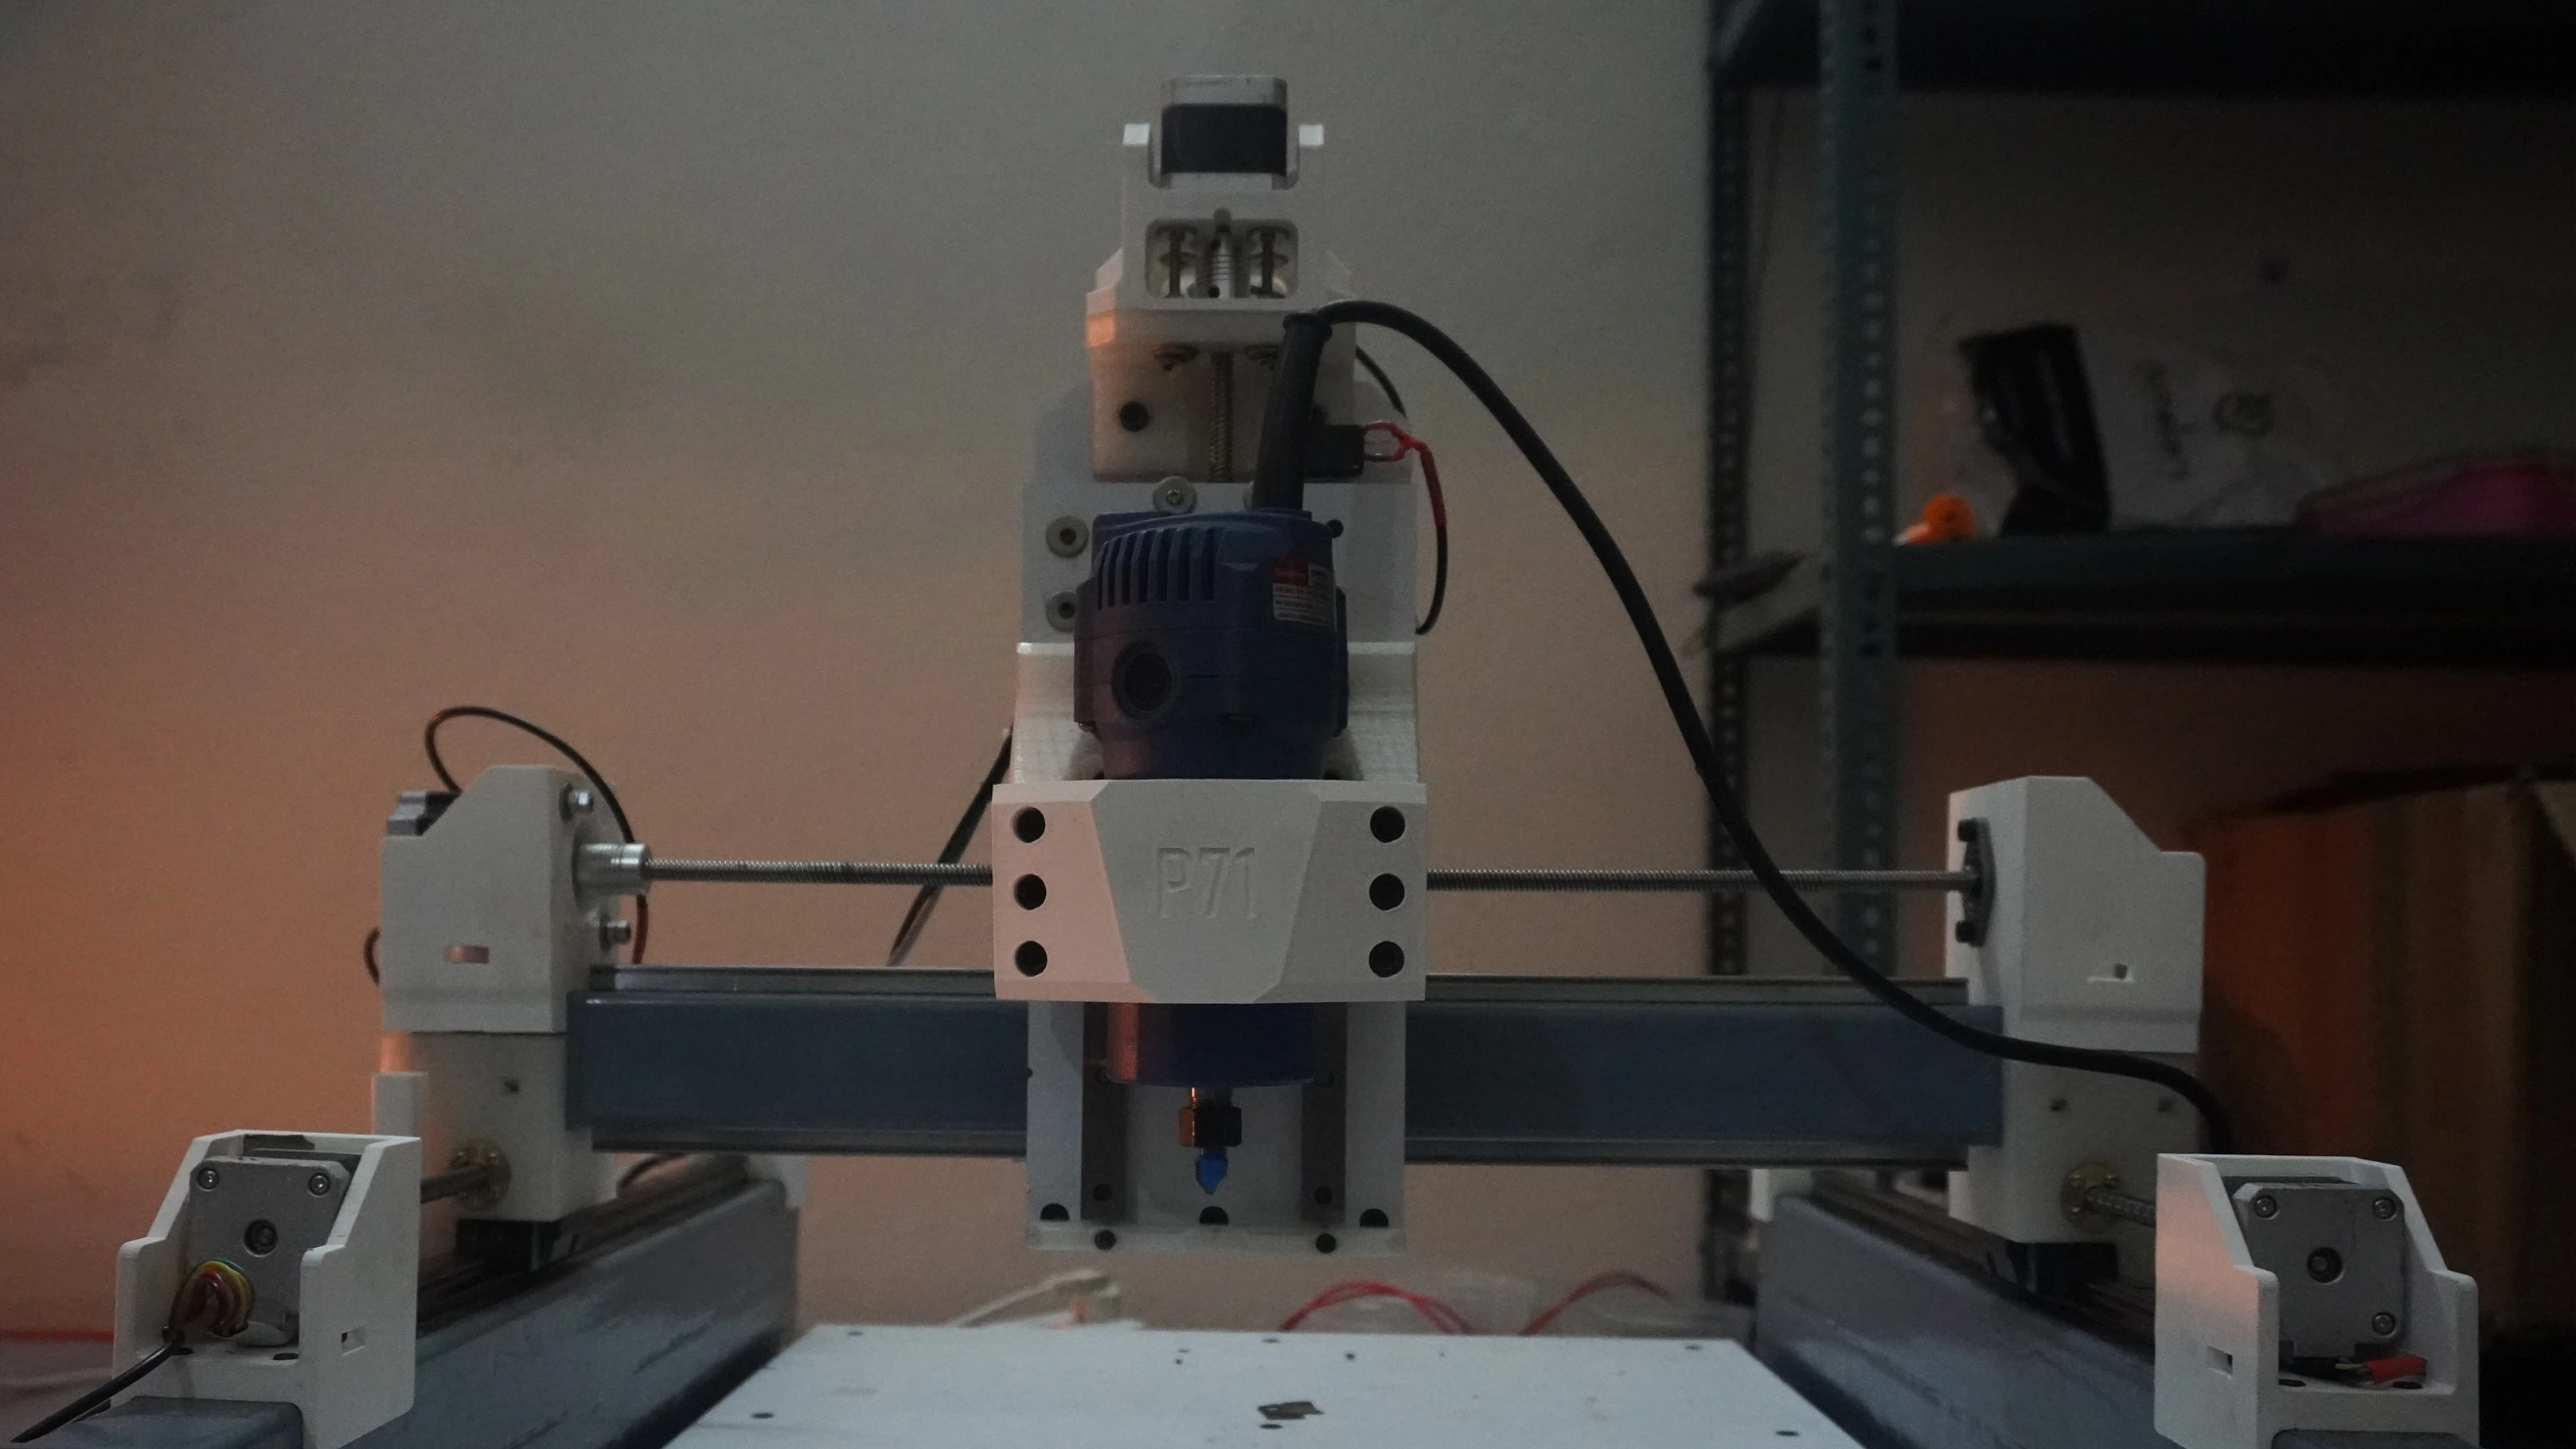
- The Frame: Built with 2mm thick, 50mm x 50mm structural tube steel for stability, featuring precise mounts for linear rails to ensure smooth motion. Although the tubes are hollow, I haven’t noticed any significant vibrations. However, there’s always the option to fill them with sand or epoxy granite later for added damping. The steel frame weighs just 19 kg.
- Motion System: Linear rails on all three axes for smooth and precise movement, with lead screws driving each axis. While I’d love to upgrade to ball screws, cost considerations have me holding off until it becomes a necessity.
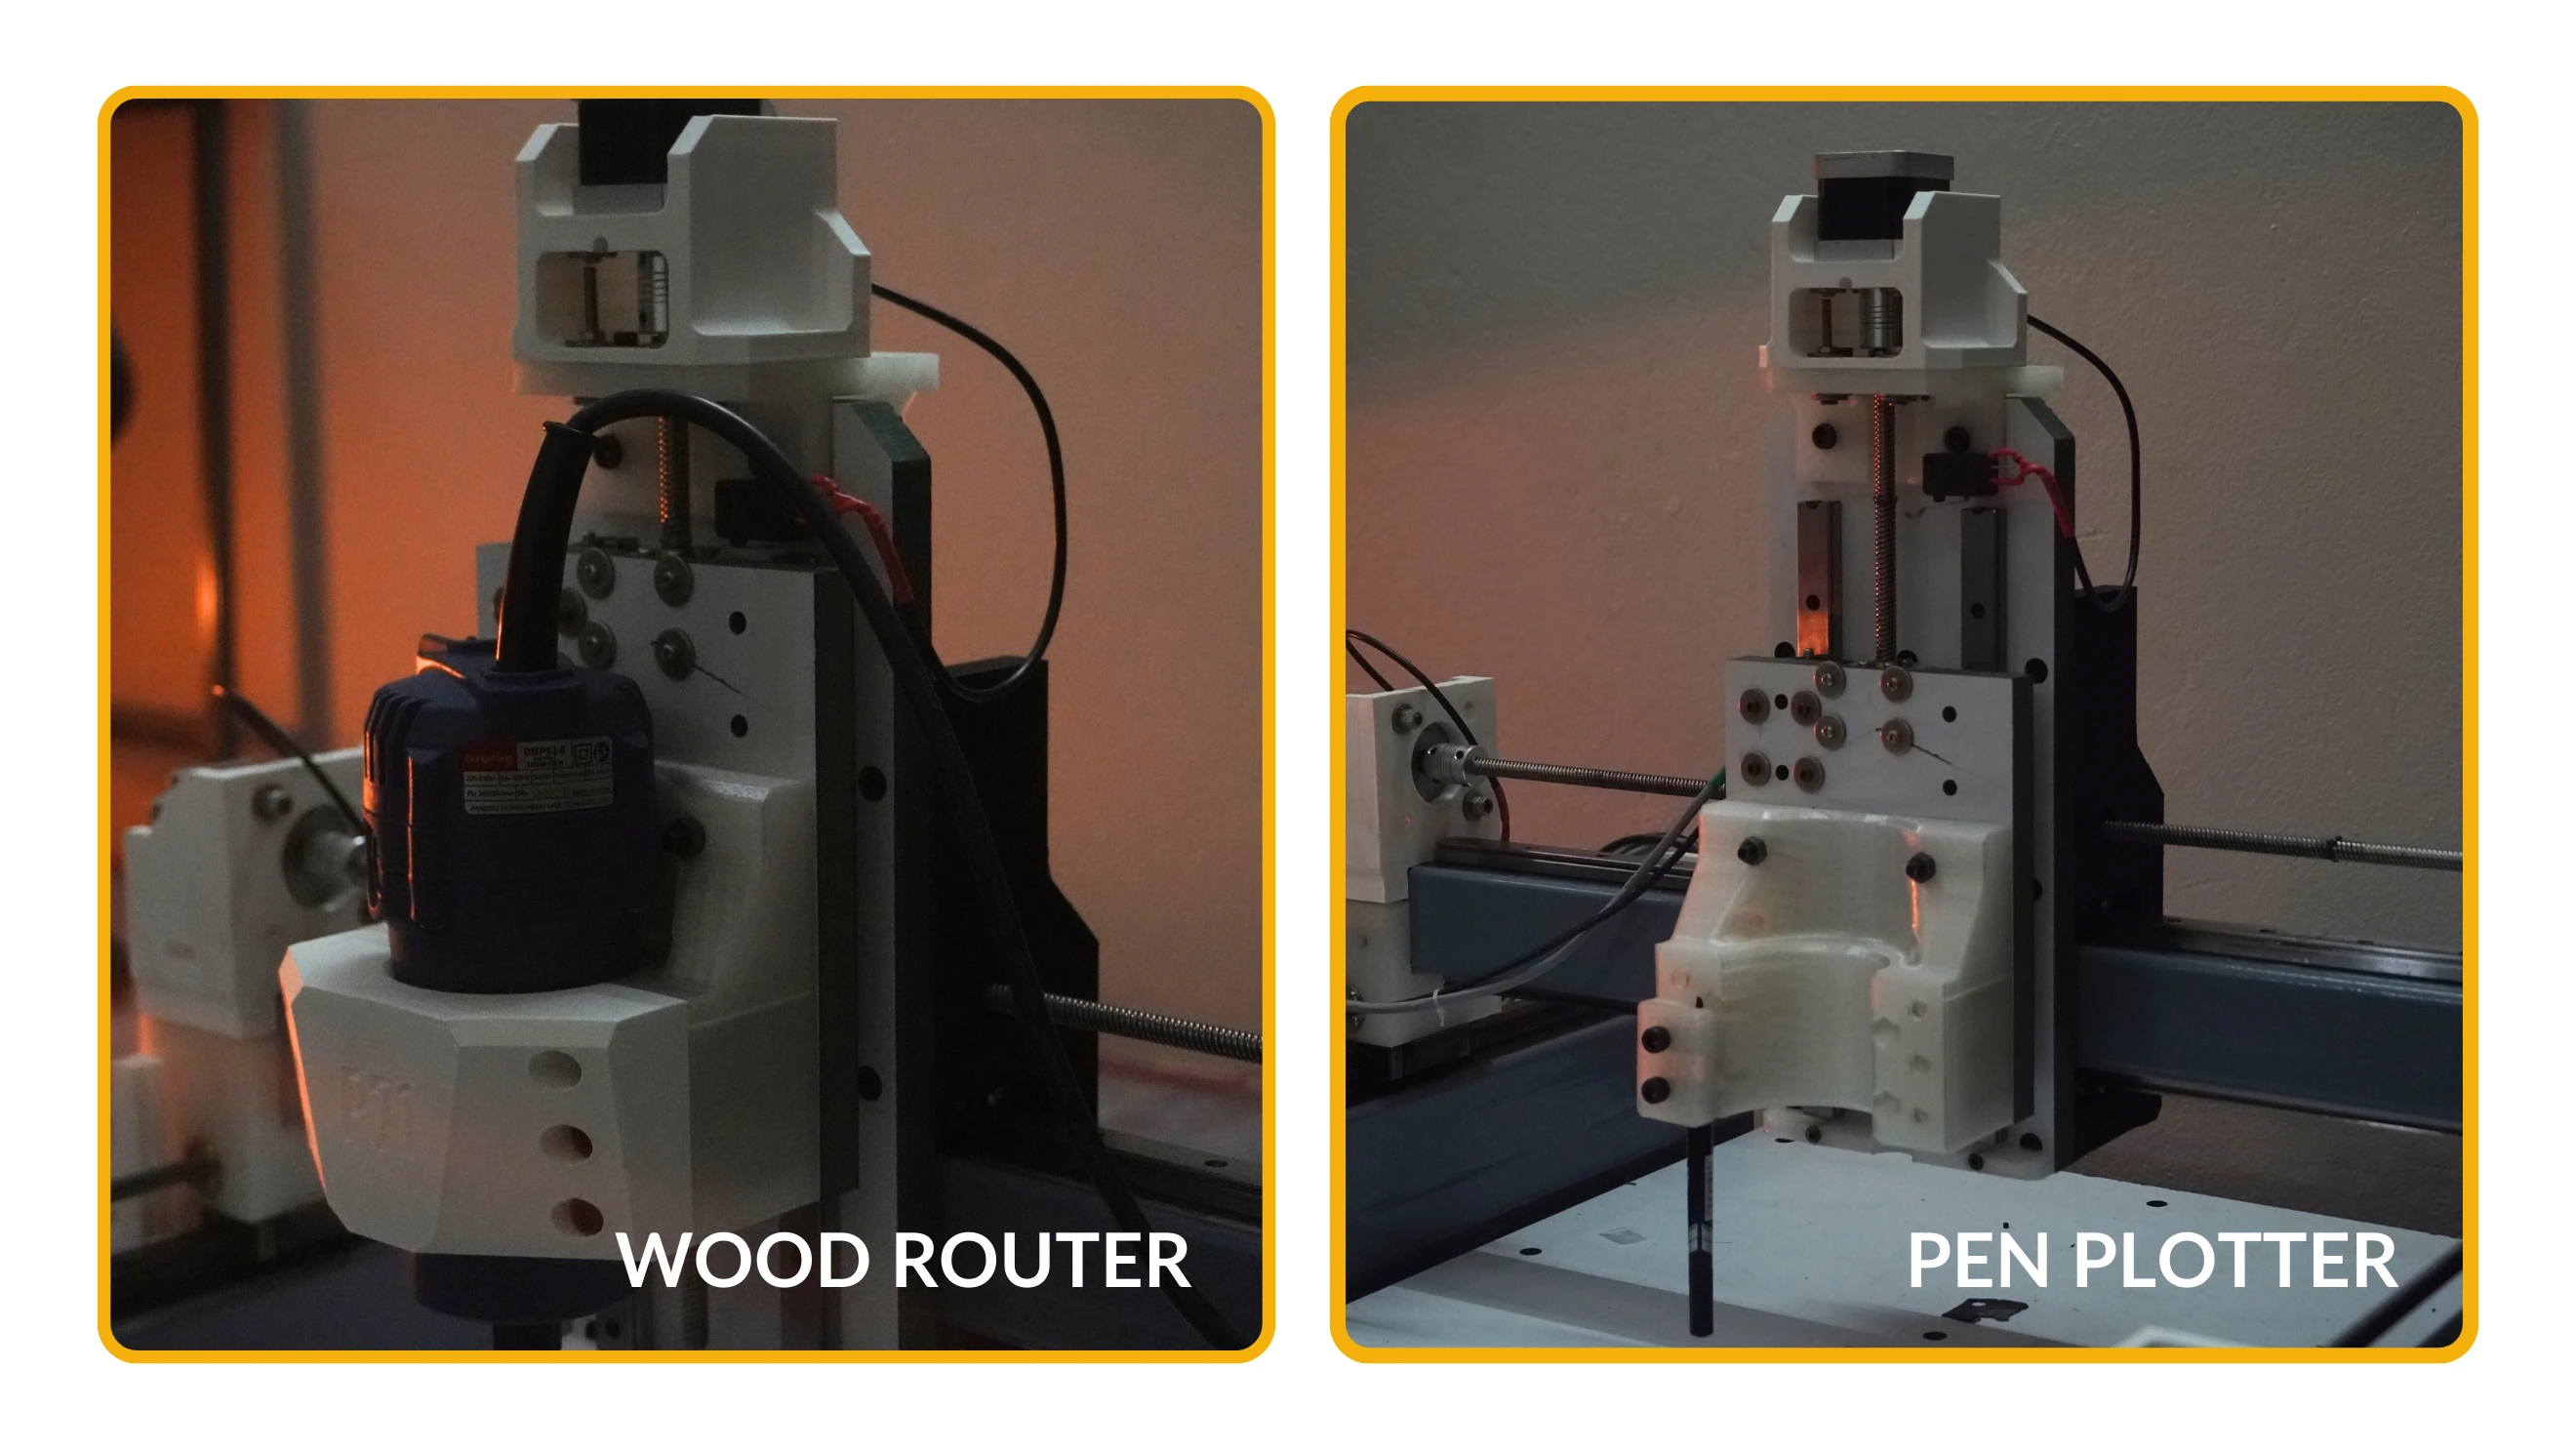
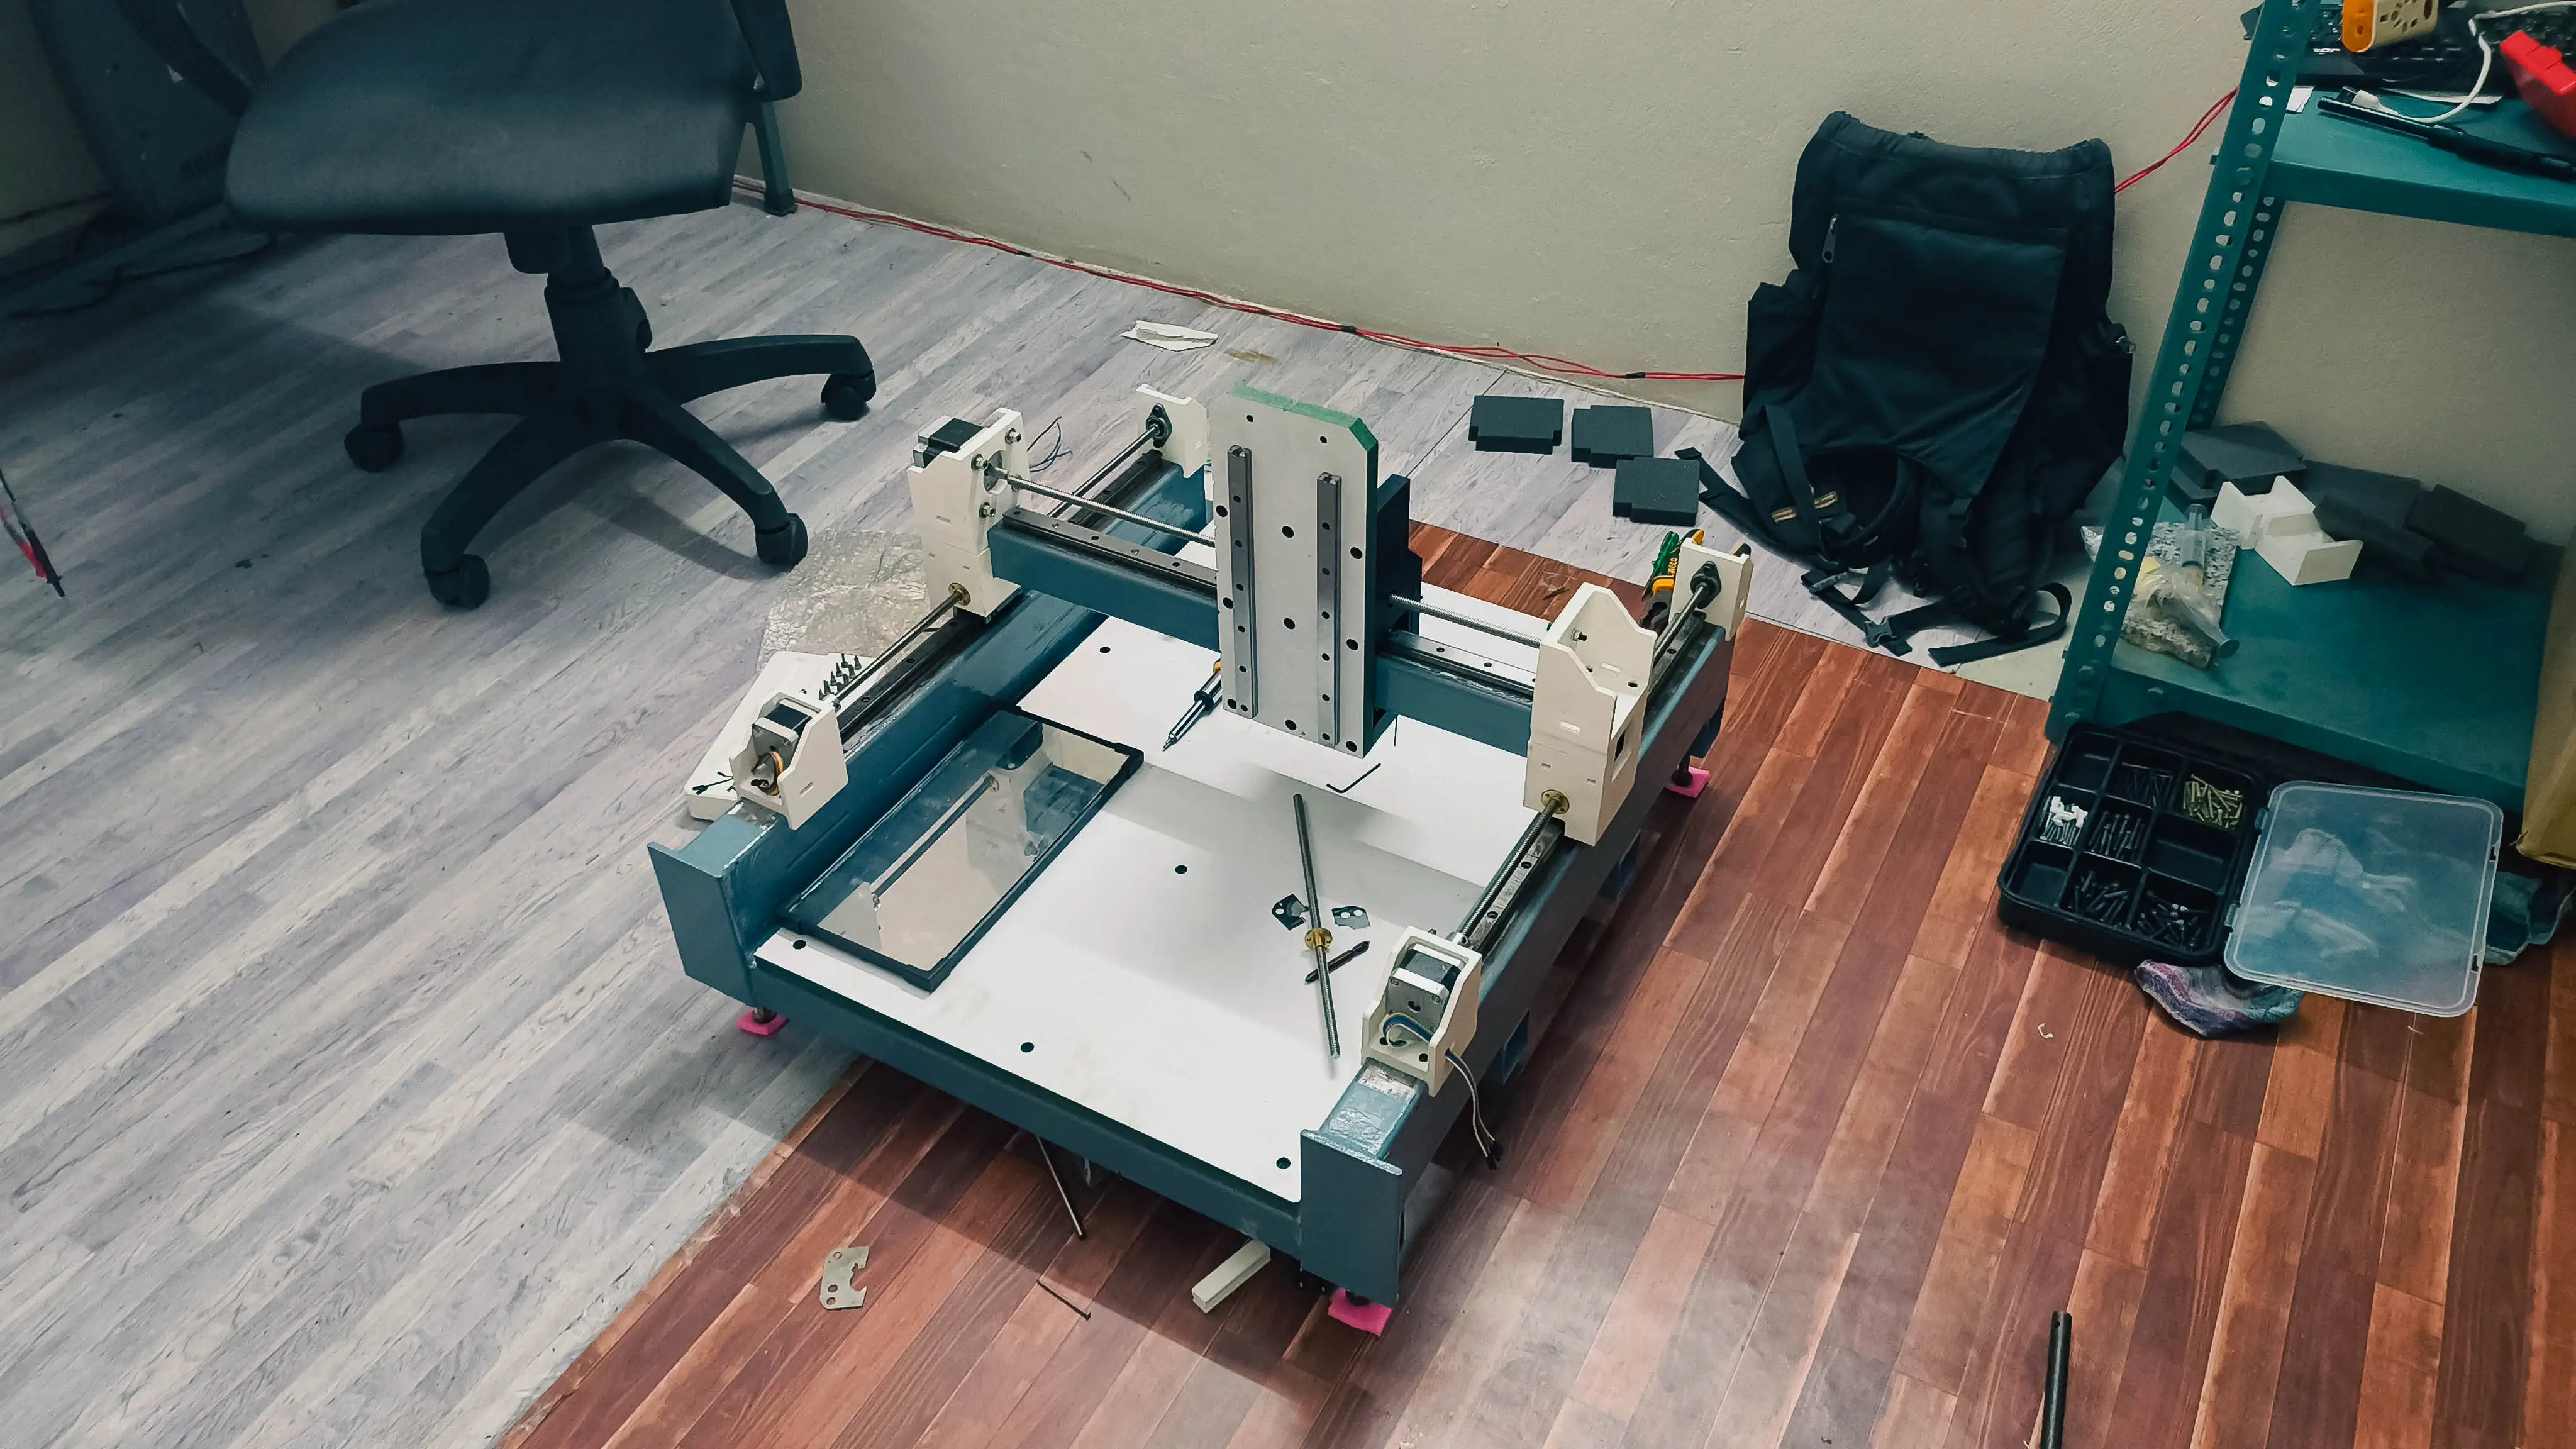
- Z-Axis Dynamics: A 25cm linear rail ensured smooth vertical transitions, essential for detailed work. The Z-axis stepper motor is currently the weak link, struggling with torque under the spindle’s weight—a challenge I plan to address with a more powerful stepper motor in the future.
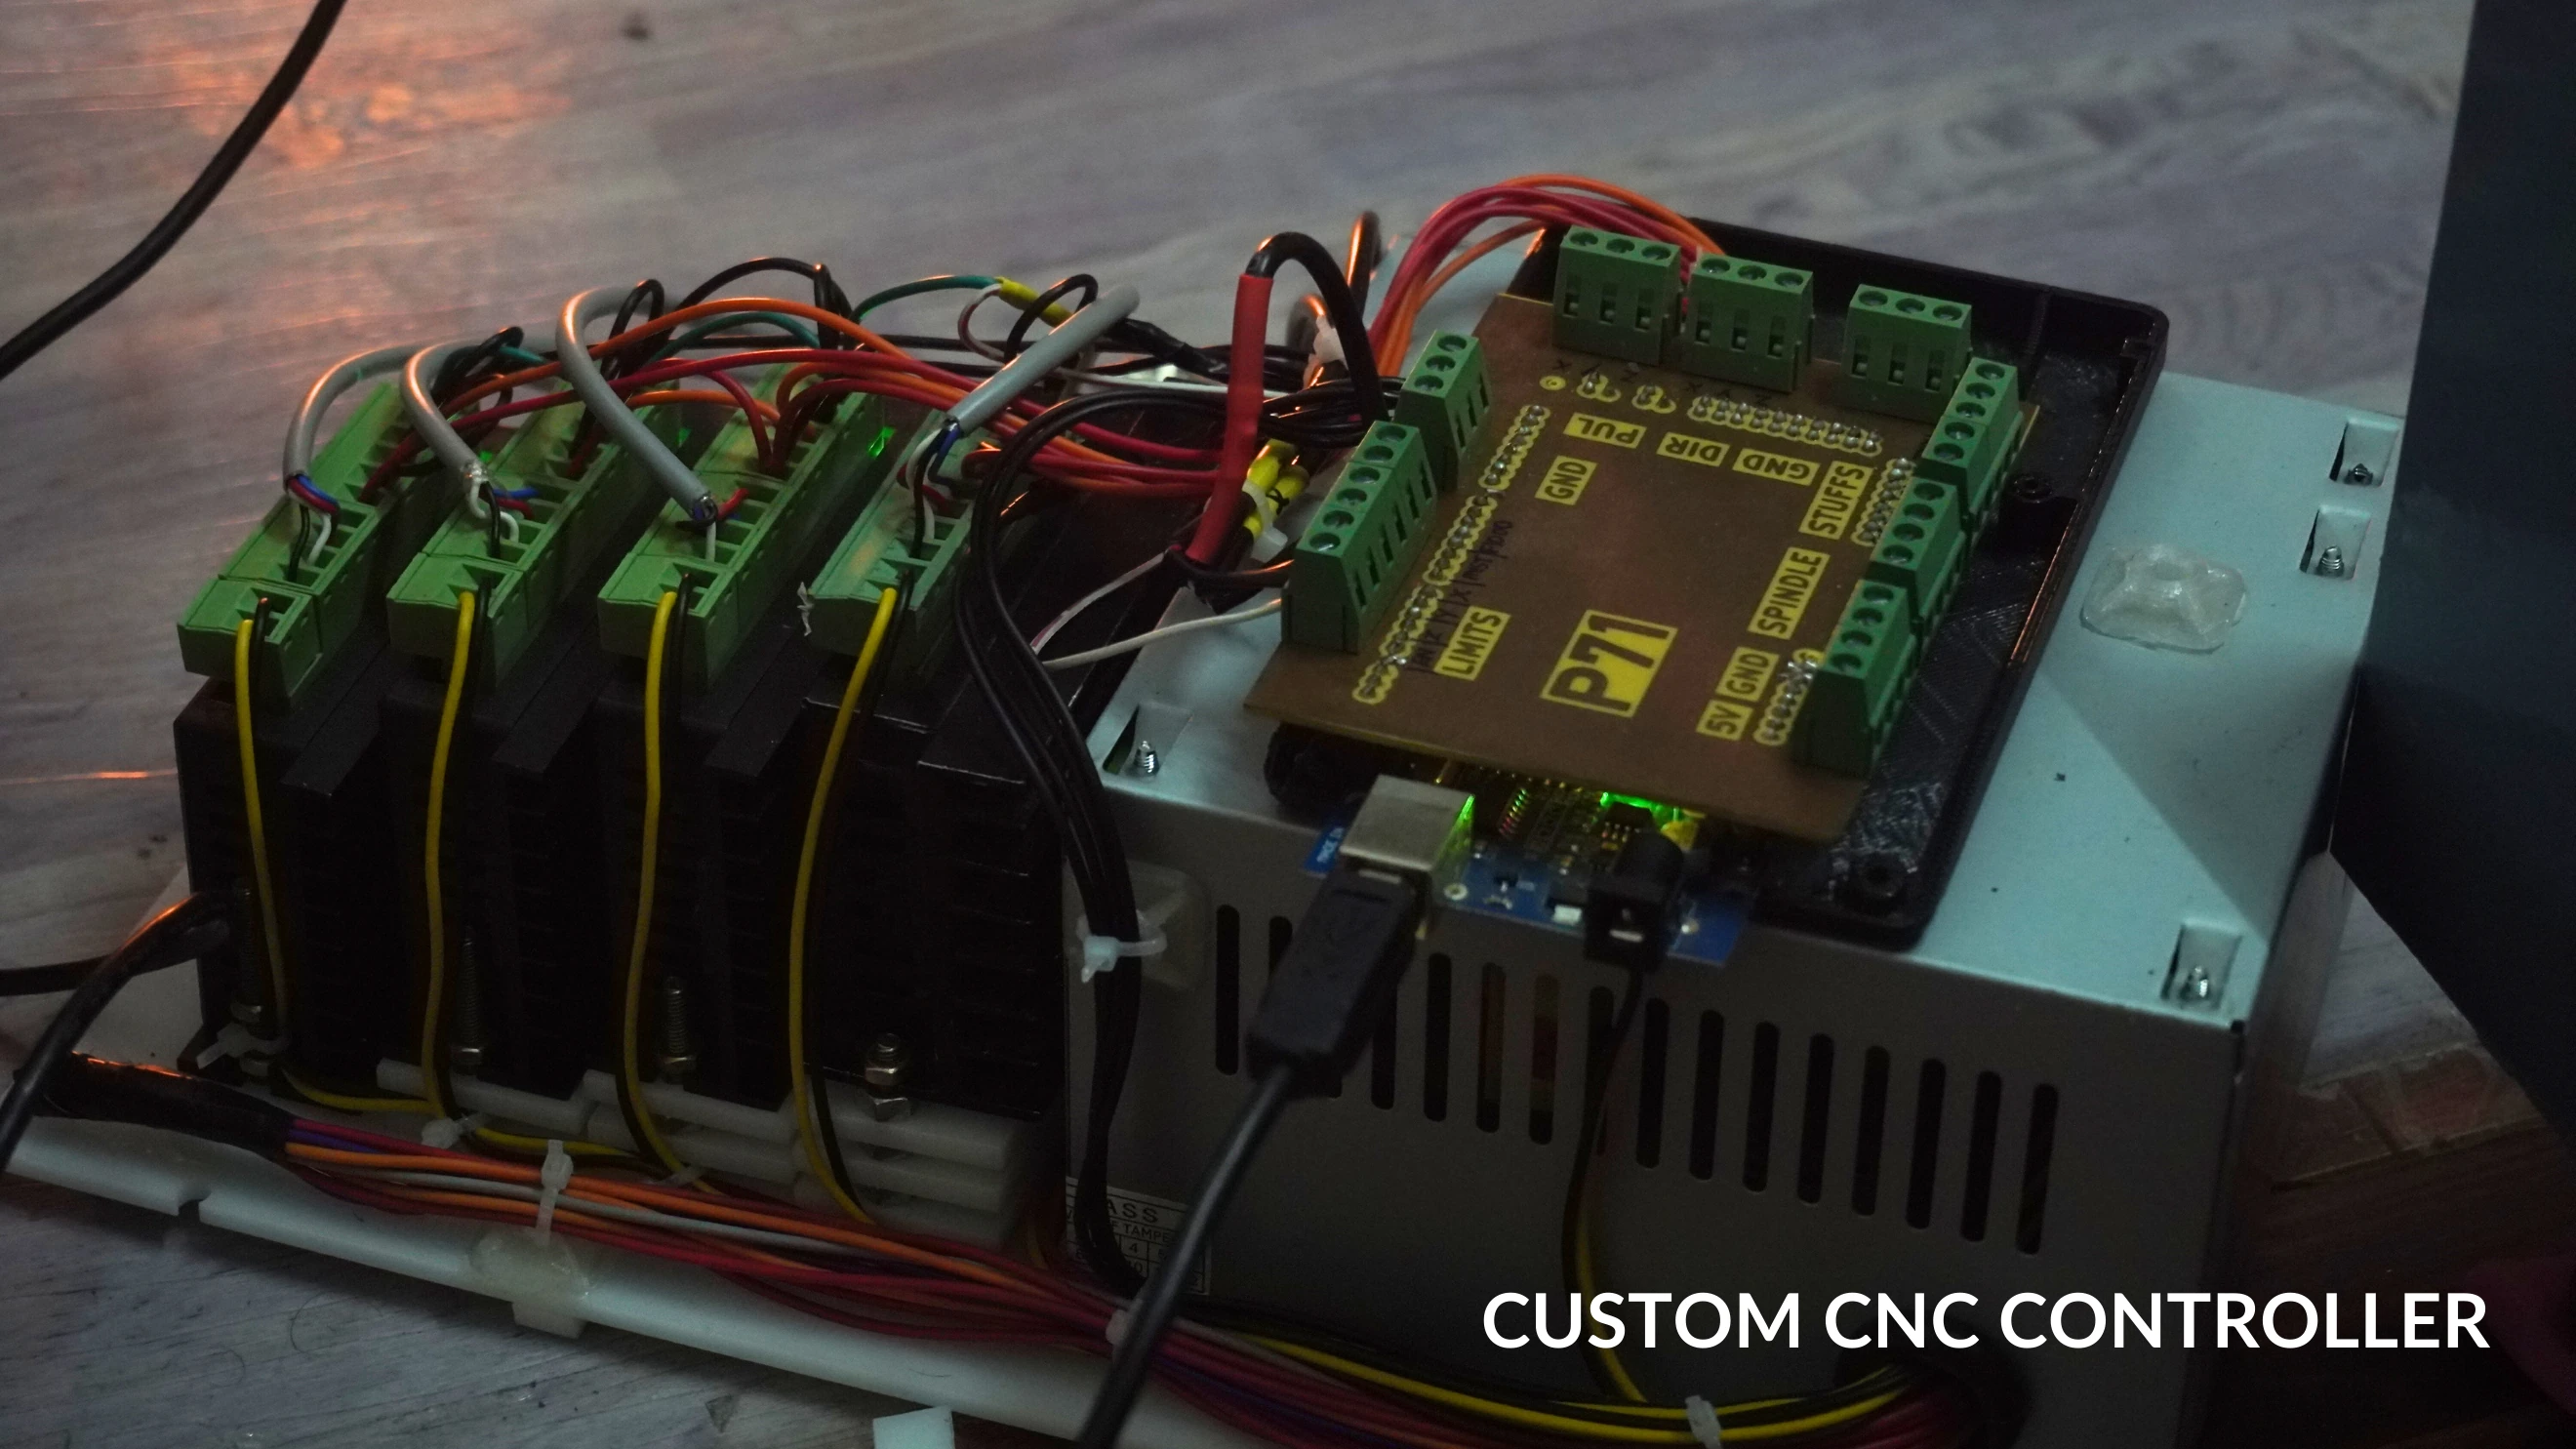
- The Heartbeat: NEMA 17 and NEMA 23 stepper motors powered by an Arduino Mega 2560 and TB6600 drivers. It’s a blend of simplicity and control that hits the sweet spot for DIY CNC projects.
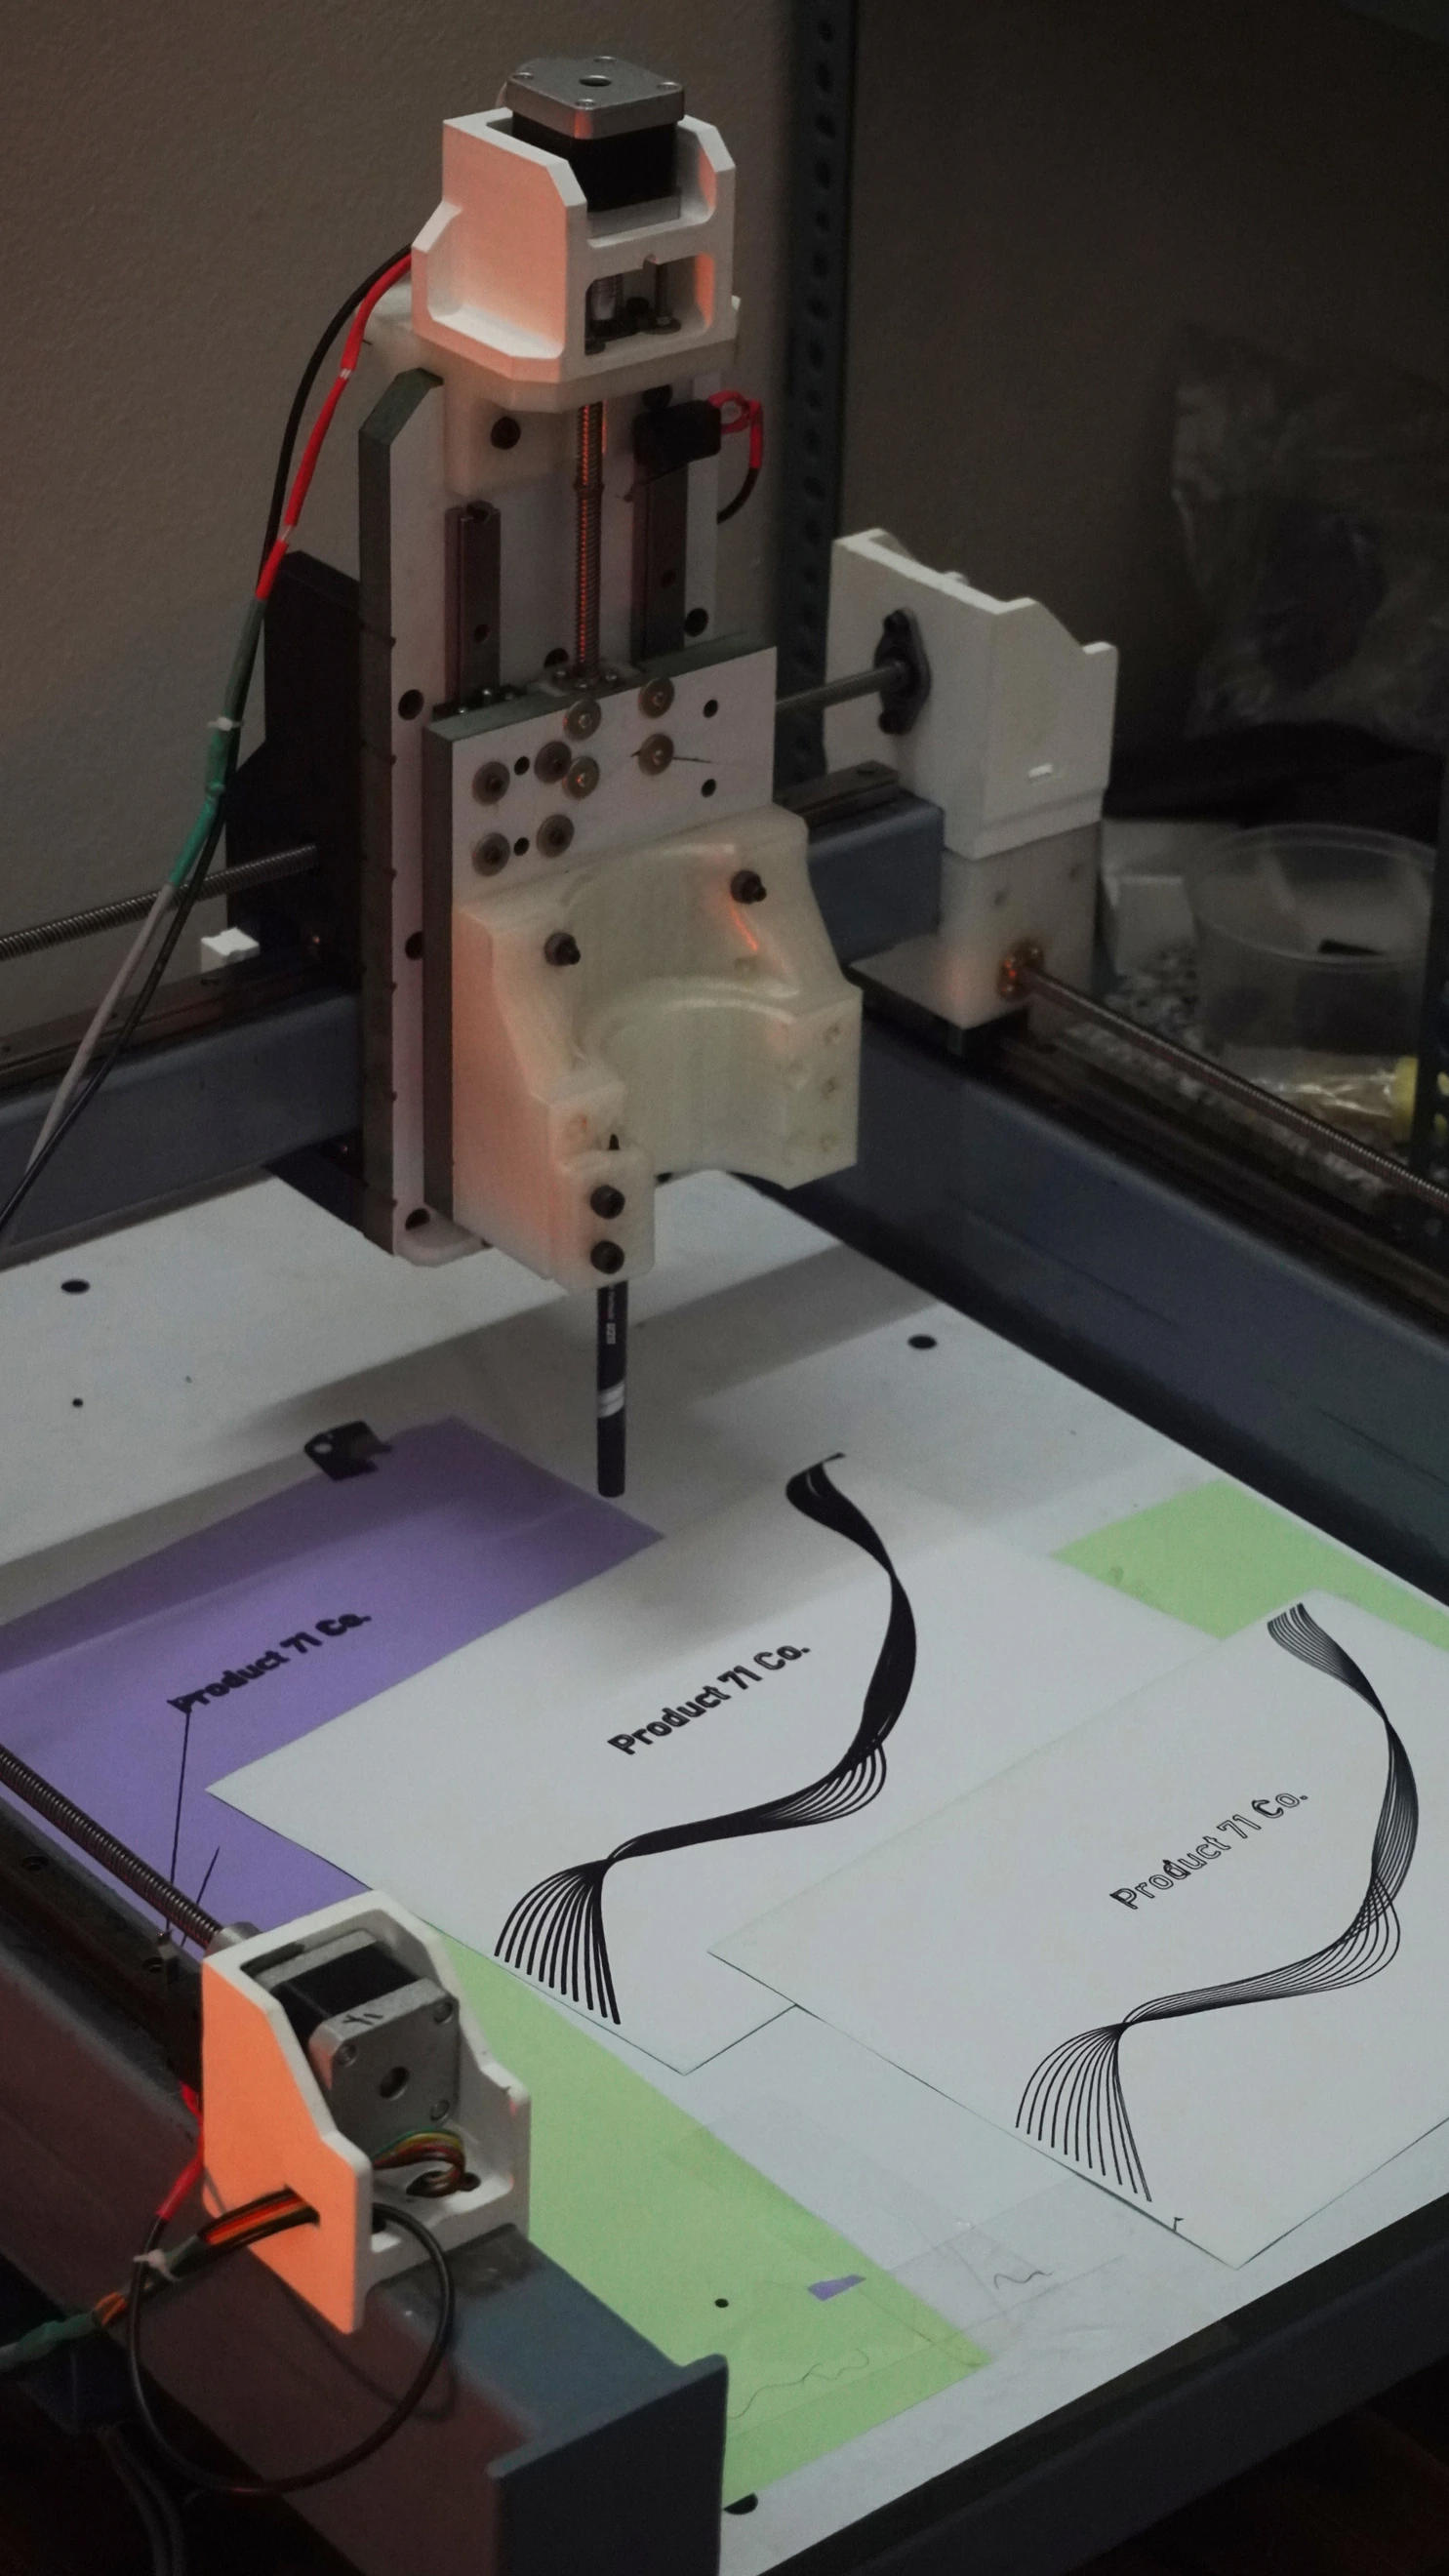
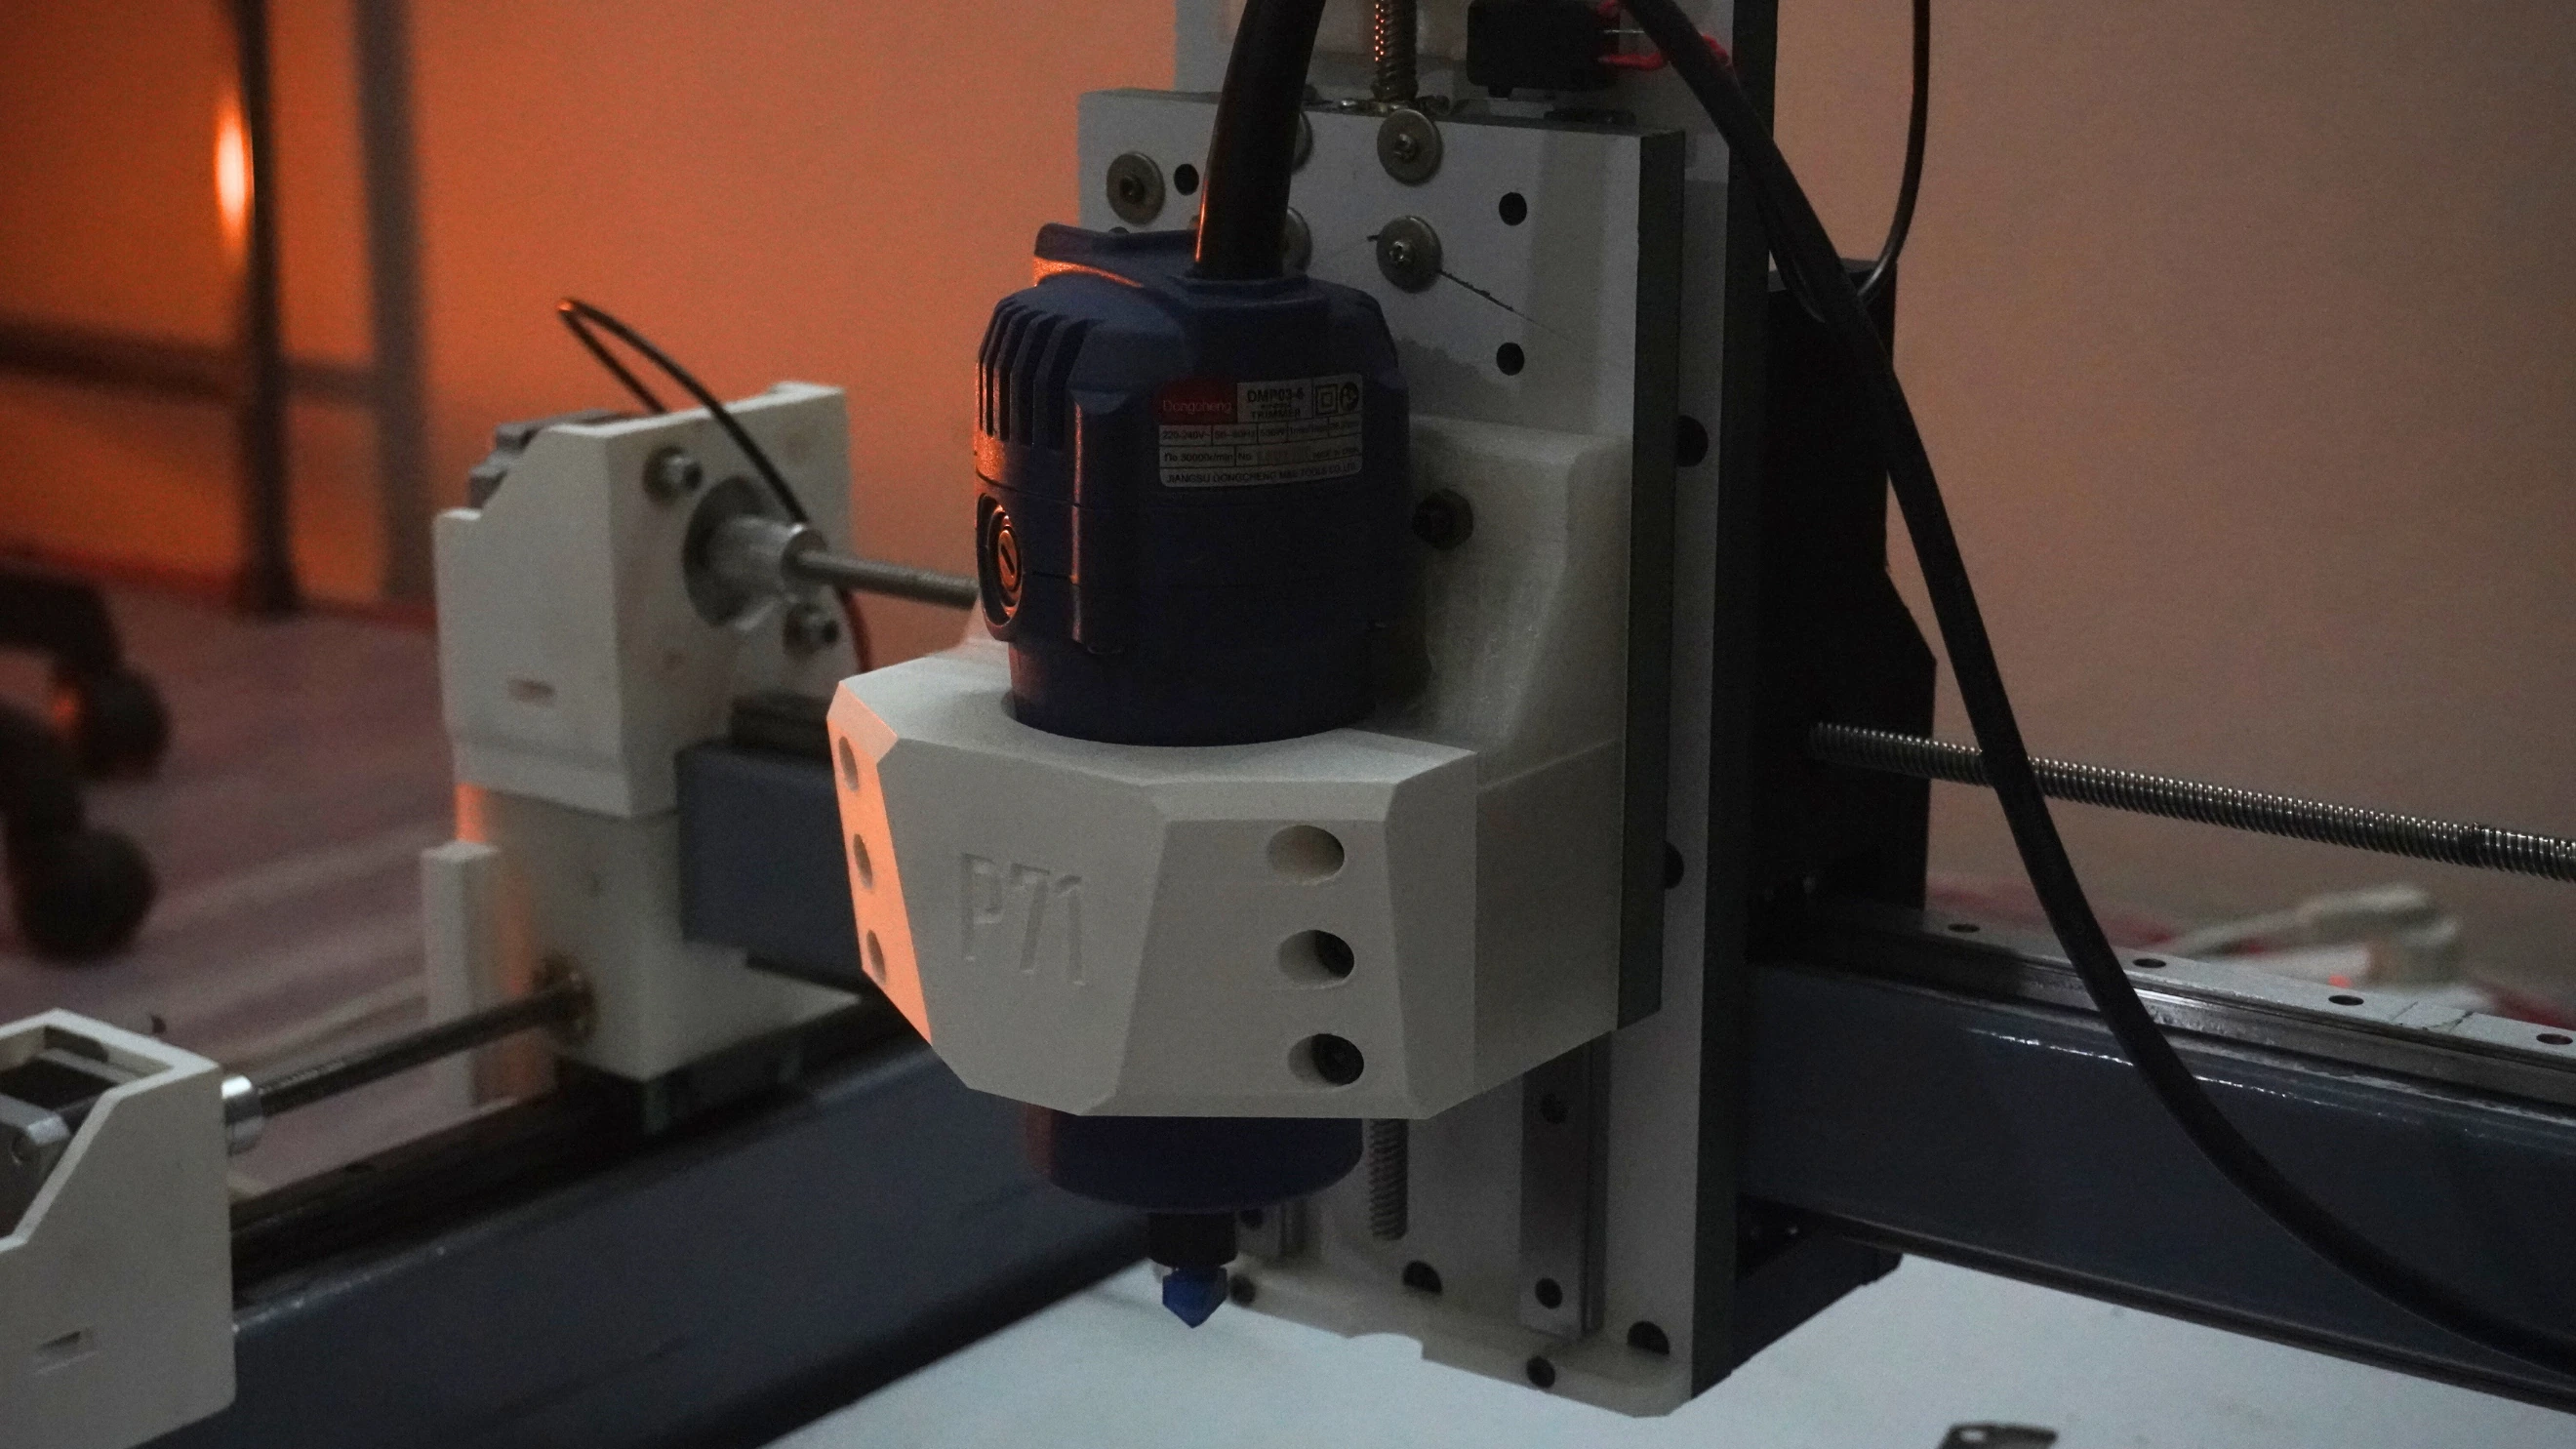
- Spindle Power: A 530W palm router currently serves as the spindle. It’s noisy and introduces some vibration, but it gets the job done. Down the road, I plan to upgrade to something quieter and more refined.
Assembly: Where Plans Meet Reality
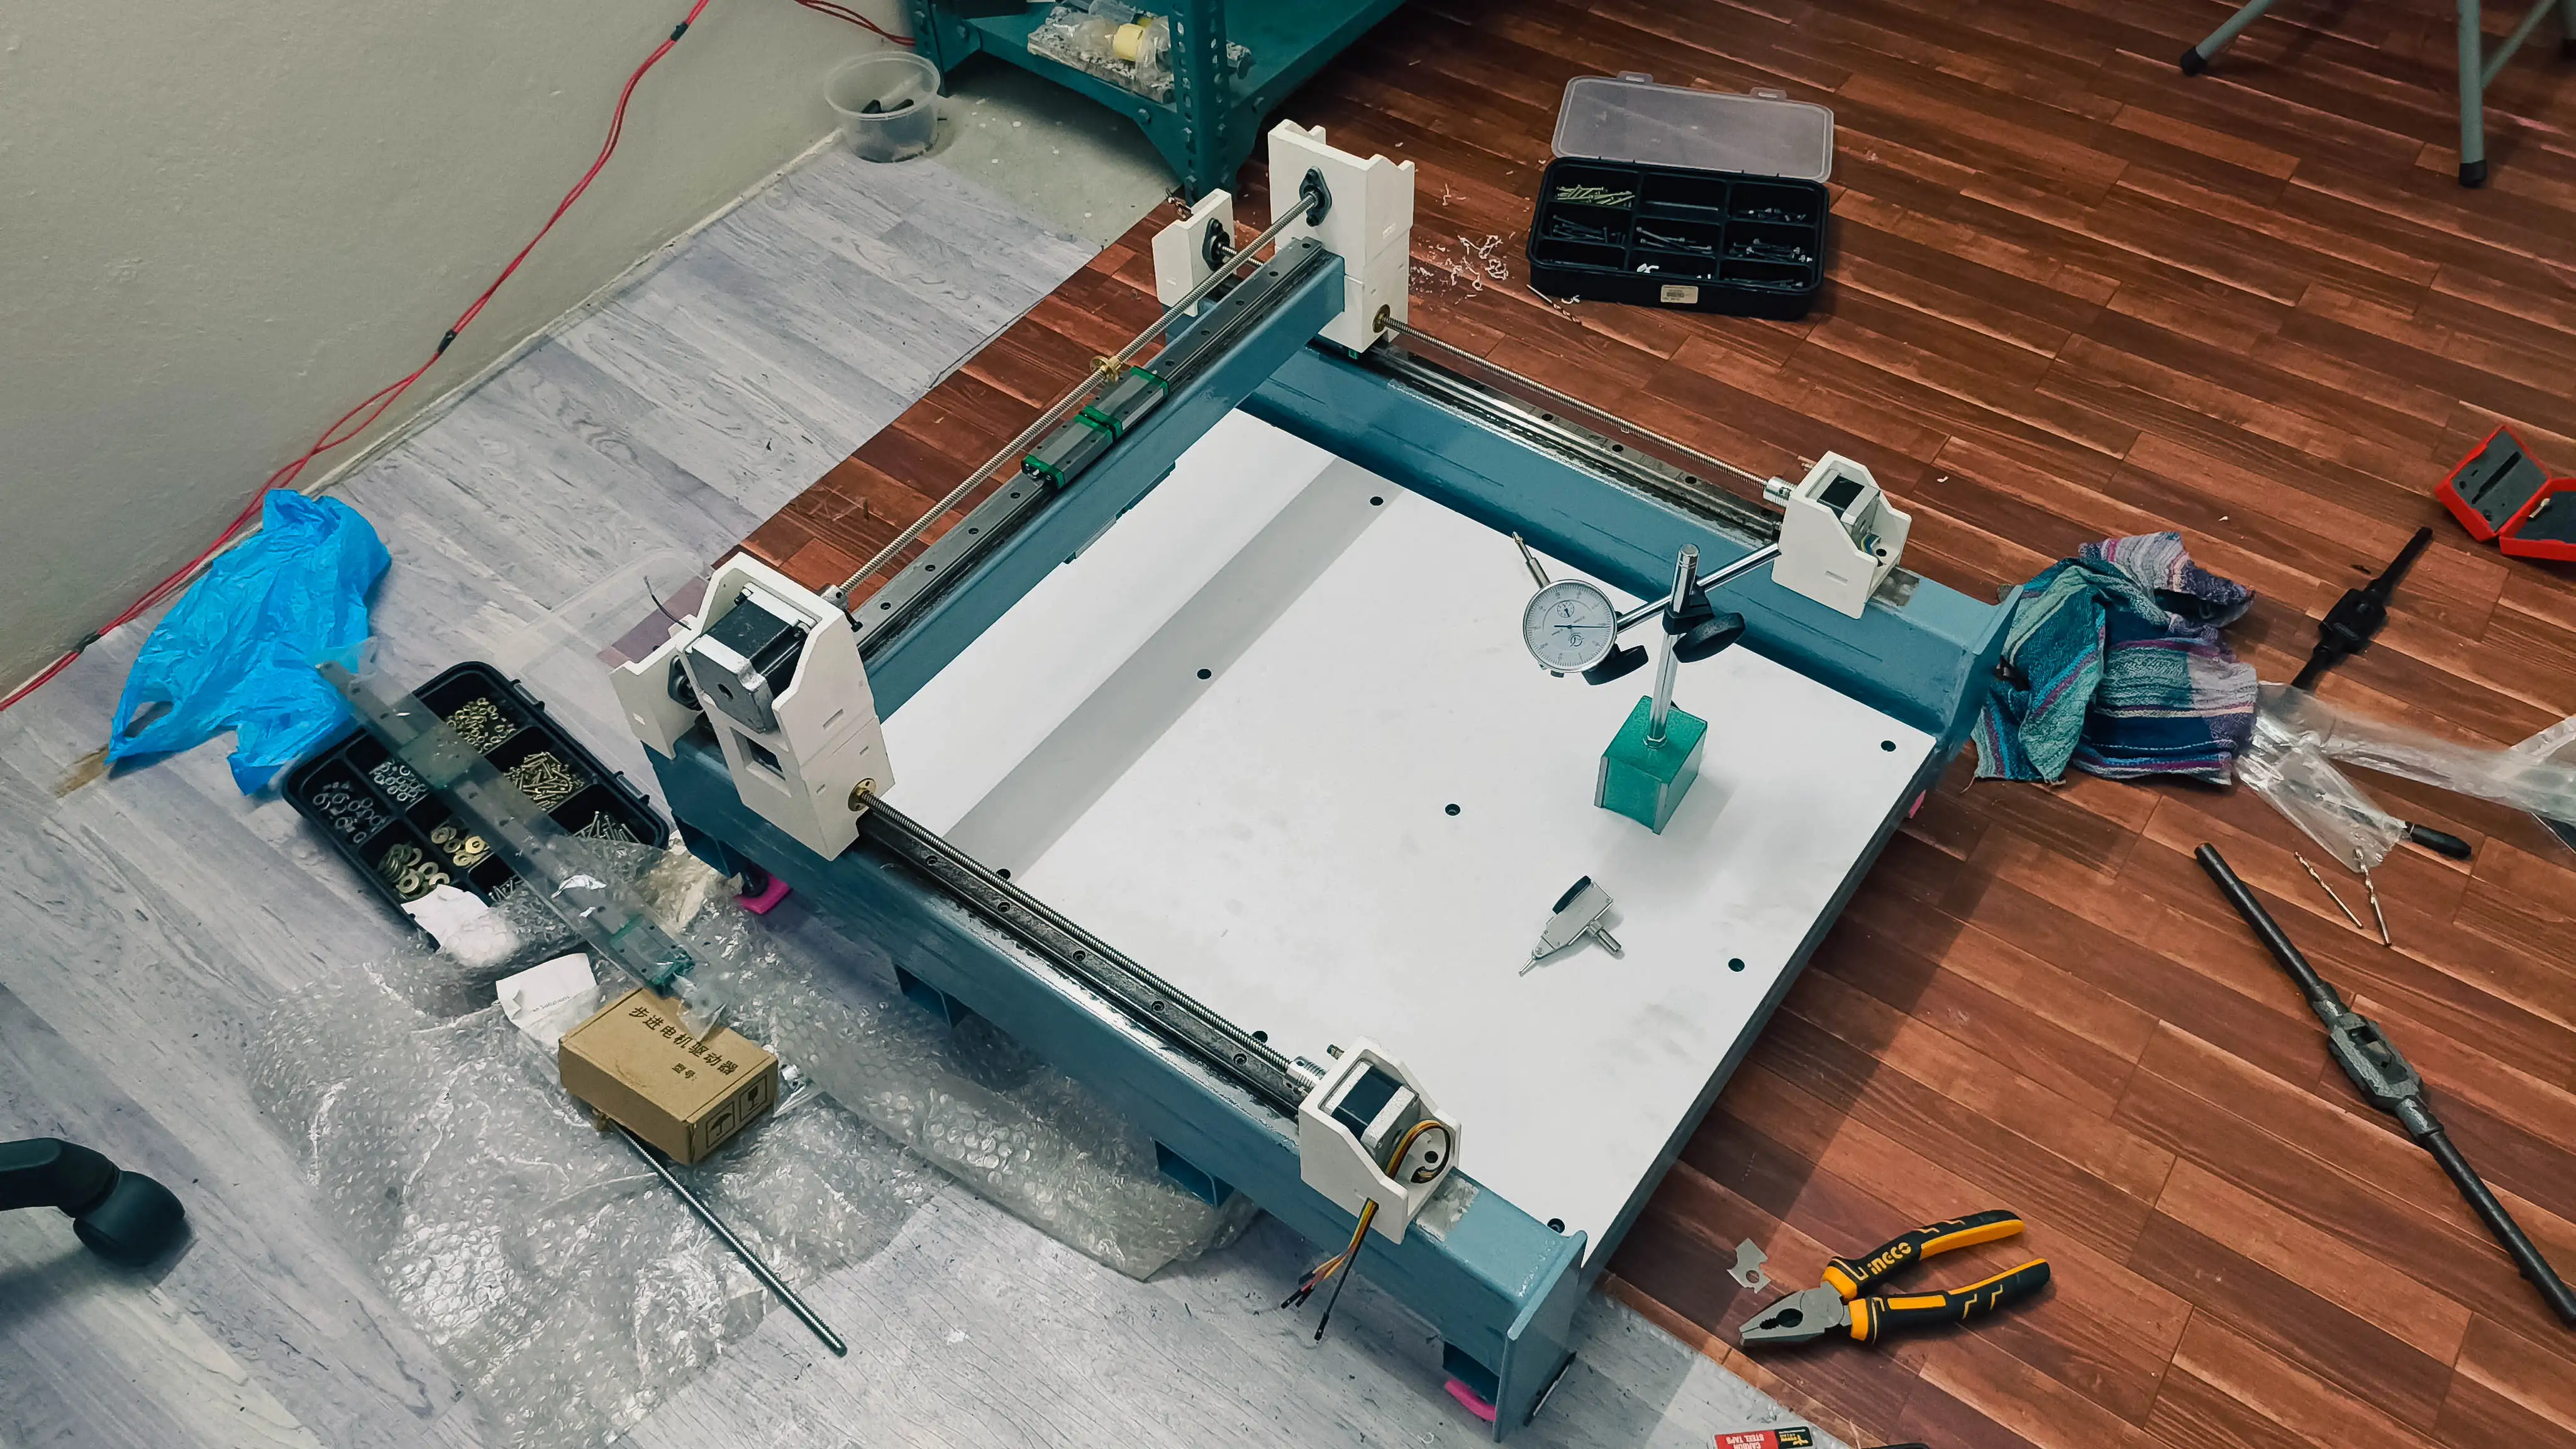
Blueprints rarely survive first contact with real-world assembly without a few surprises. Aligning the linear rails on an iron frame was trickier than expected. I leaned heavily on a dial indicator to achieve the precision needed, learning quickly that even a millimeter’s deviation could ripple through the system.
The Challenges:
- Tuning the Motion: The Y-axis, driven by twin NEMA 17 motors, demanded meticulous calibration. Without belts to rely on, electrically syncing the two motors was a real challenge. At one point, I considered ditching one motor and mechanically coupling the Y1 and Y2 rails with a belt, but ultimately, I managed to get the setup working fine. I also spent considerable time tuning motor parameters like speed, acceleration, current limits, and soft limits to ensure smooth operation.
- Battling Vibrations: Initial test runs were a mixed bag. At higher speeds, vibrations crept in, threatening both the machine’s accuracy and my confidence. Adjusting feed rates, reducing aggressive step-downs, and experimenting with toolpath strategies in Fusion 360 made a noticeable difference. I also discovered that even small tweaks—like tightening a loose bolt—could drastically improve performance.
- Electrical Gremlins: I underestimated the complexity of wiring the machine. Missed connections, signal noise, and the occasional burnt fuse taught me the importance of proper grounding and shielding. It was frustrating at times, but each setback deepened my understanding of CNC electronics.
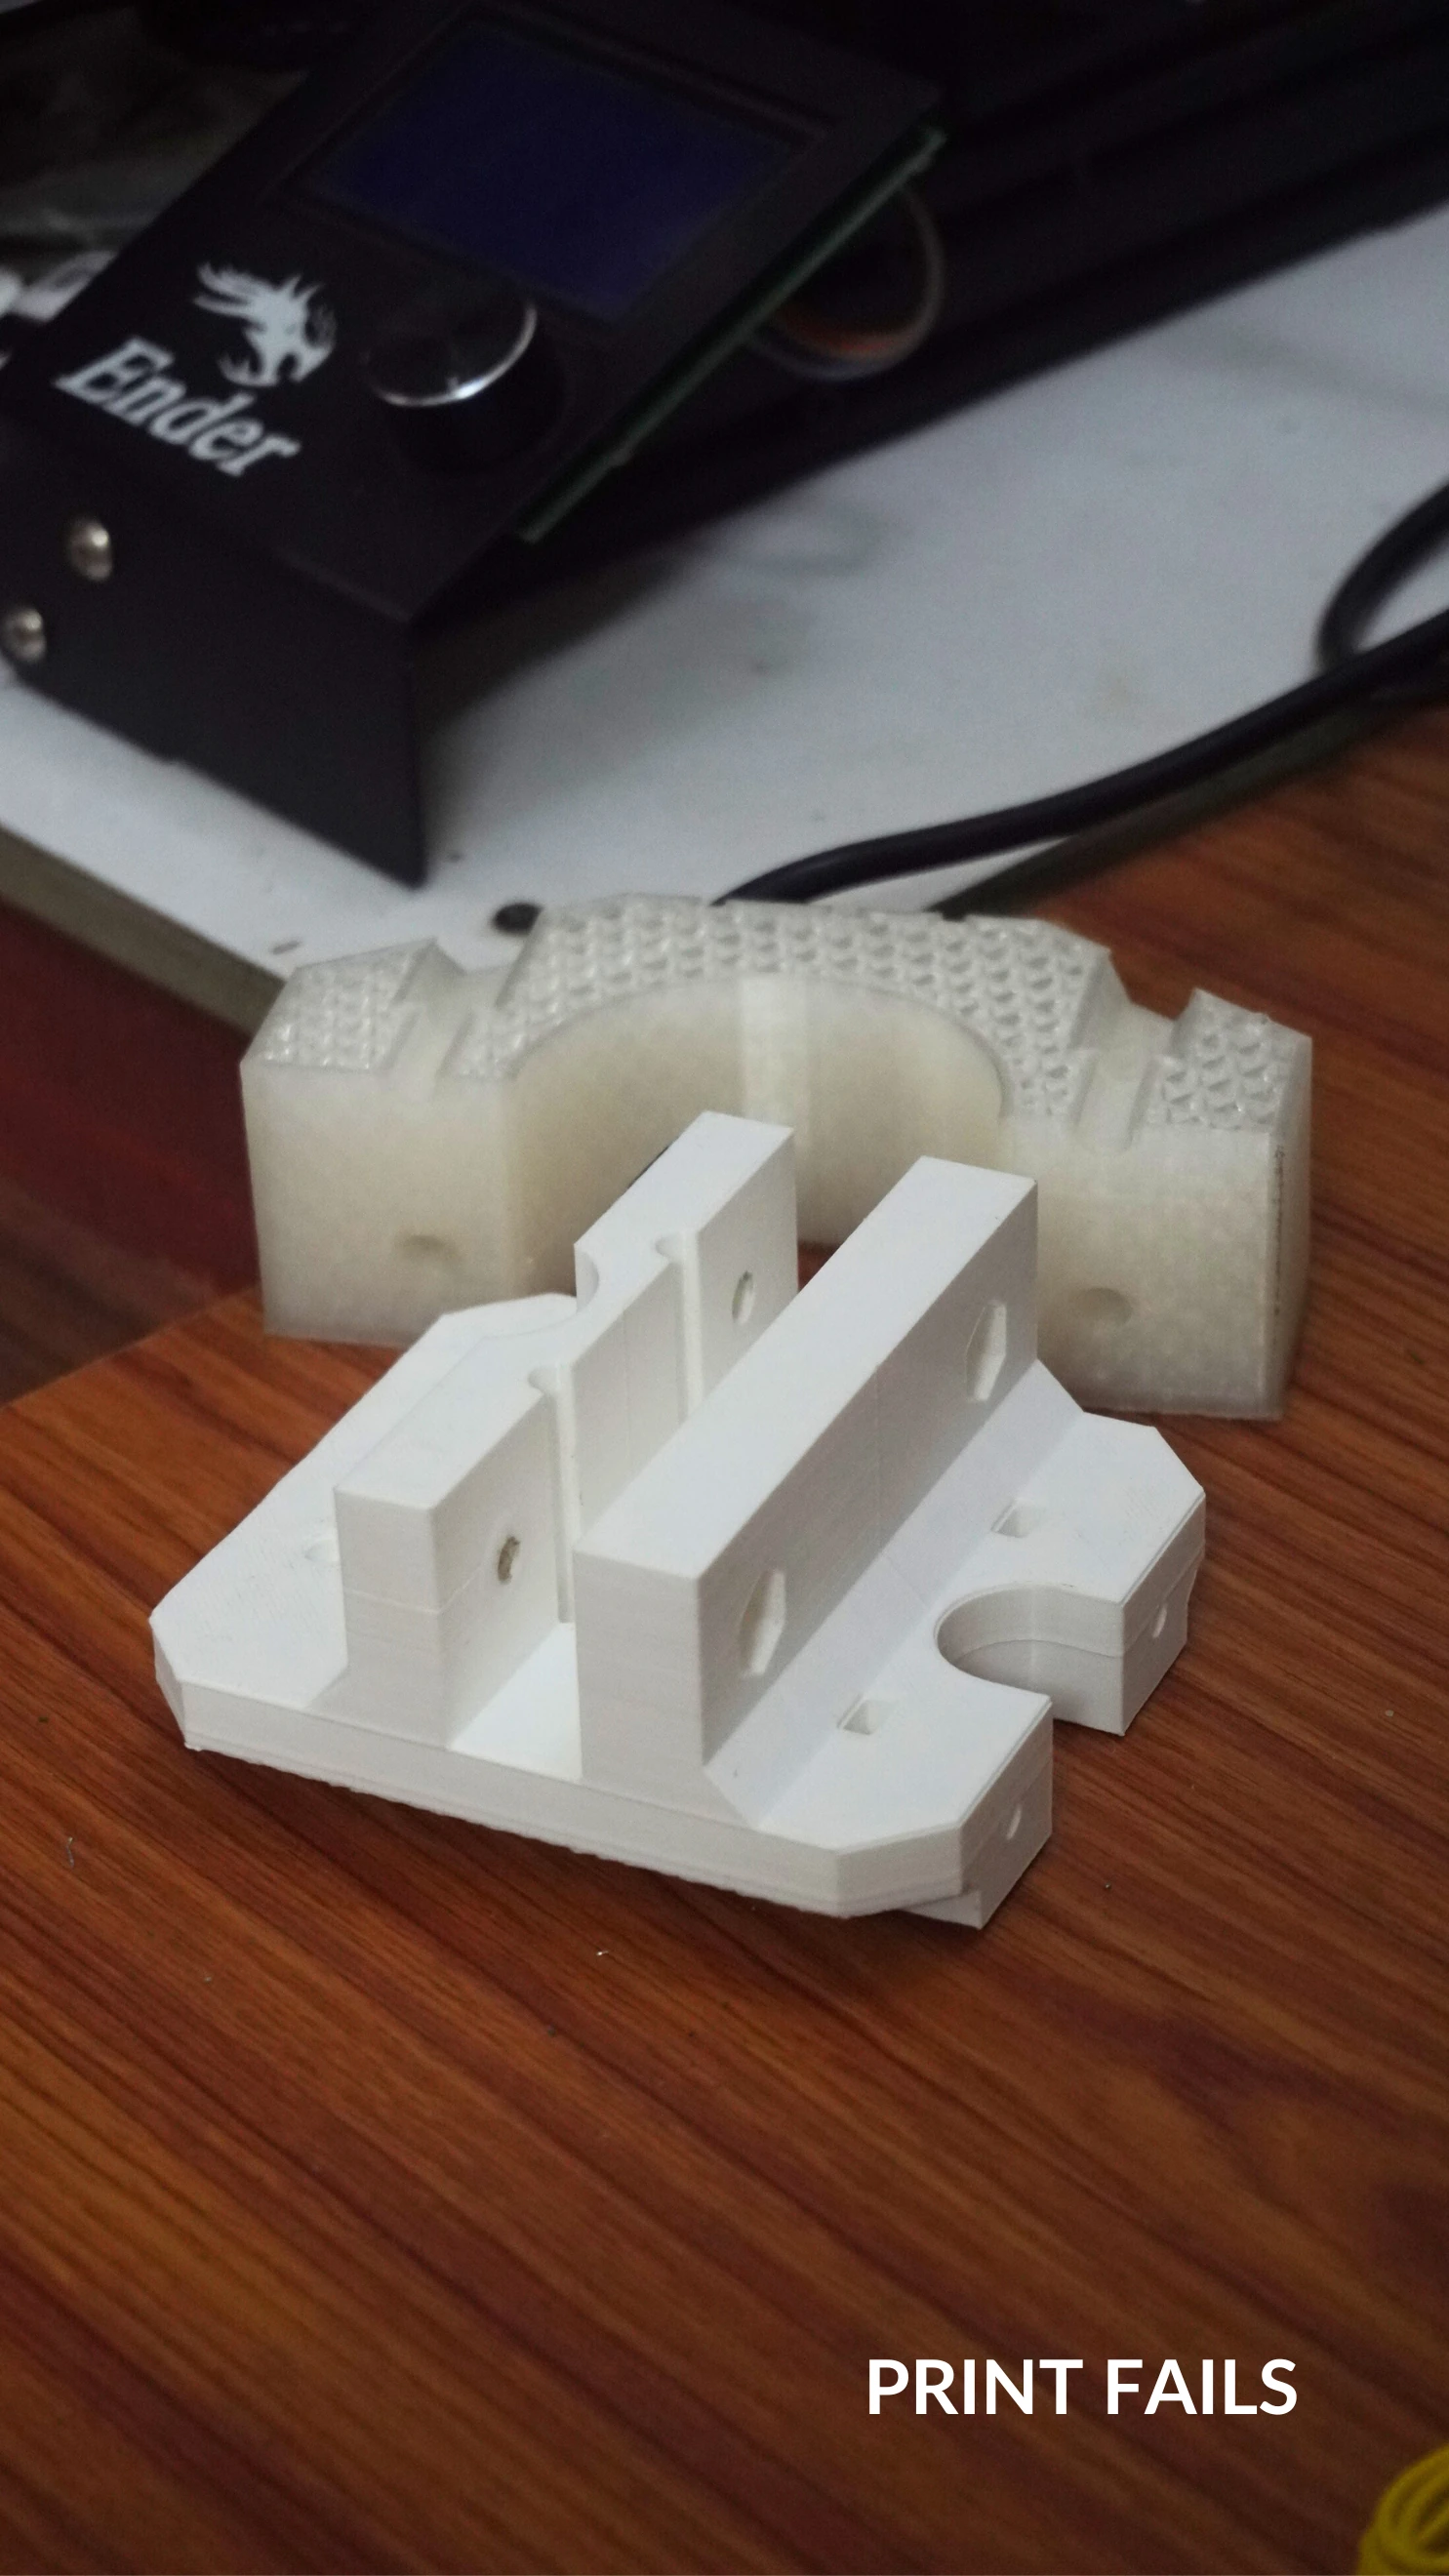
- 3D Printing with Precision: Since some parts were large and required long print times—one of them taking 38 hours on my Ender 3—I couldn’t afford print failures or design mistakes. This meant being extra careful during the design phase, verifying each part multiple times, and thinking ahead to avoid wasting time and materials. I’m happy to say that only two parts ended up in the dustbin: one due to a random failure during a long print and another because of a design error.

Lessons from the Trials
While I haven’t had the chance to properly test cut aluminum yet, the machine’s spindle power and rigidity seem solid. The real bottleneck is the Z-axis stepper motor, which lacks the torque needed when the spindle is running at full speed. This issue is compounded by the spindle’s weight. Instead of downgrading to a lighter, less powerful spindle, I plan to upgrade the Z-axis stepper motor to handle the load more effectively.
The Road Ahead
This machine is more than a project; it’s a platform for continuous learning and improvement. Upcoming plans include:
- Z-Axis Upgrade: Boosting the stepper motor’s torque to enhance performance under load.
- Spindle Replacement: Transitioning to a quieter, more efficient spindle as the machine evolves.
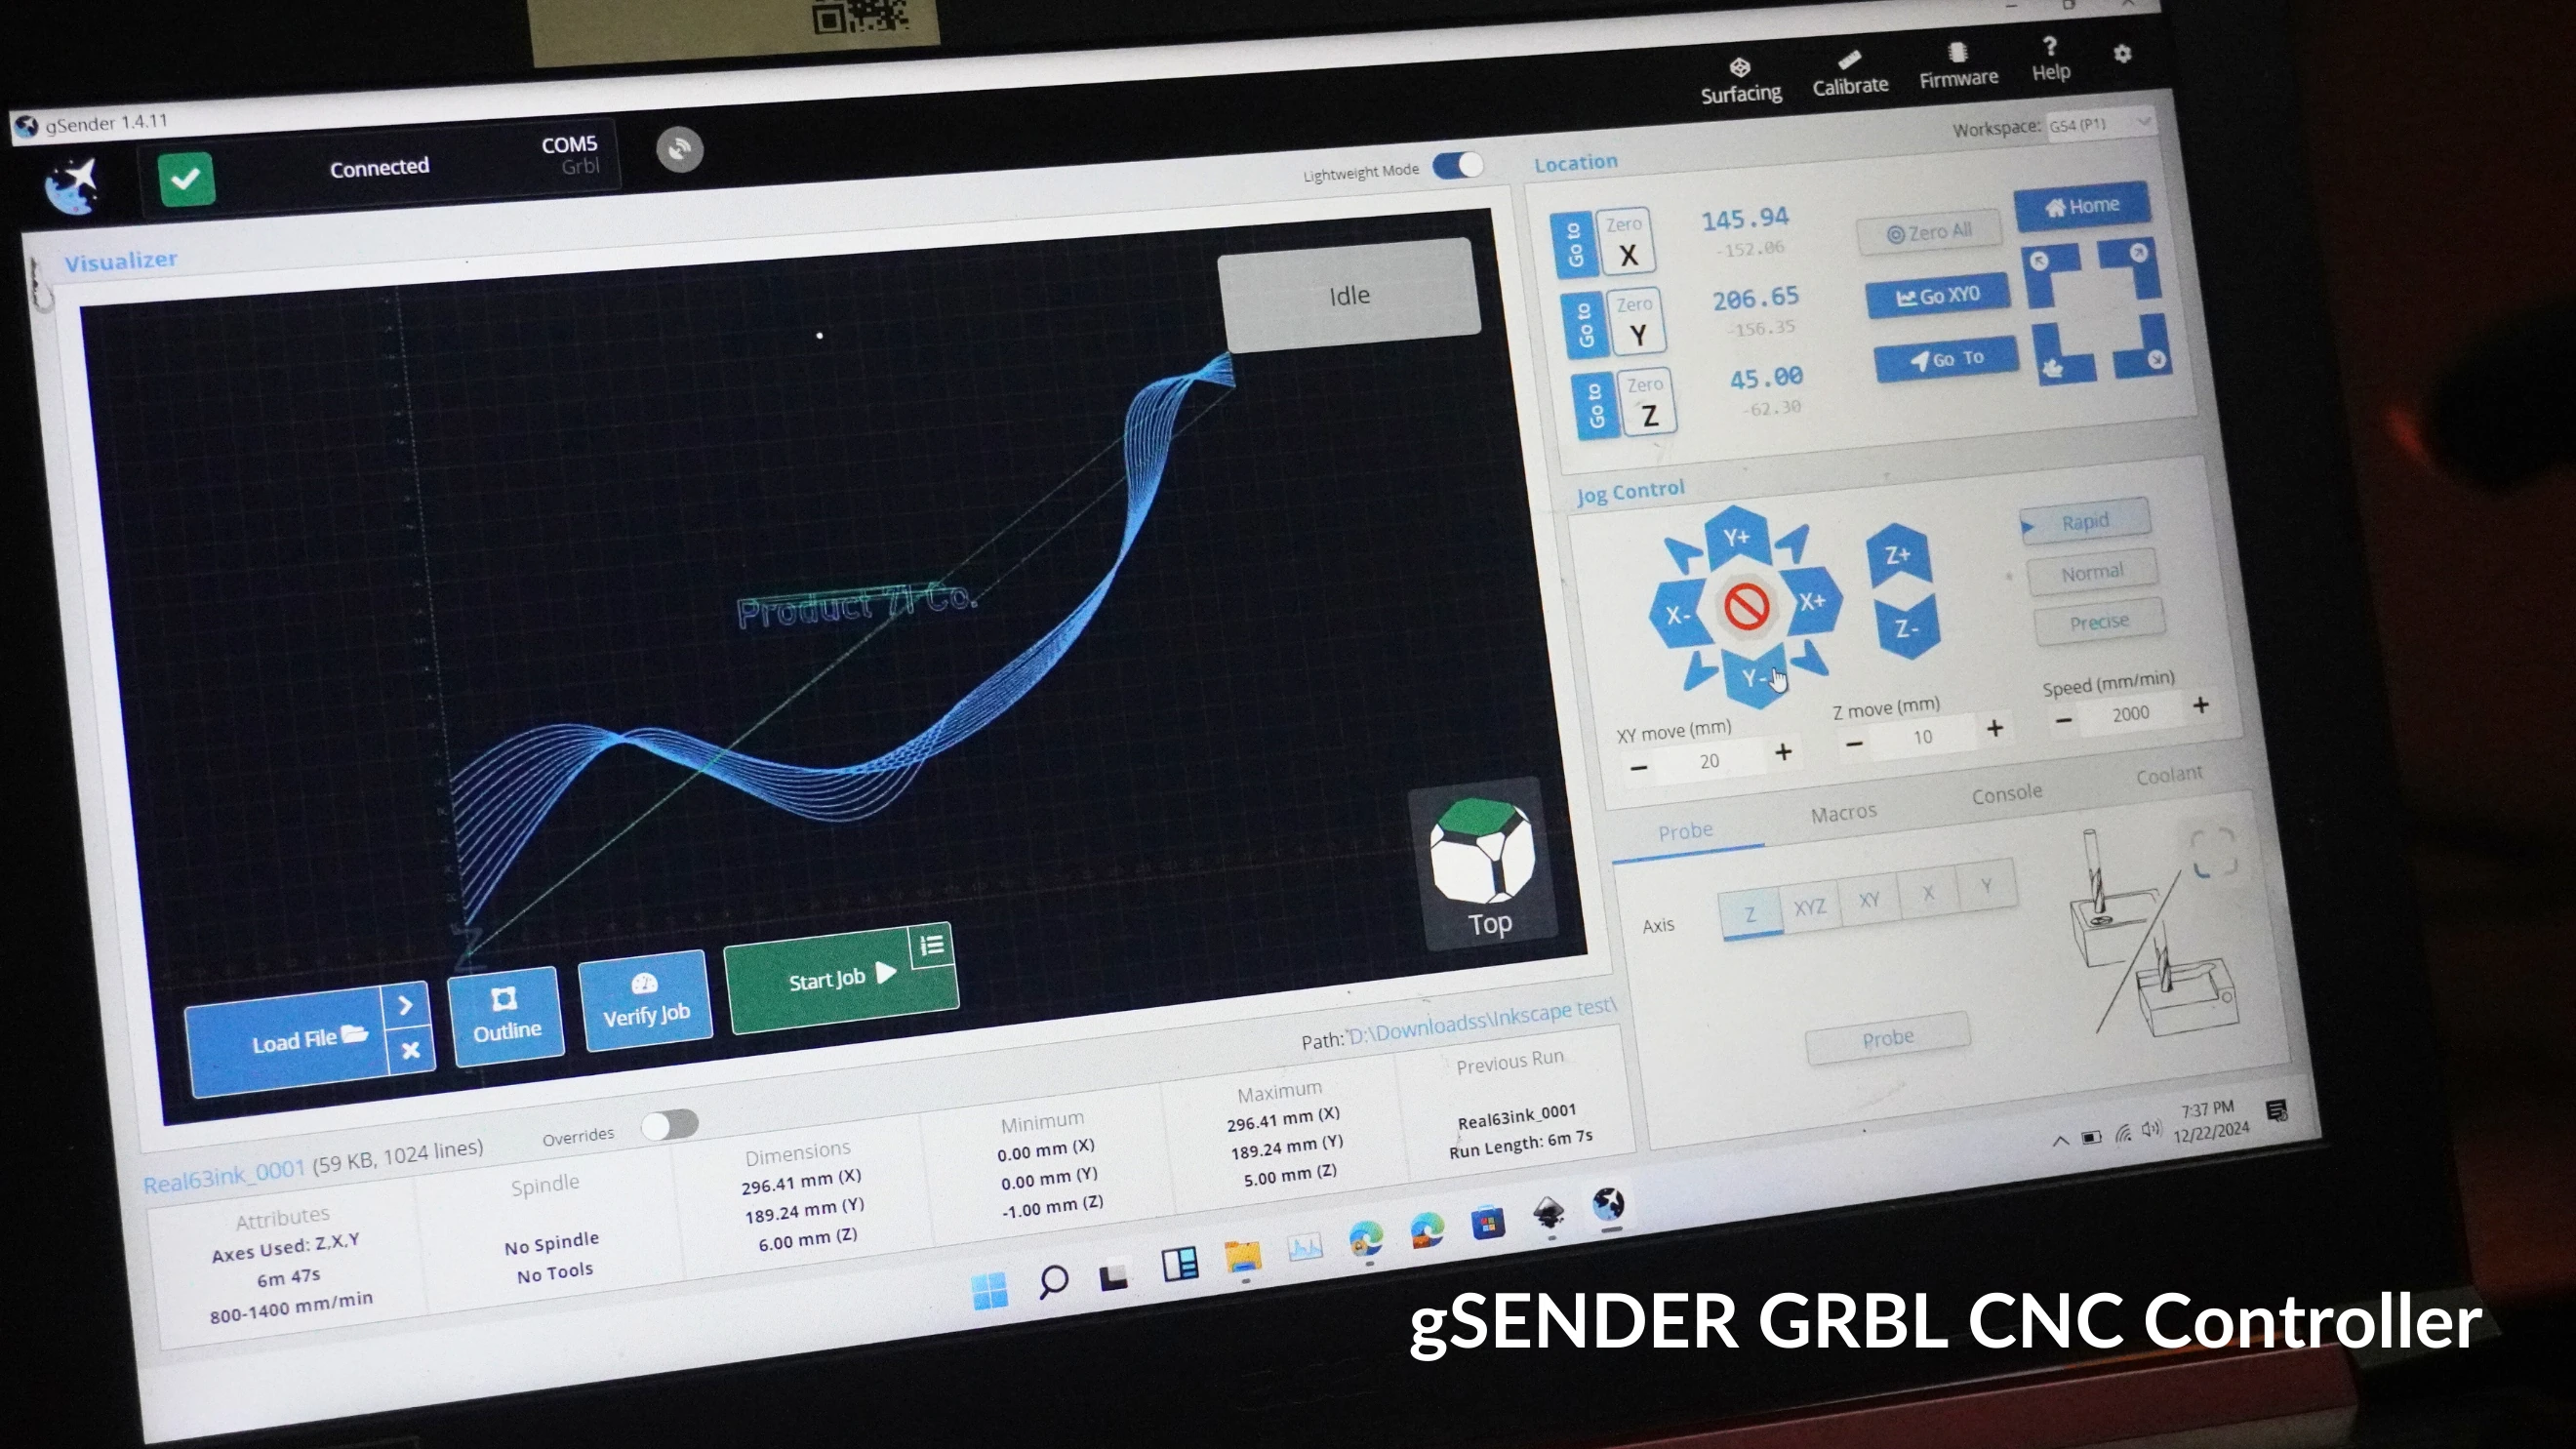
- Electronics Enclosure: Housing the electronics in a custom, compact controller. While I currently use an Arduino Mega with gSender (requiring my laptop to stay connected), I plan to migrate gSender to a Raspberry Pi for a more streamlined setup.
- Advanced Features: As the machine matures, I’m considering more powerful upgrades, like a new controller and possibly an offline control system.
Final Thoughts
This machine isn’t just a collection of metal, motors, and circuits; it’s a reflection of countless hours spent solving problems, learning new skills, and embracing the unexpected twists that come with any DIY project. Each challenge faced and overcome has added another layer to my understanding—not just of CNC machines, but of the maker mindset itself.

As I look at the machine now, imperfections and all, I see more than a tool. I see a timeline of growth, a testament to persistence, and a reminder that progress often comes disguised as trial and error. For anyone considering building their own CNC: start where you are, use what you have, and let the process teach you as much as the final product ever could.
The journey was cool. The build was interesting. I learned a lot. If you’re curious about the design, the build files are available here. For anyone considering a similar path: dive in. Embrace the mistakes, celebrate the breakthroughs, and remember that the process is just as rewarding as the product.

